Buena Vista, Co
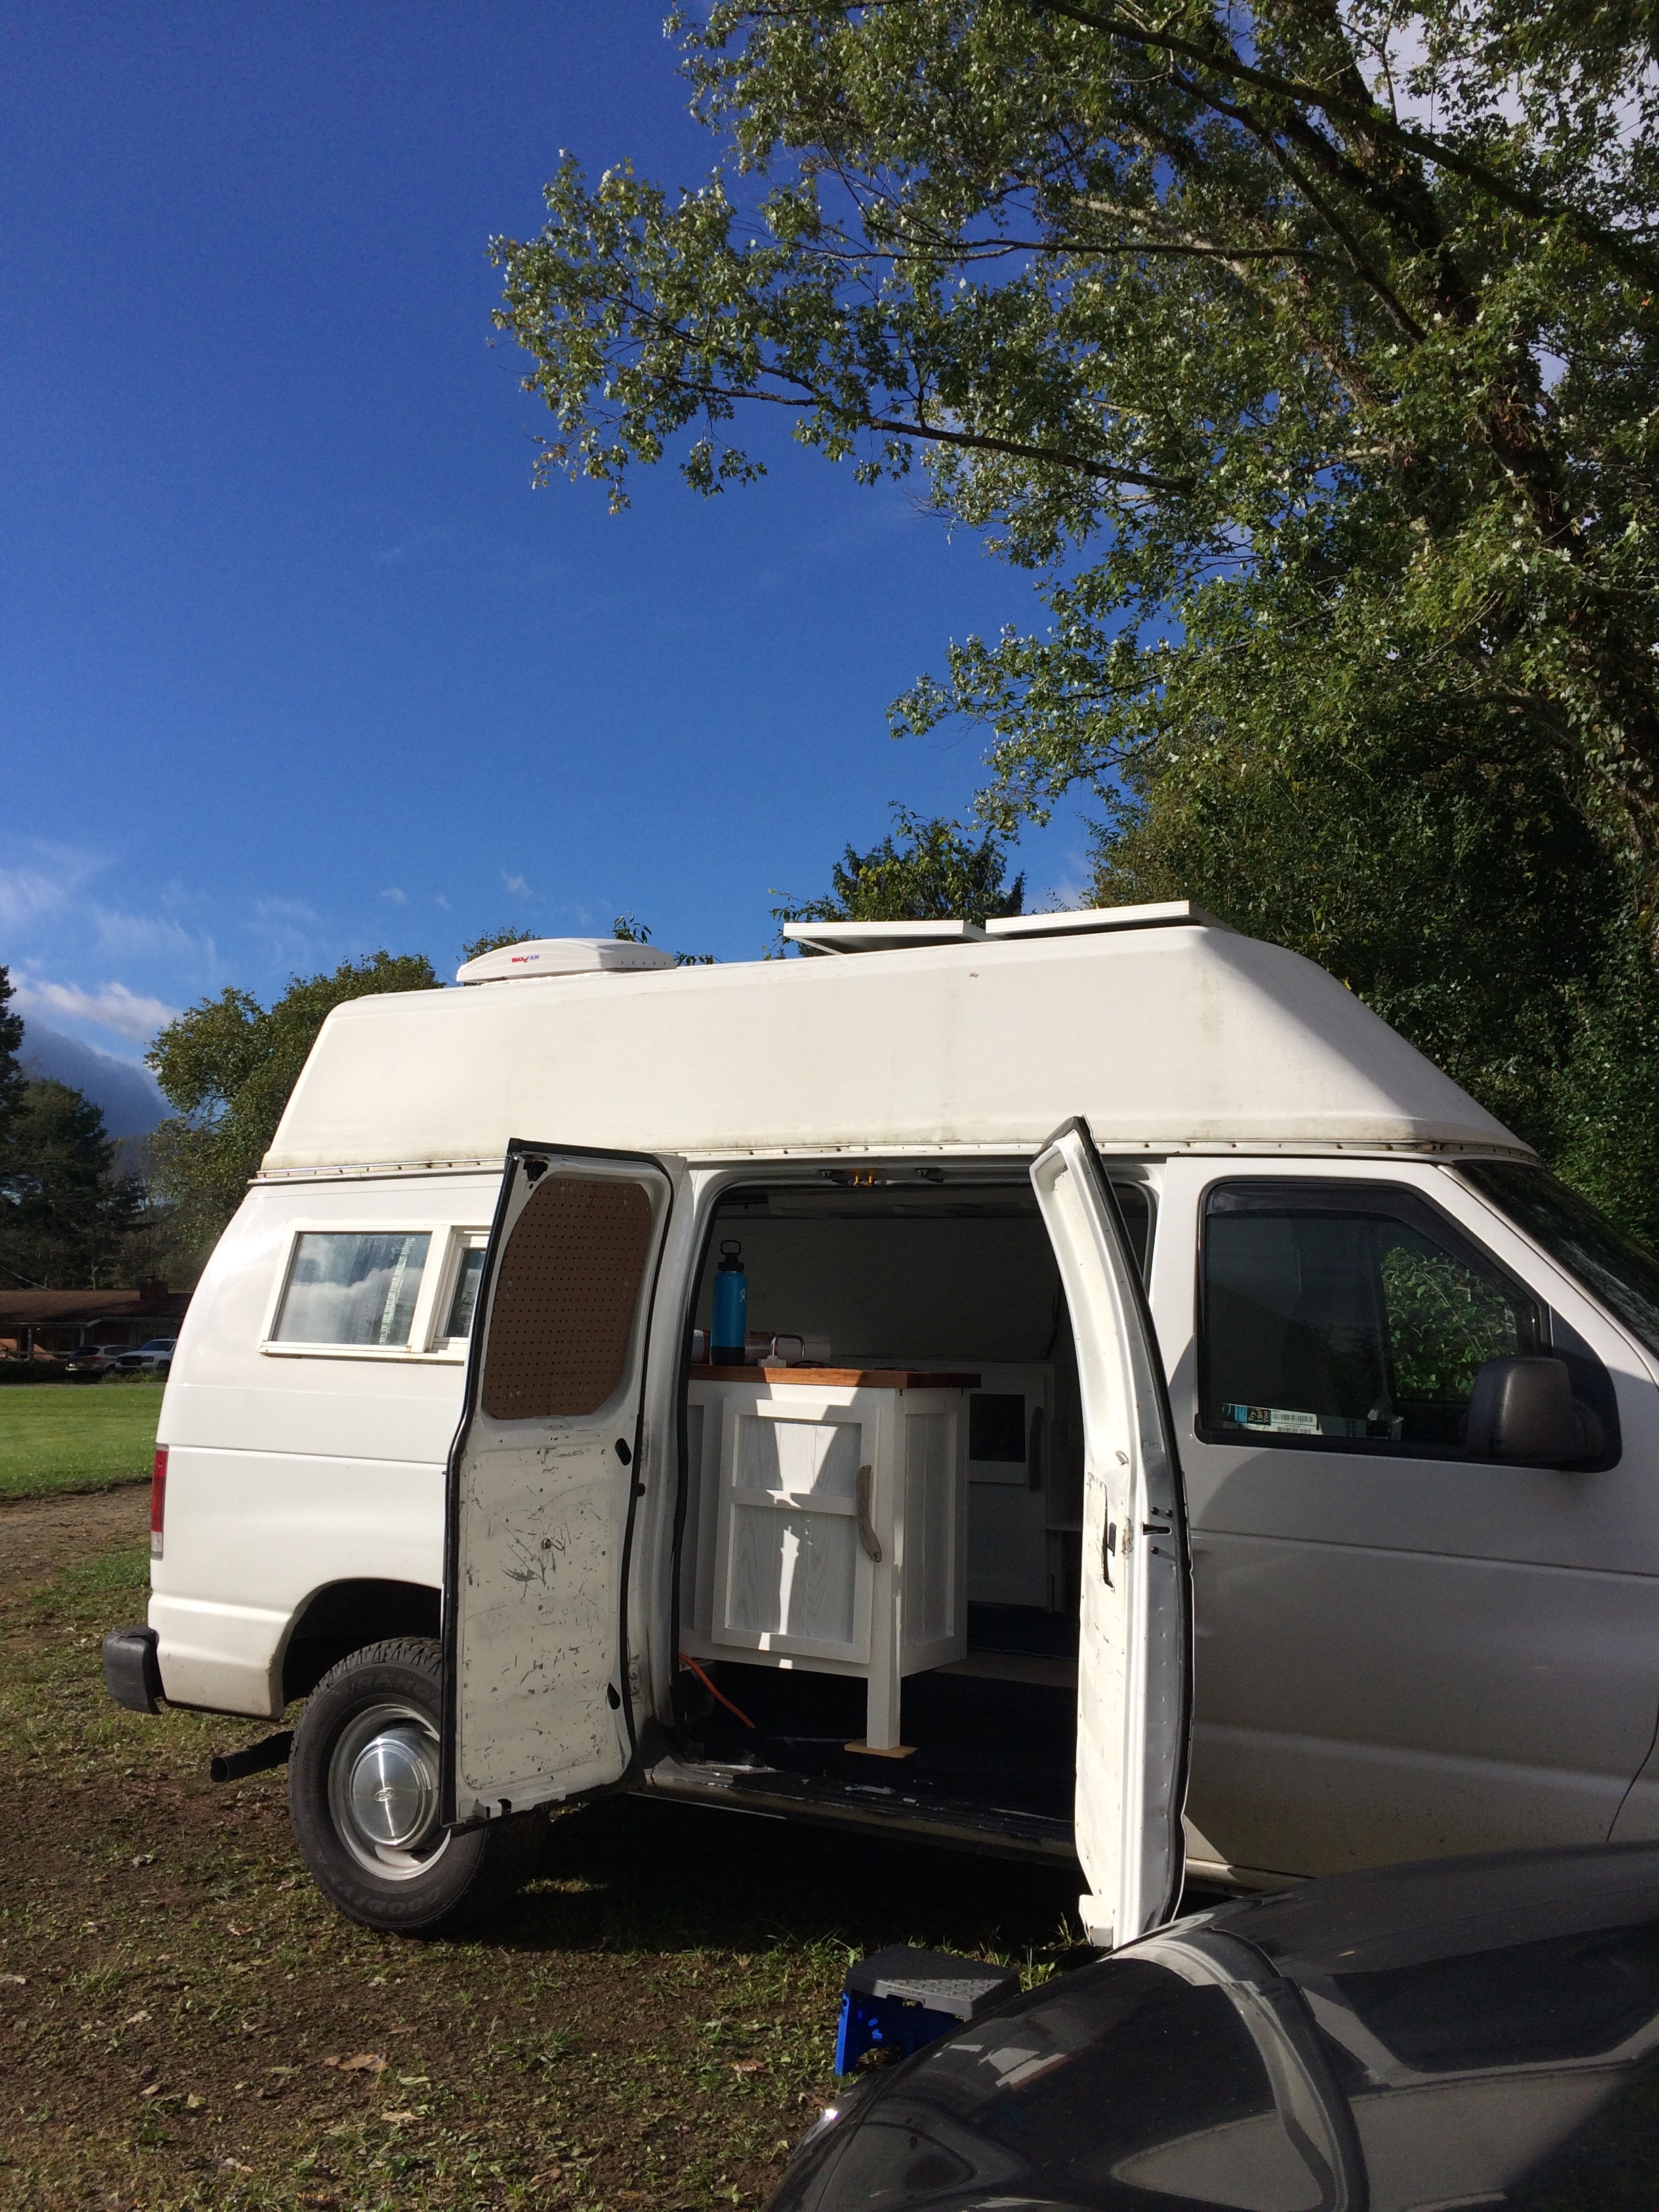
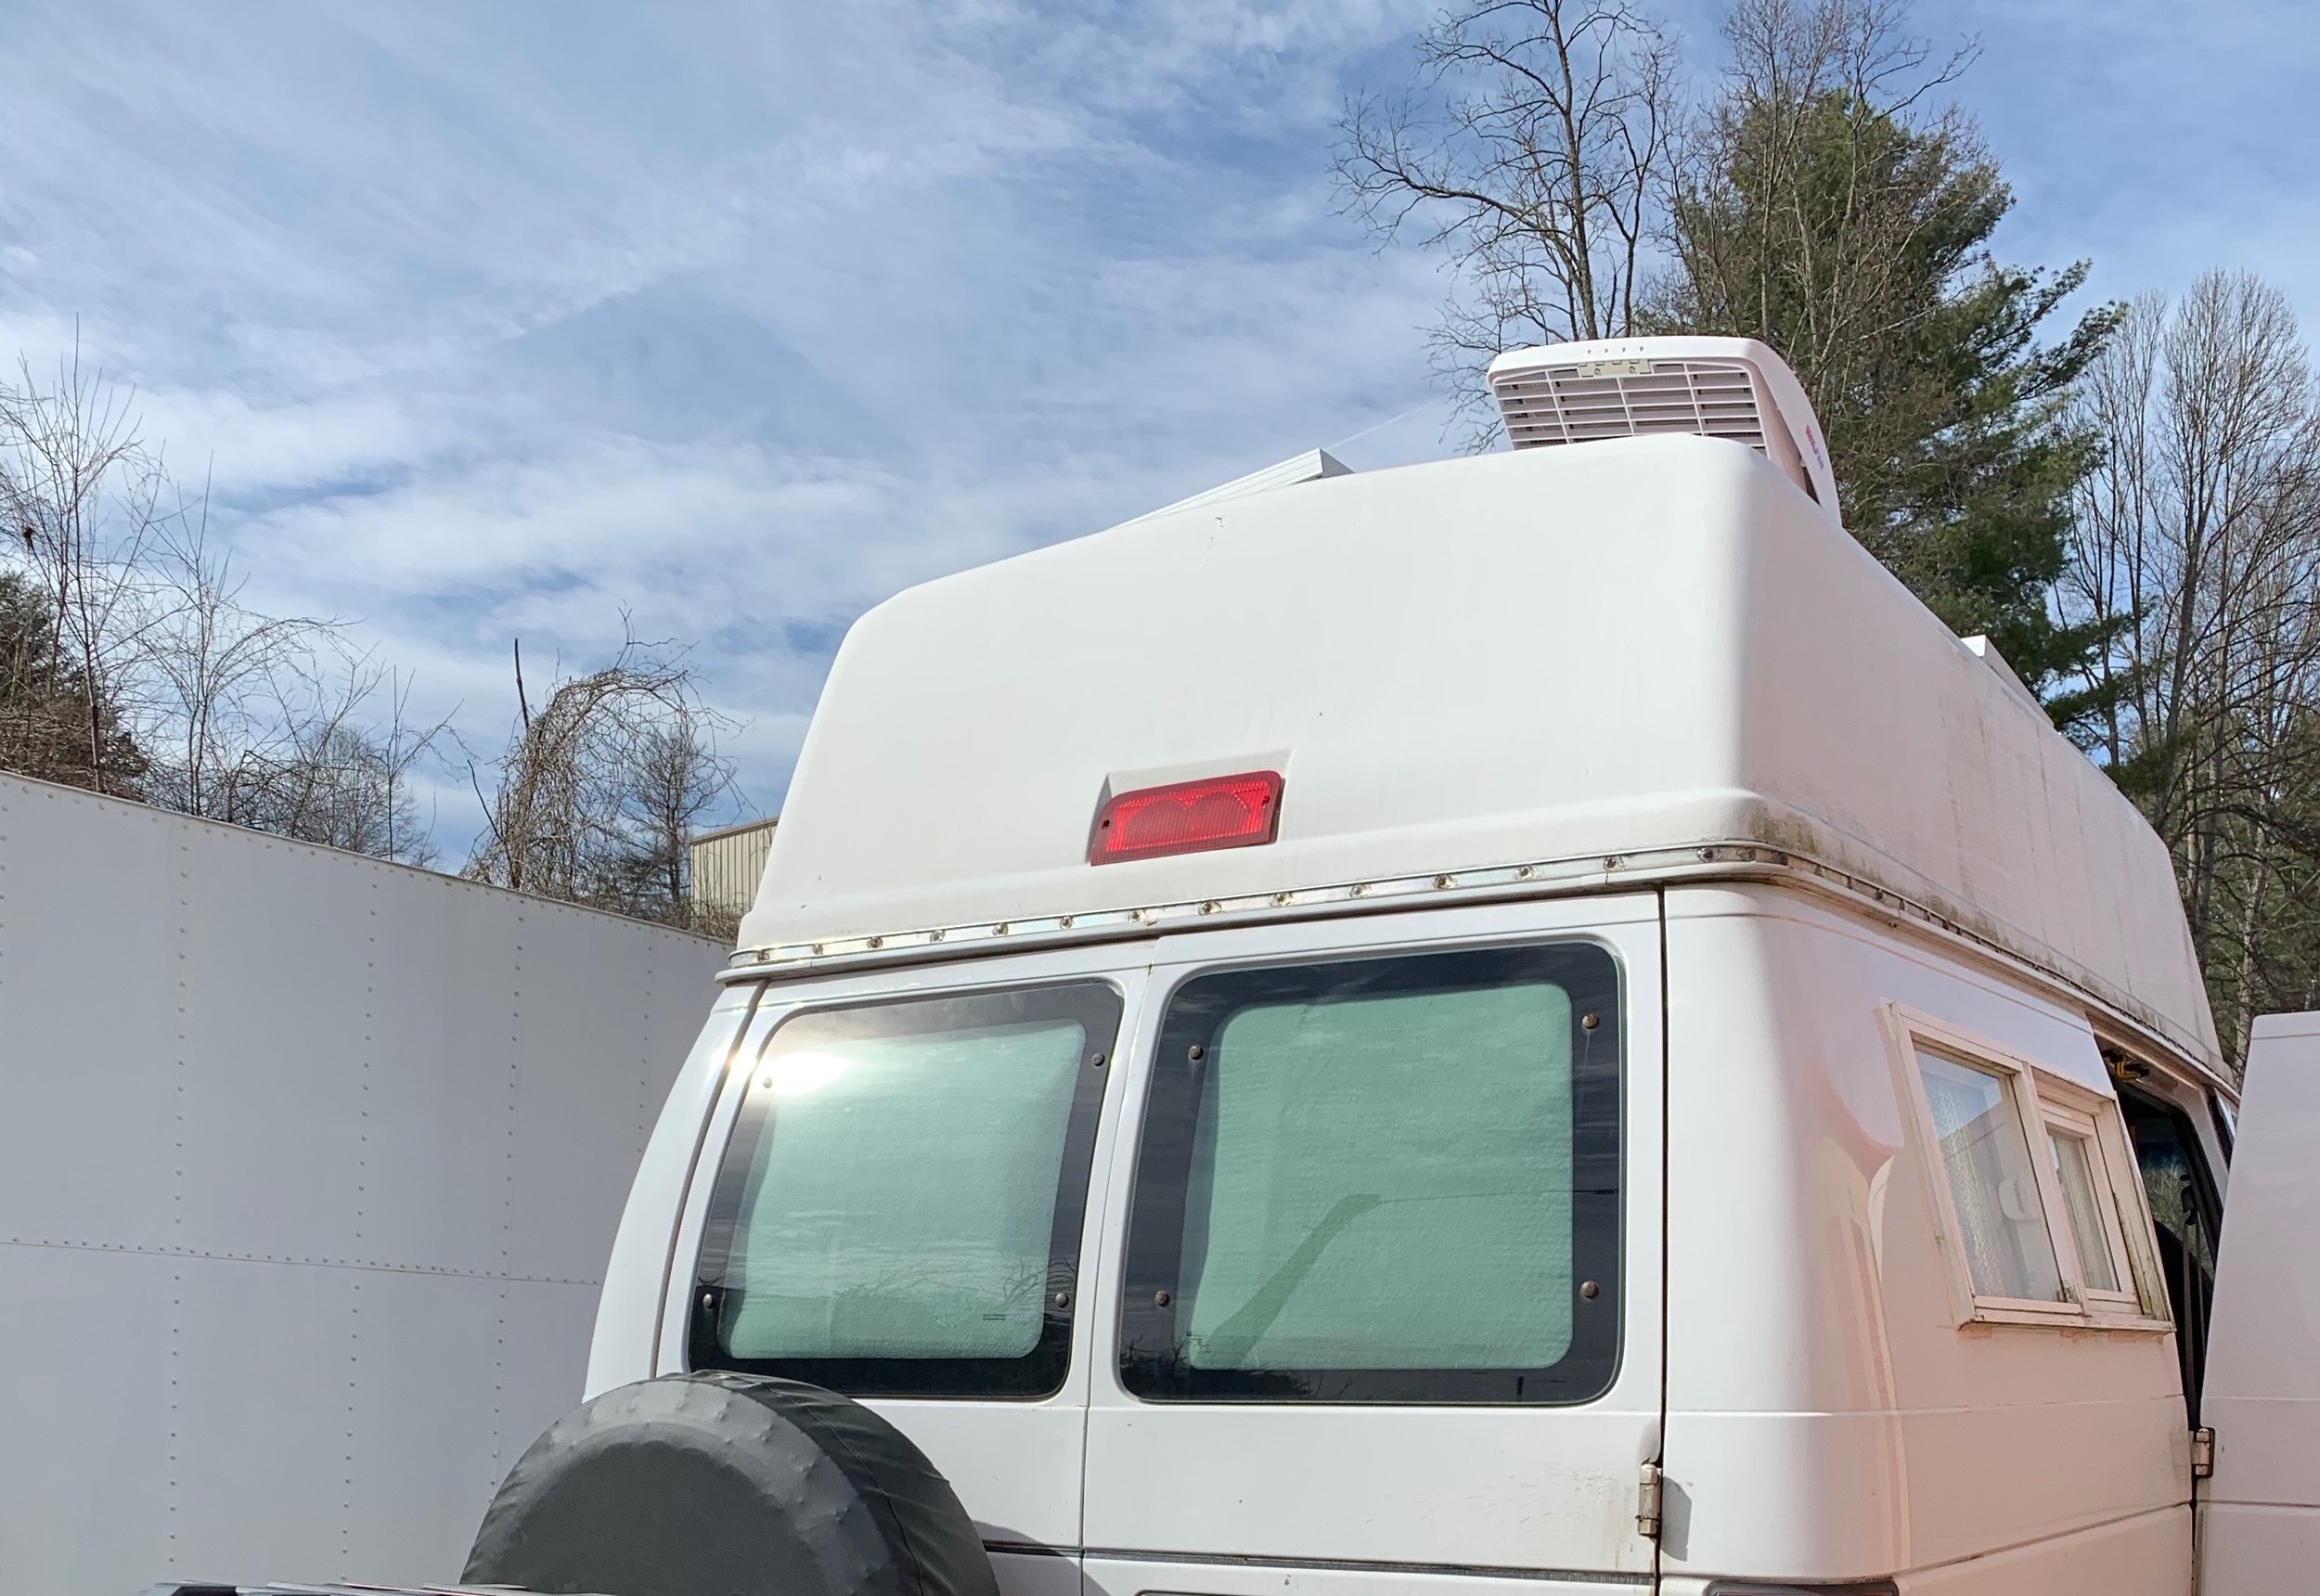
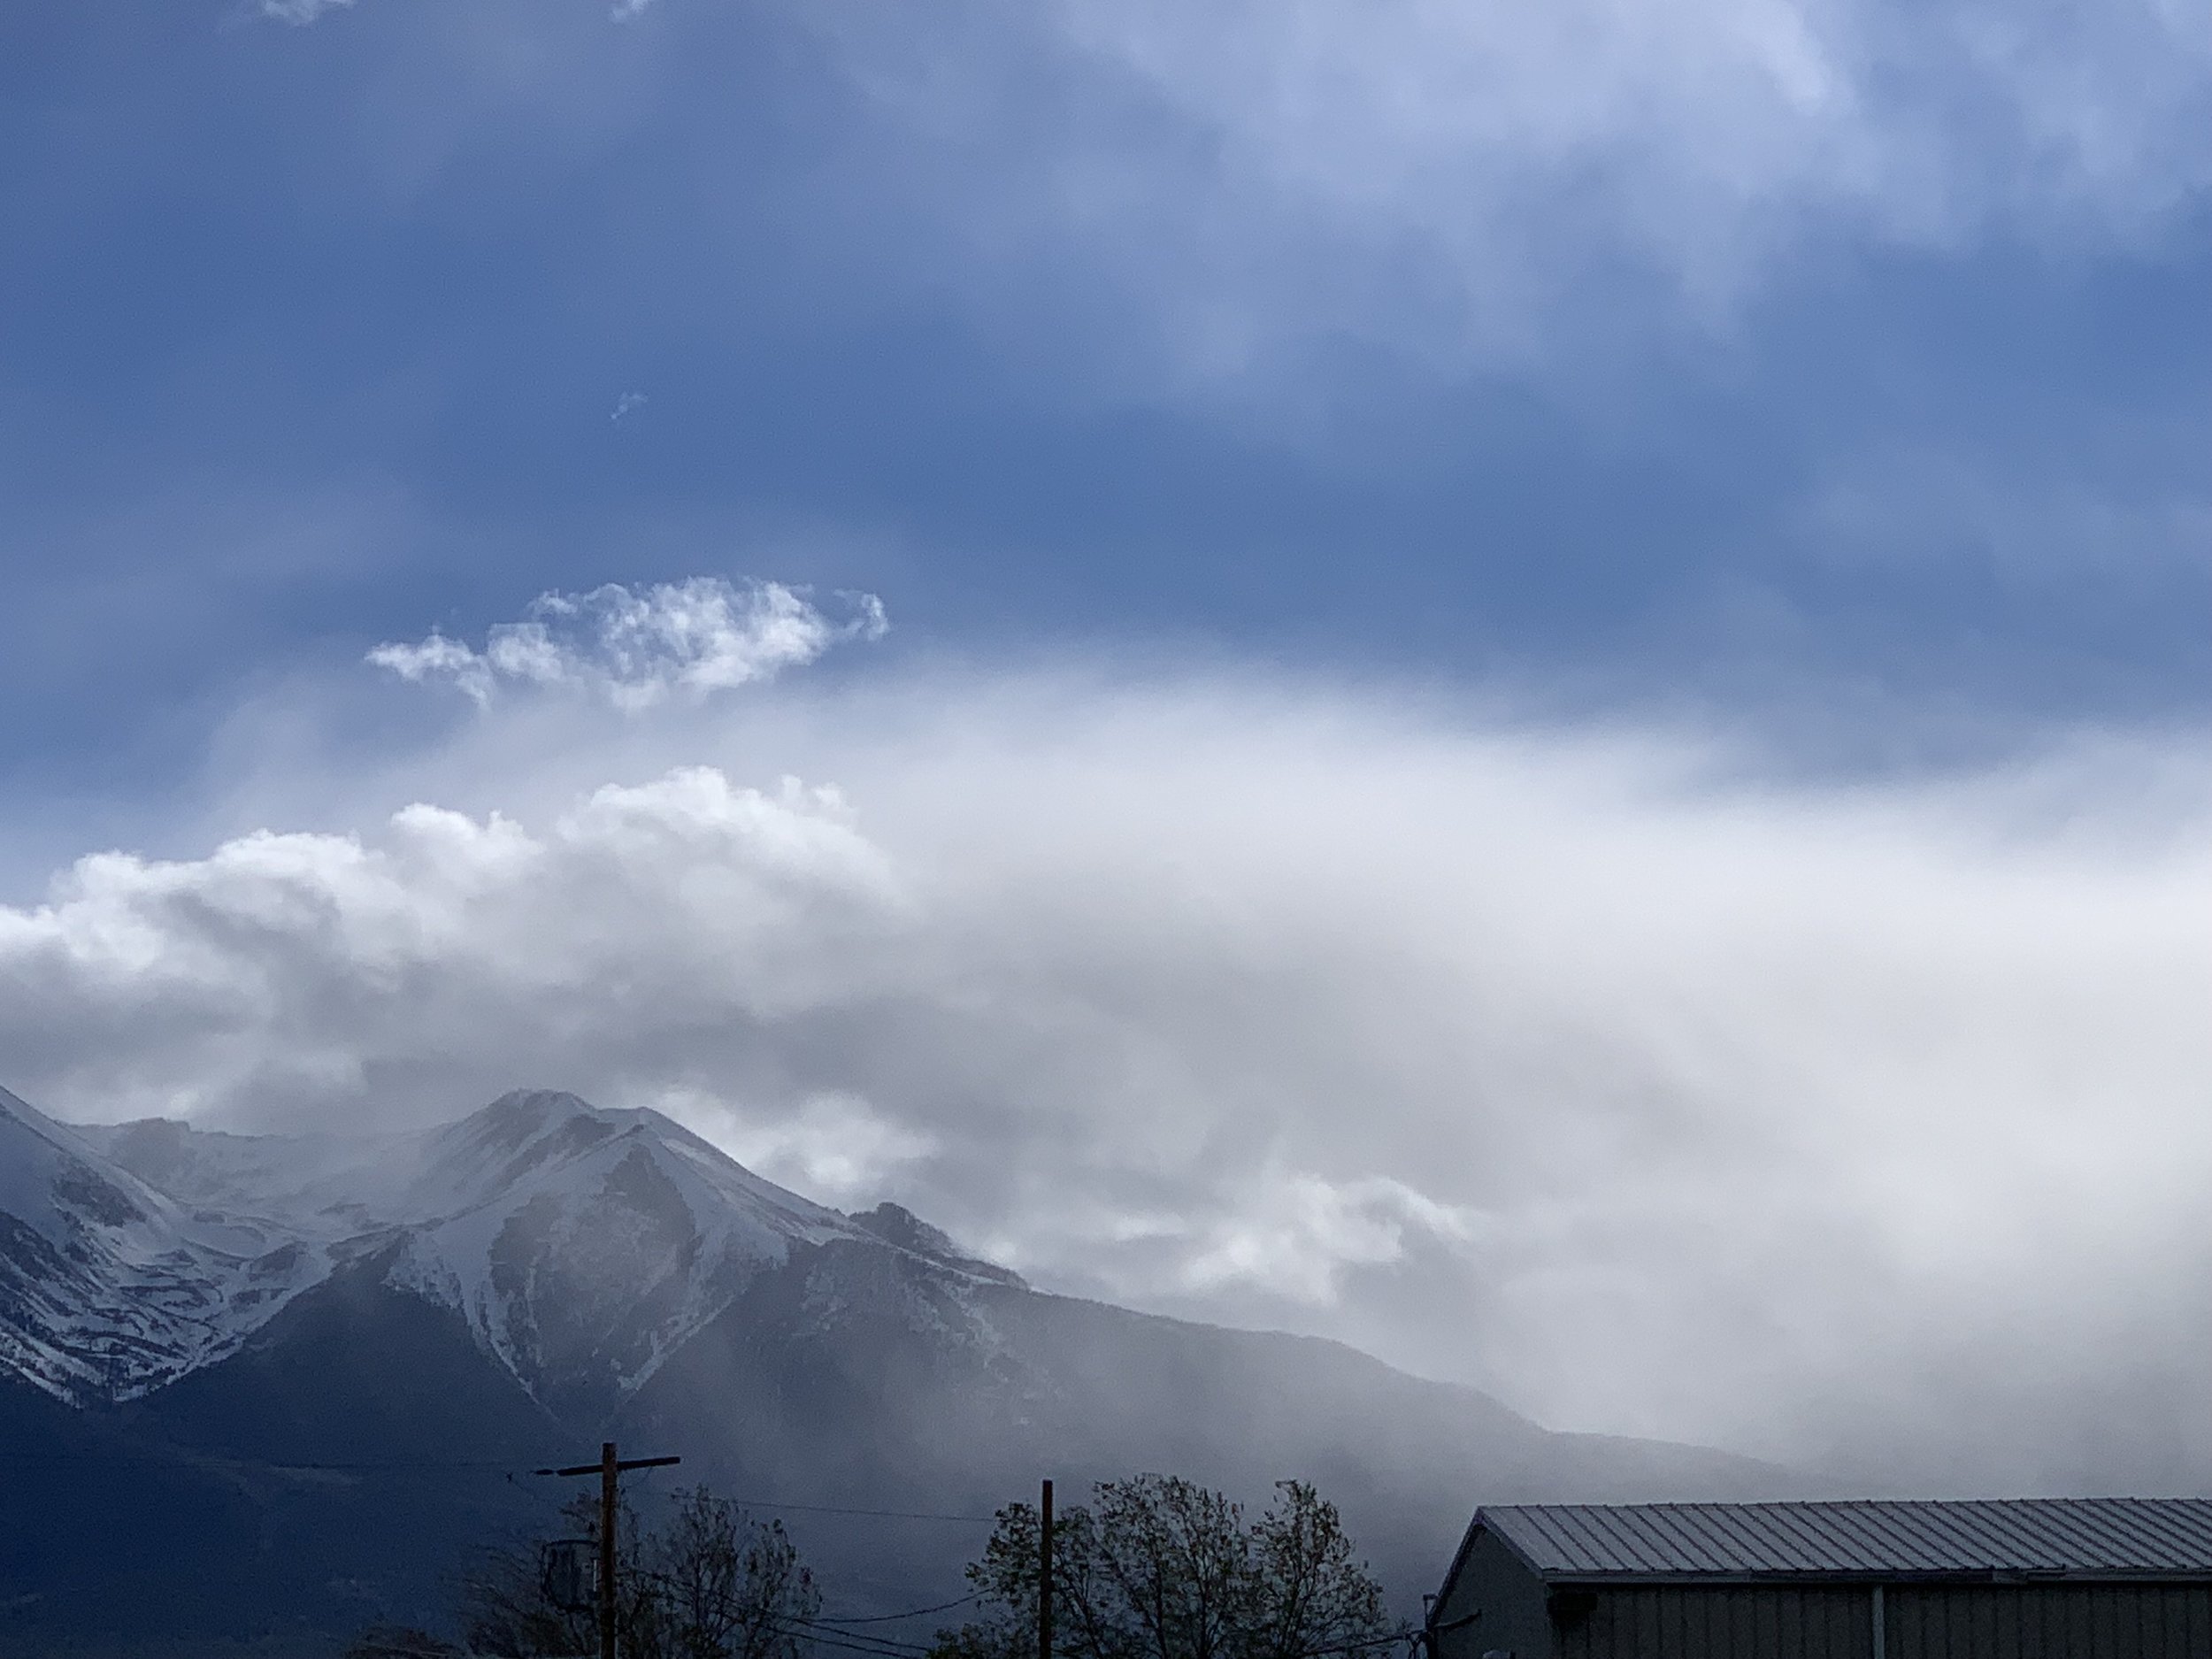
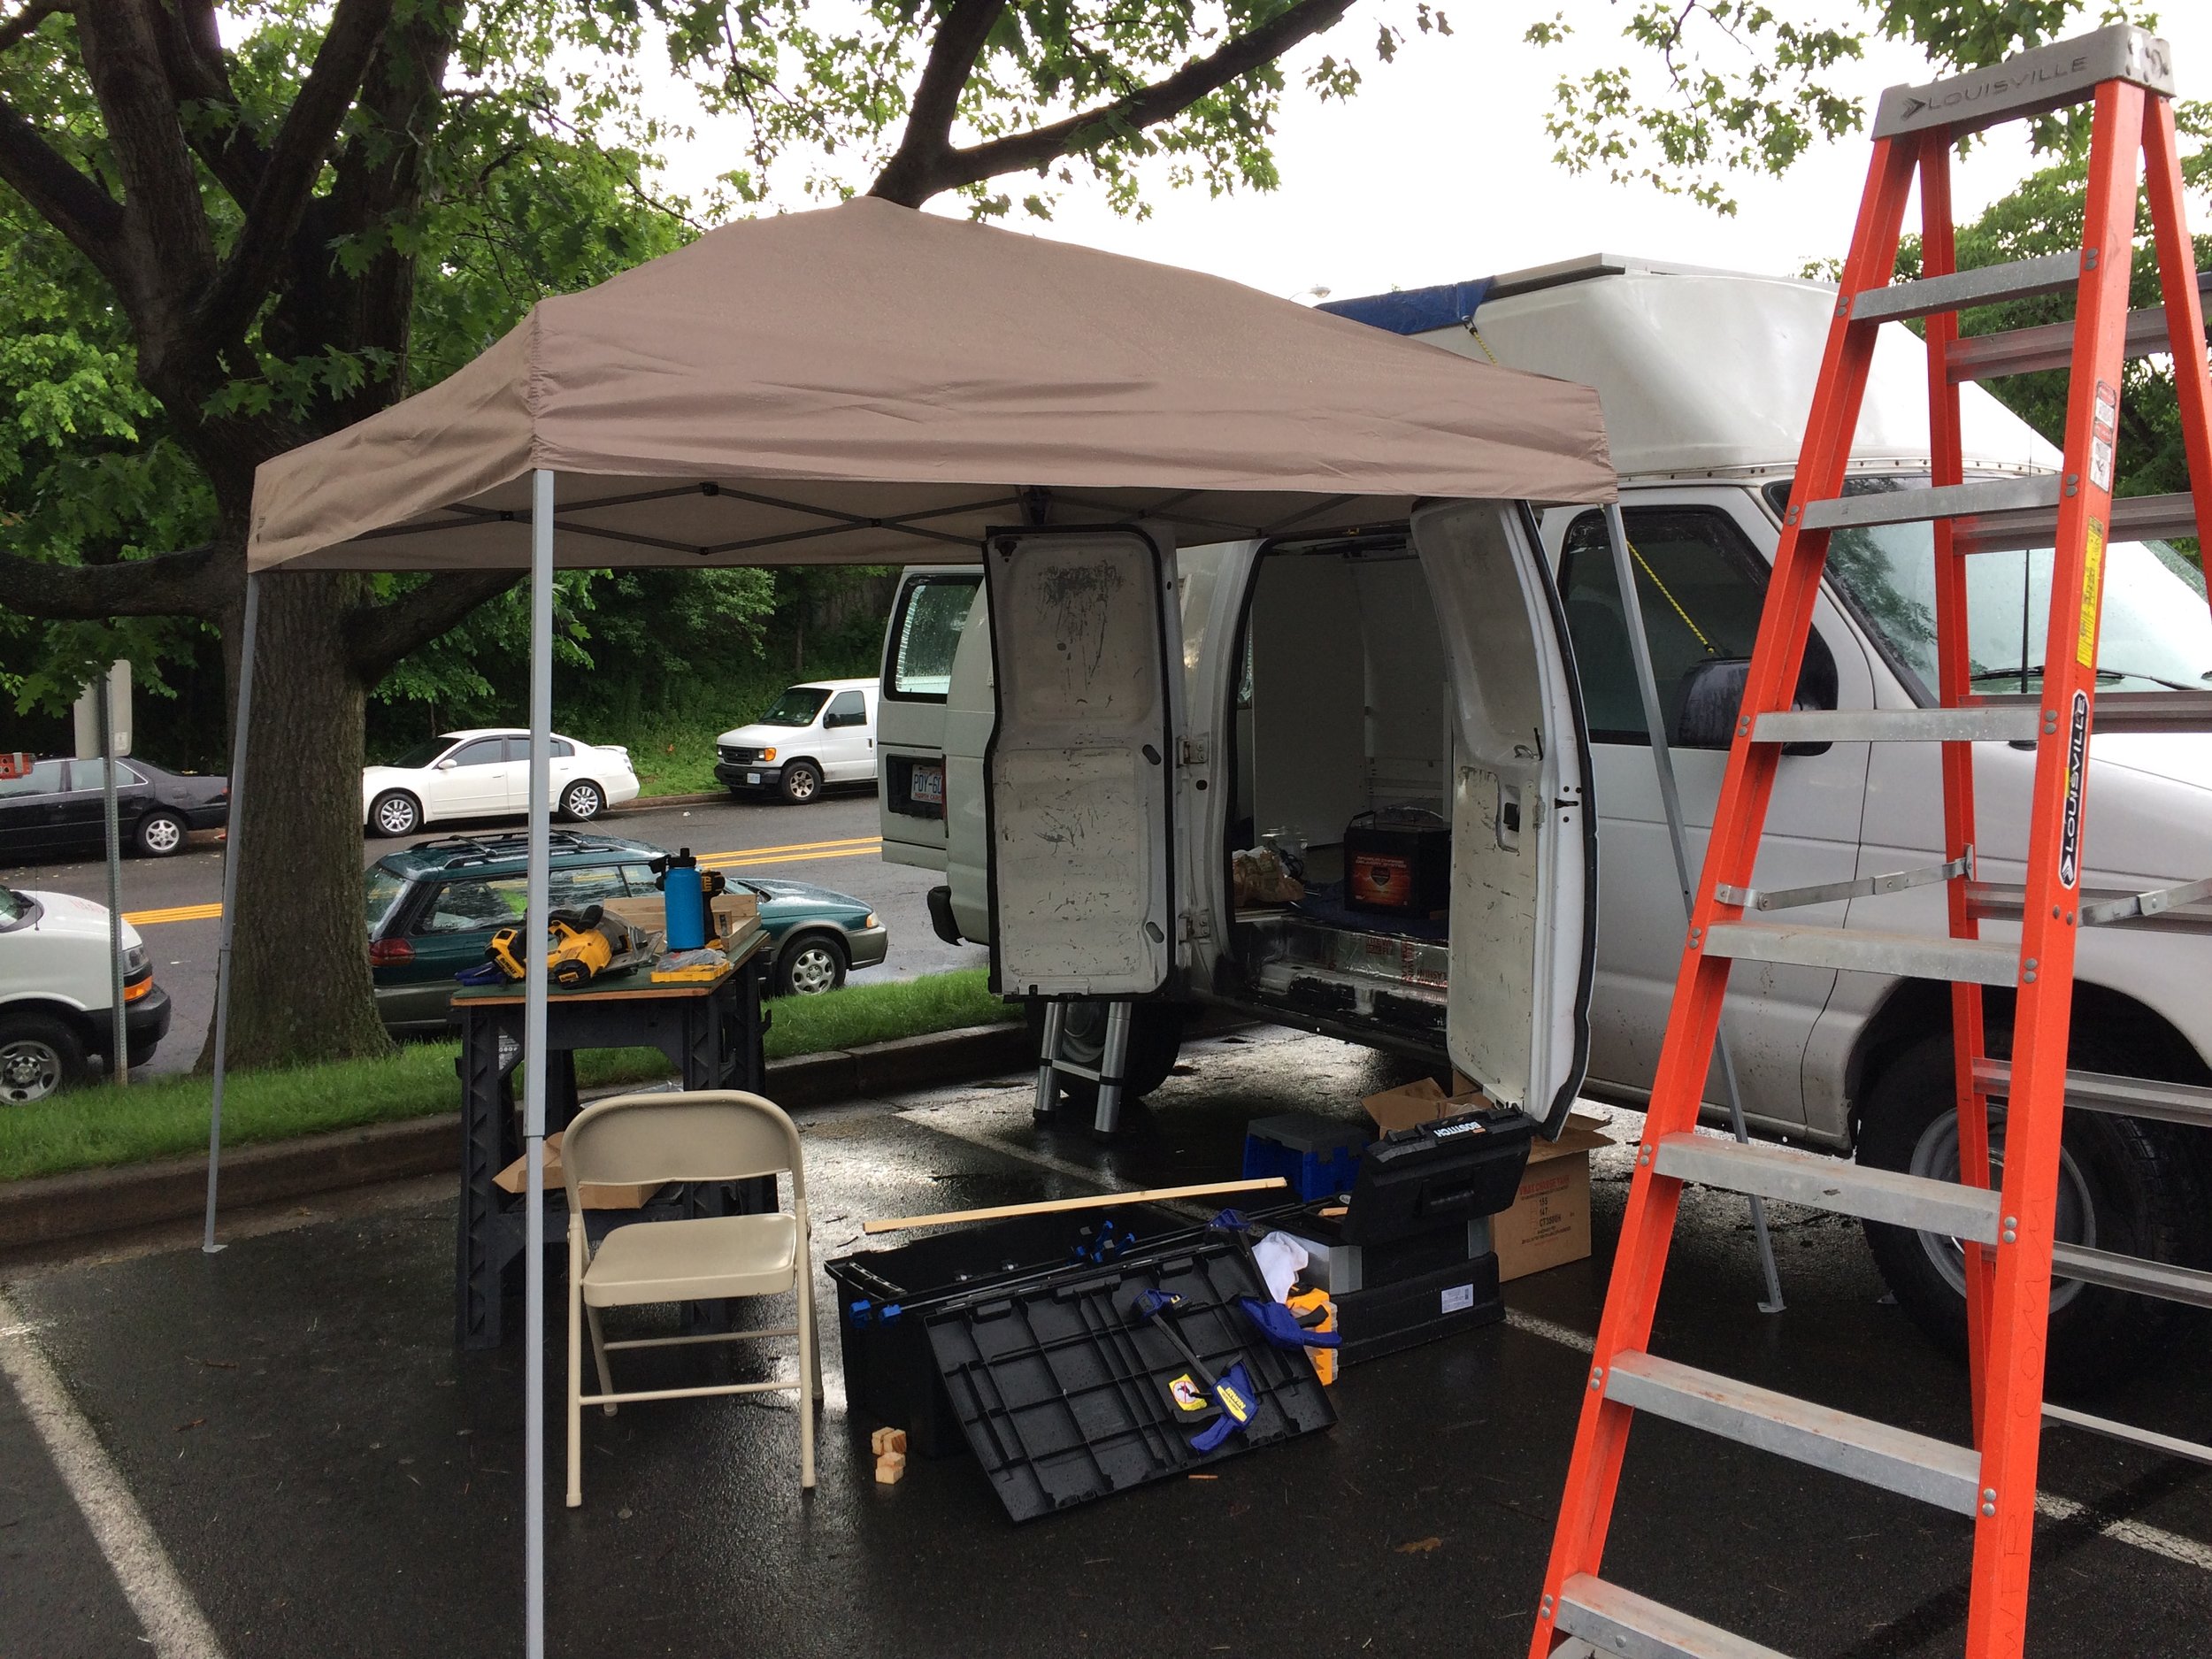
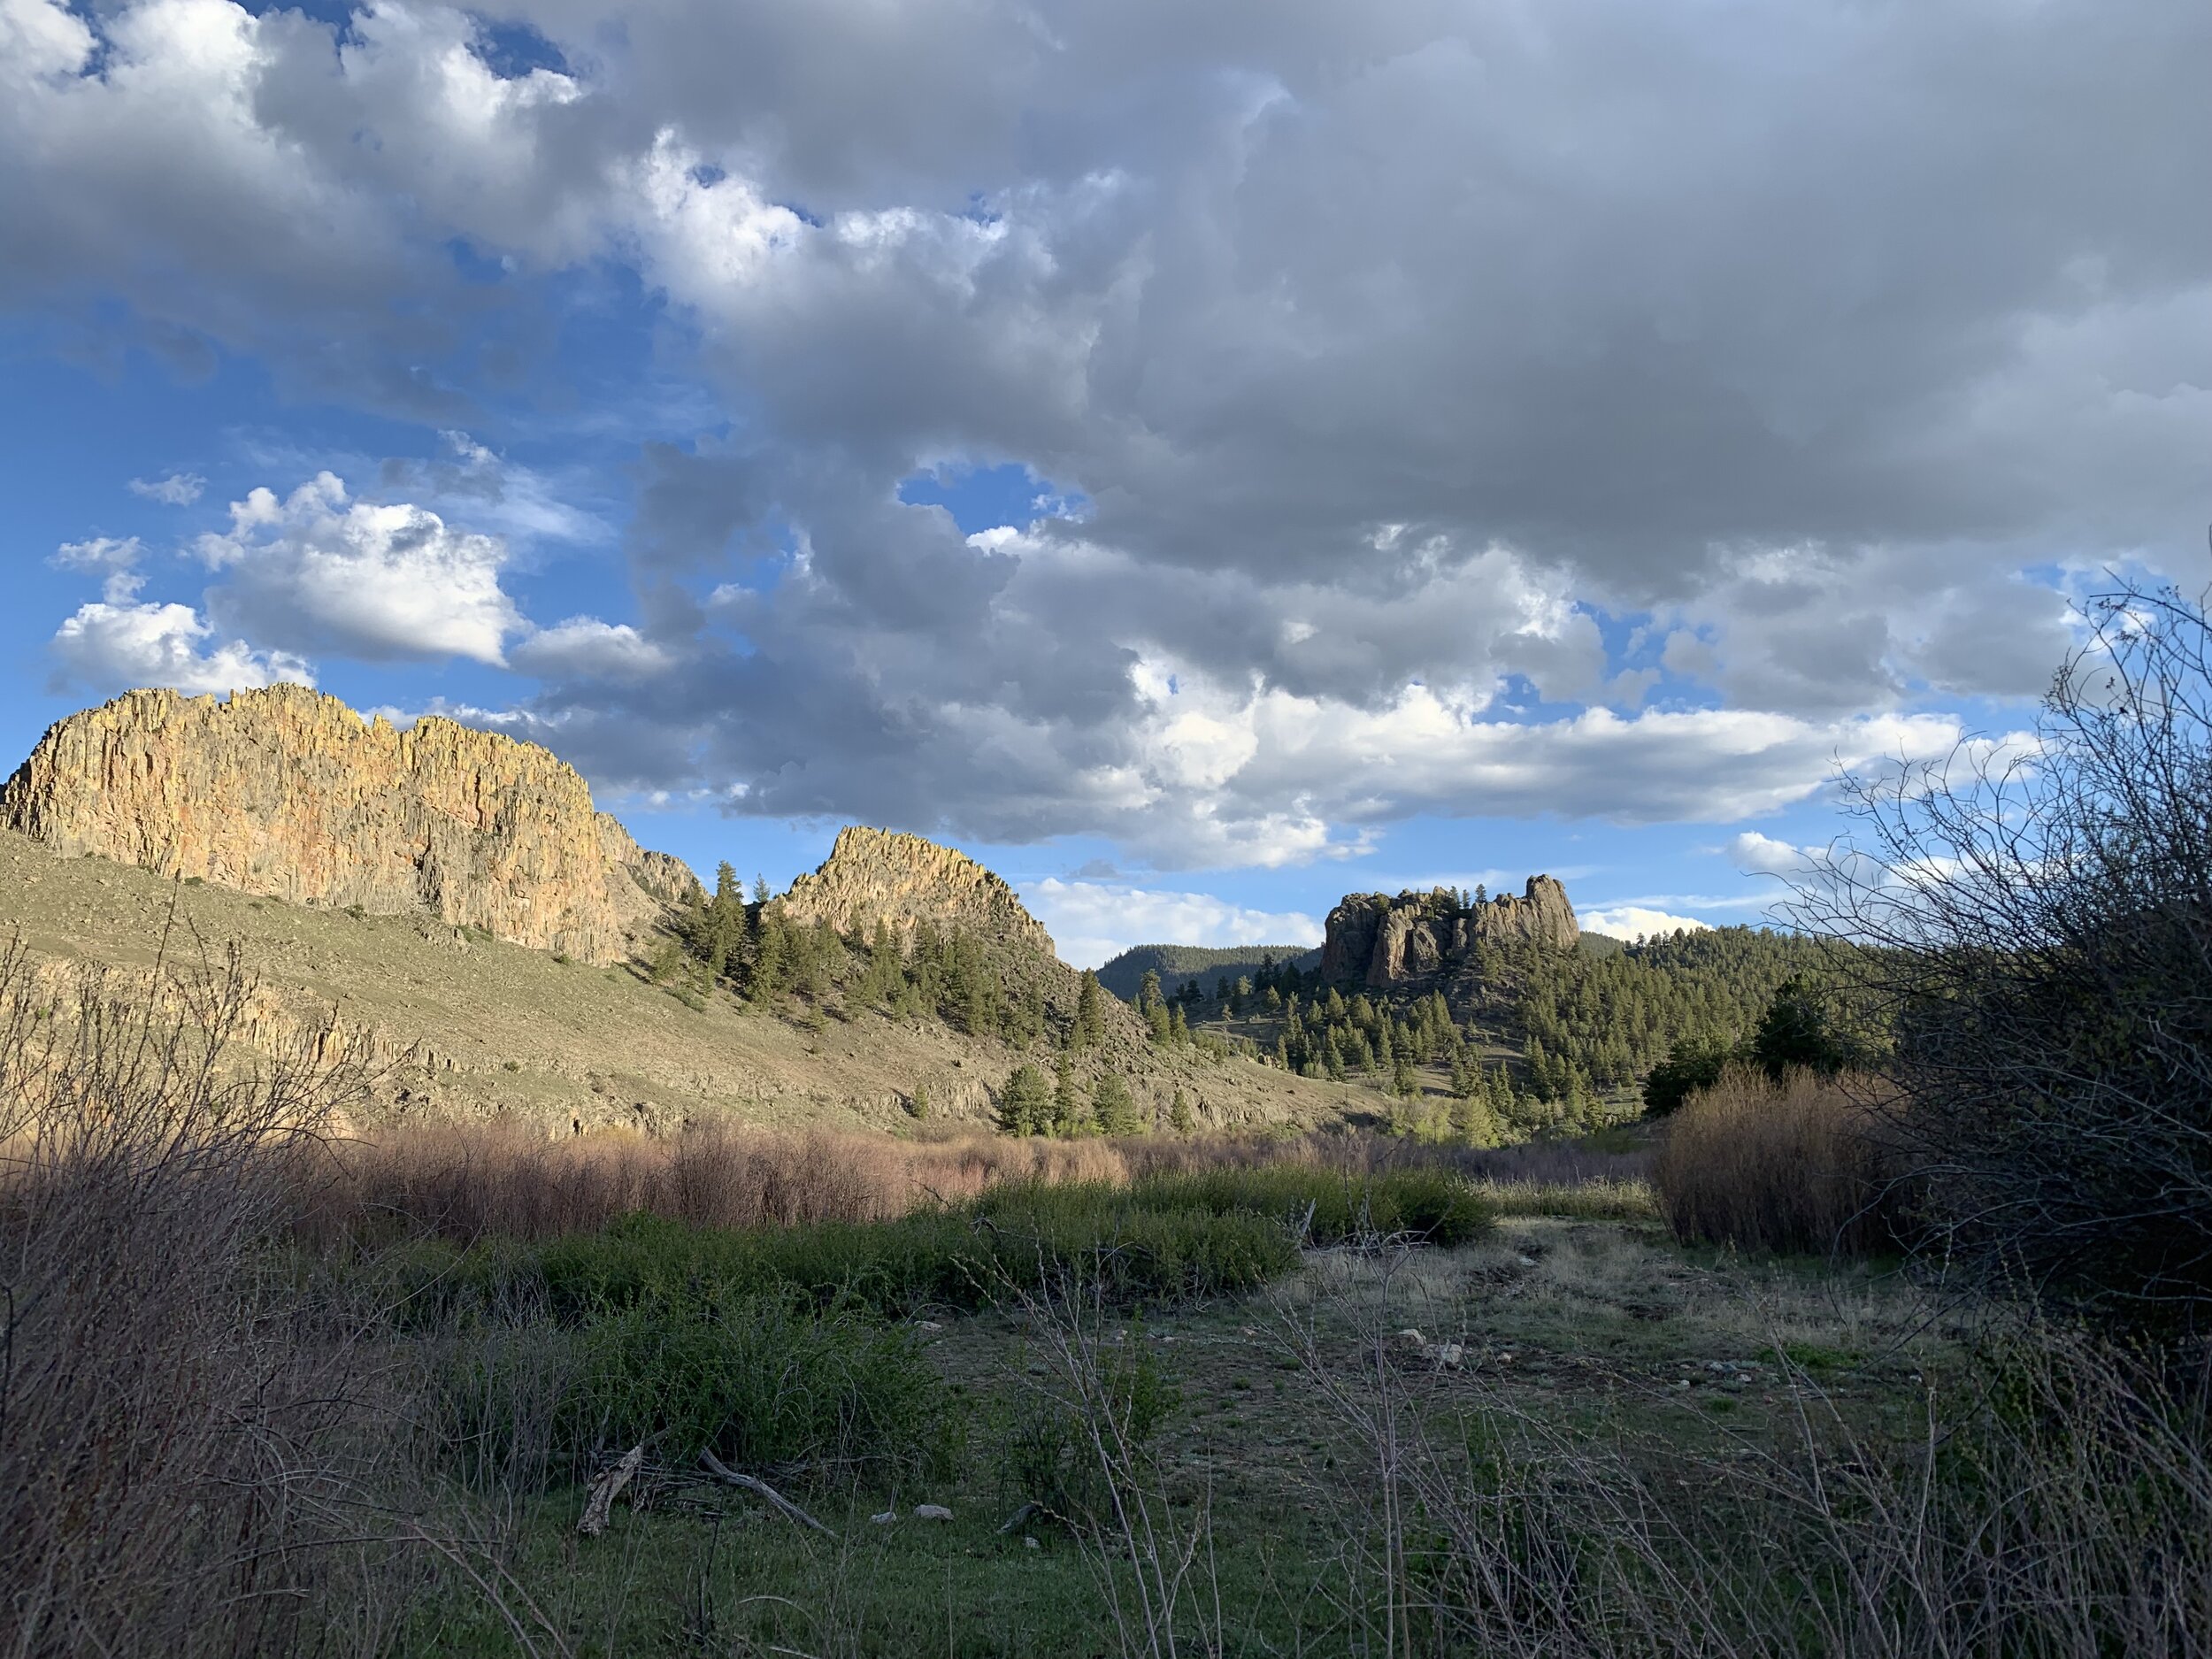
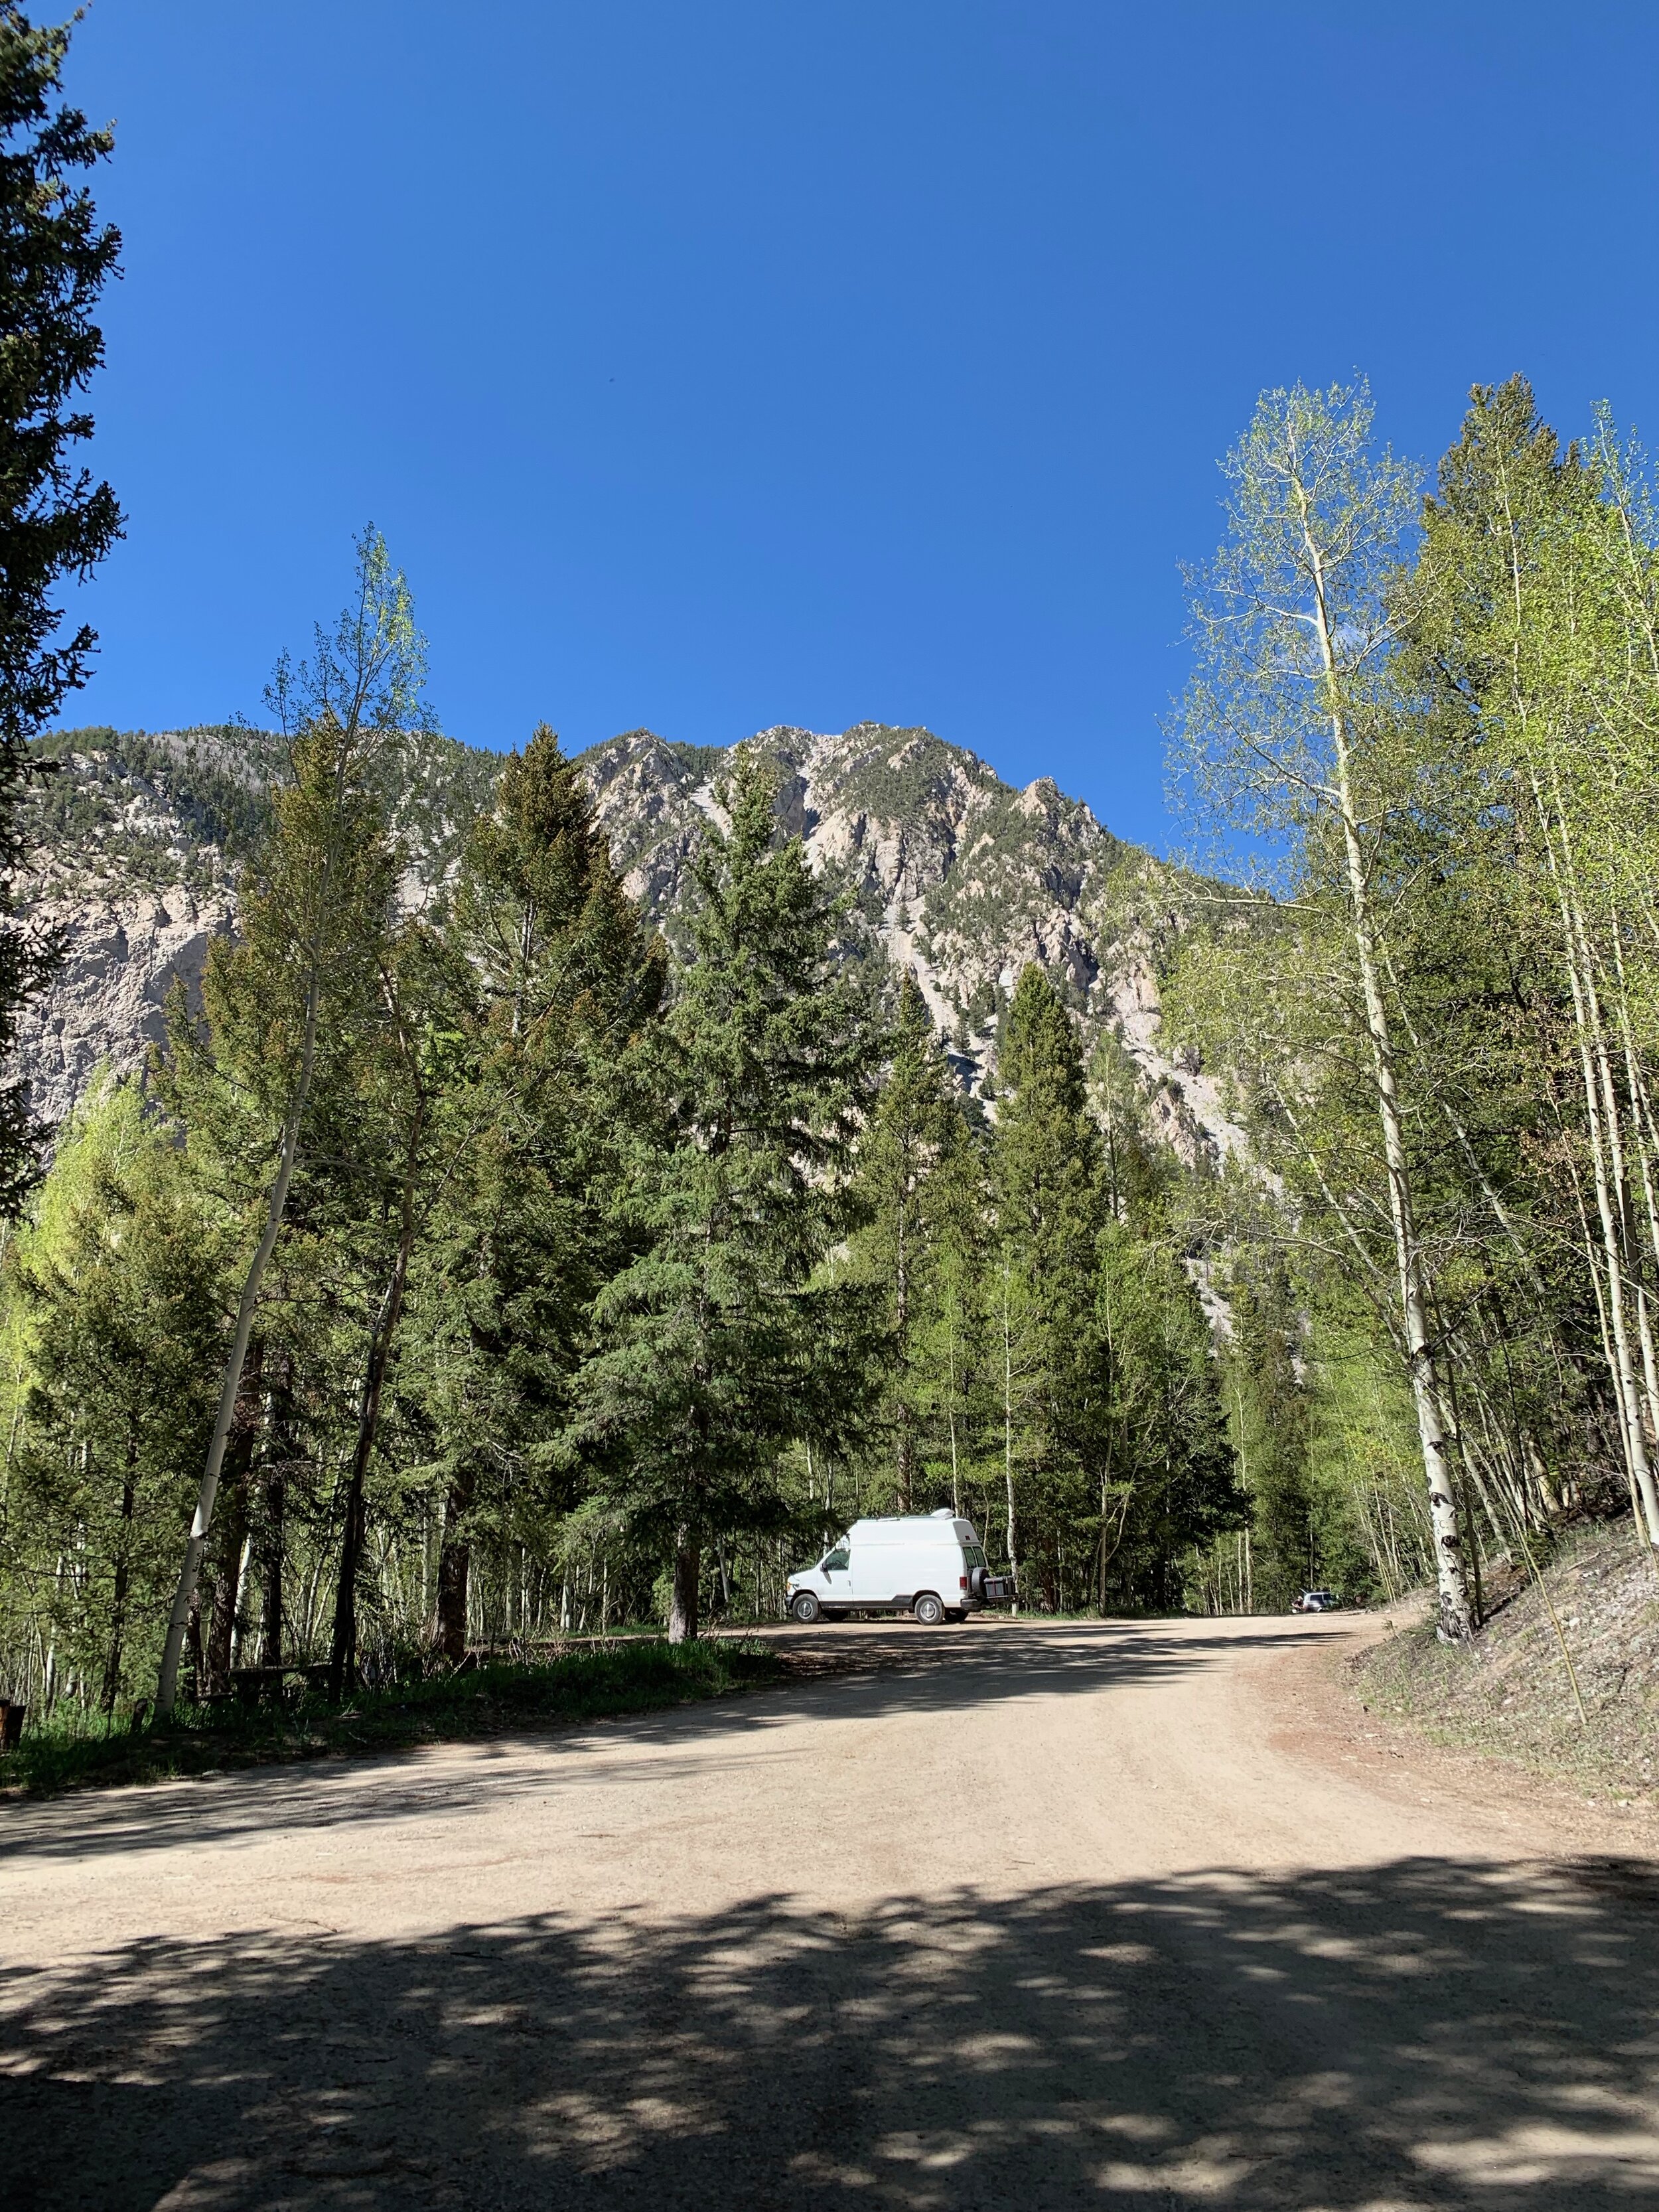
So an overview of my summer in Buena Vista, CO. Starting from the parking lot view when I first arrived, I loved everything about BV. It’s a small valley town between the Sawtooth Range to the west and the Mosquito Range to the east. Recreation areas and National Forests are all around you:

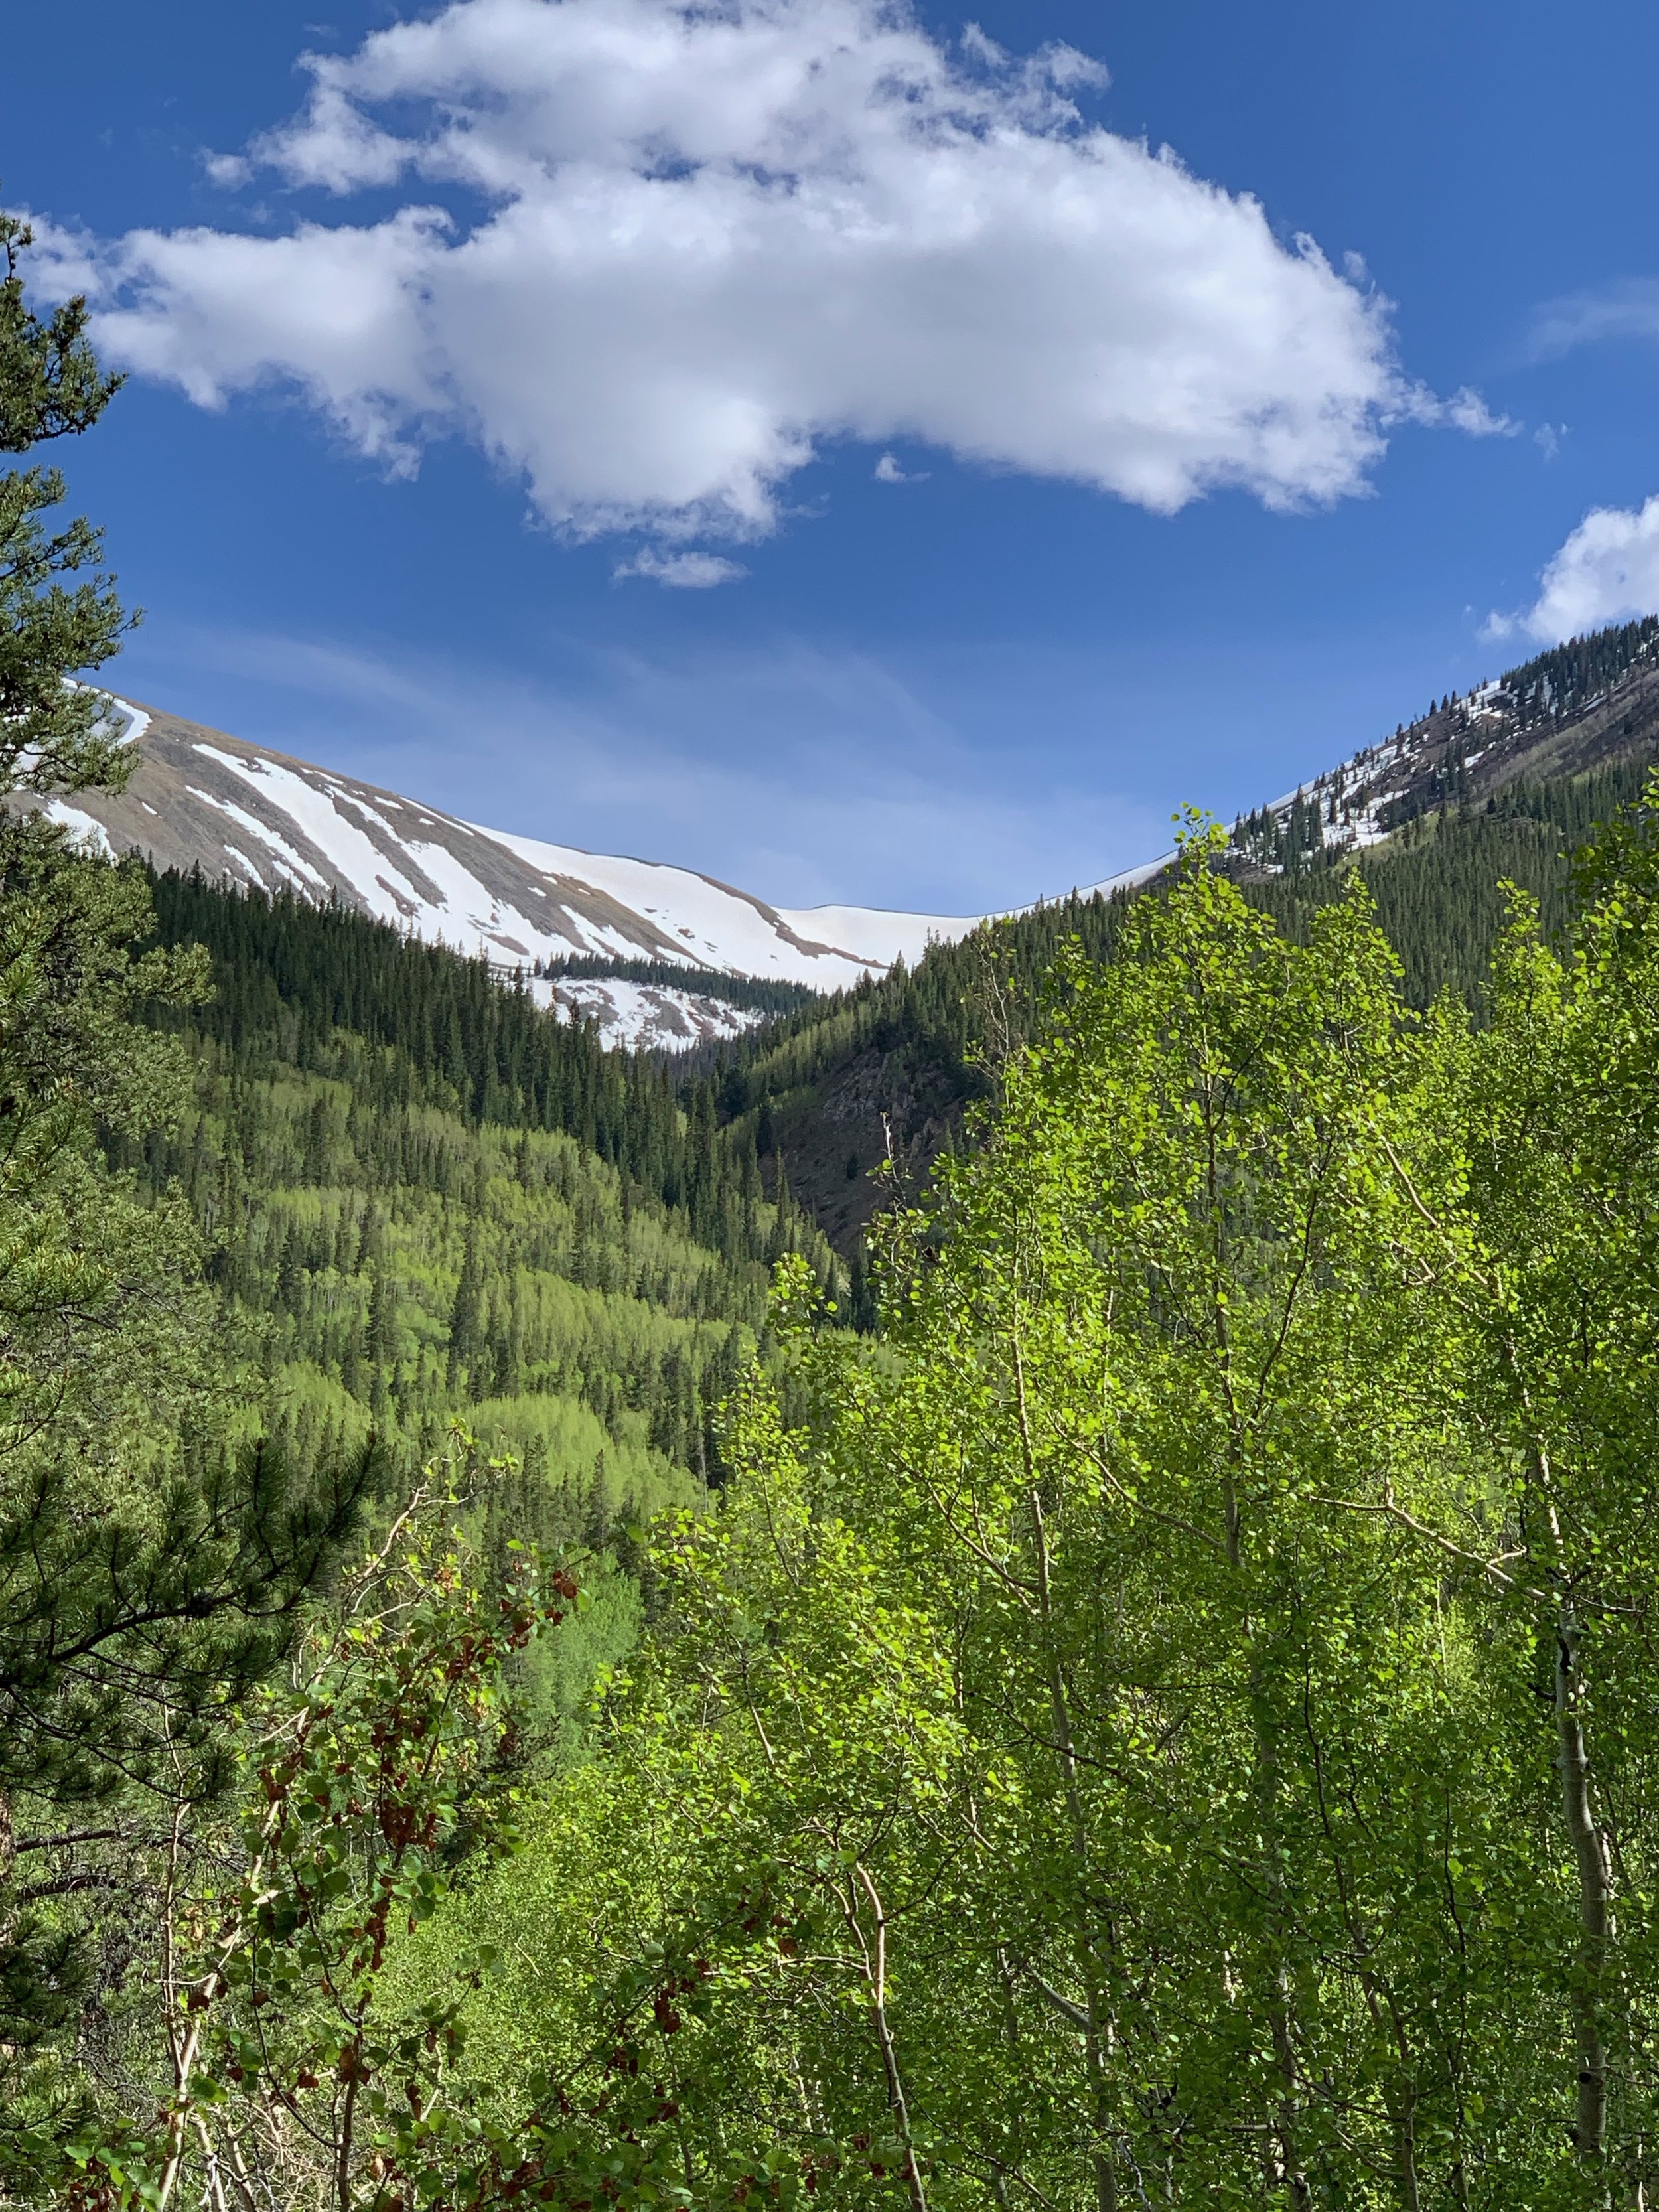
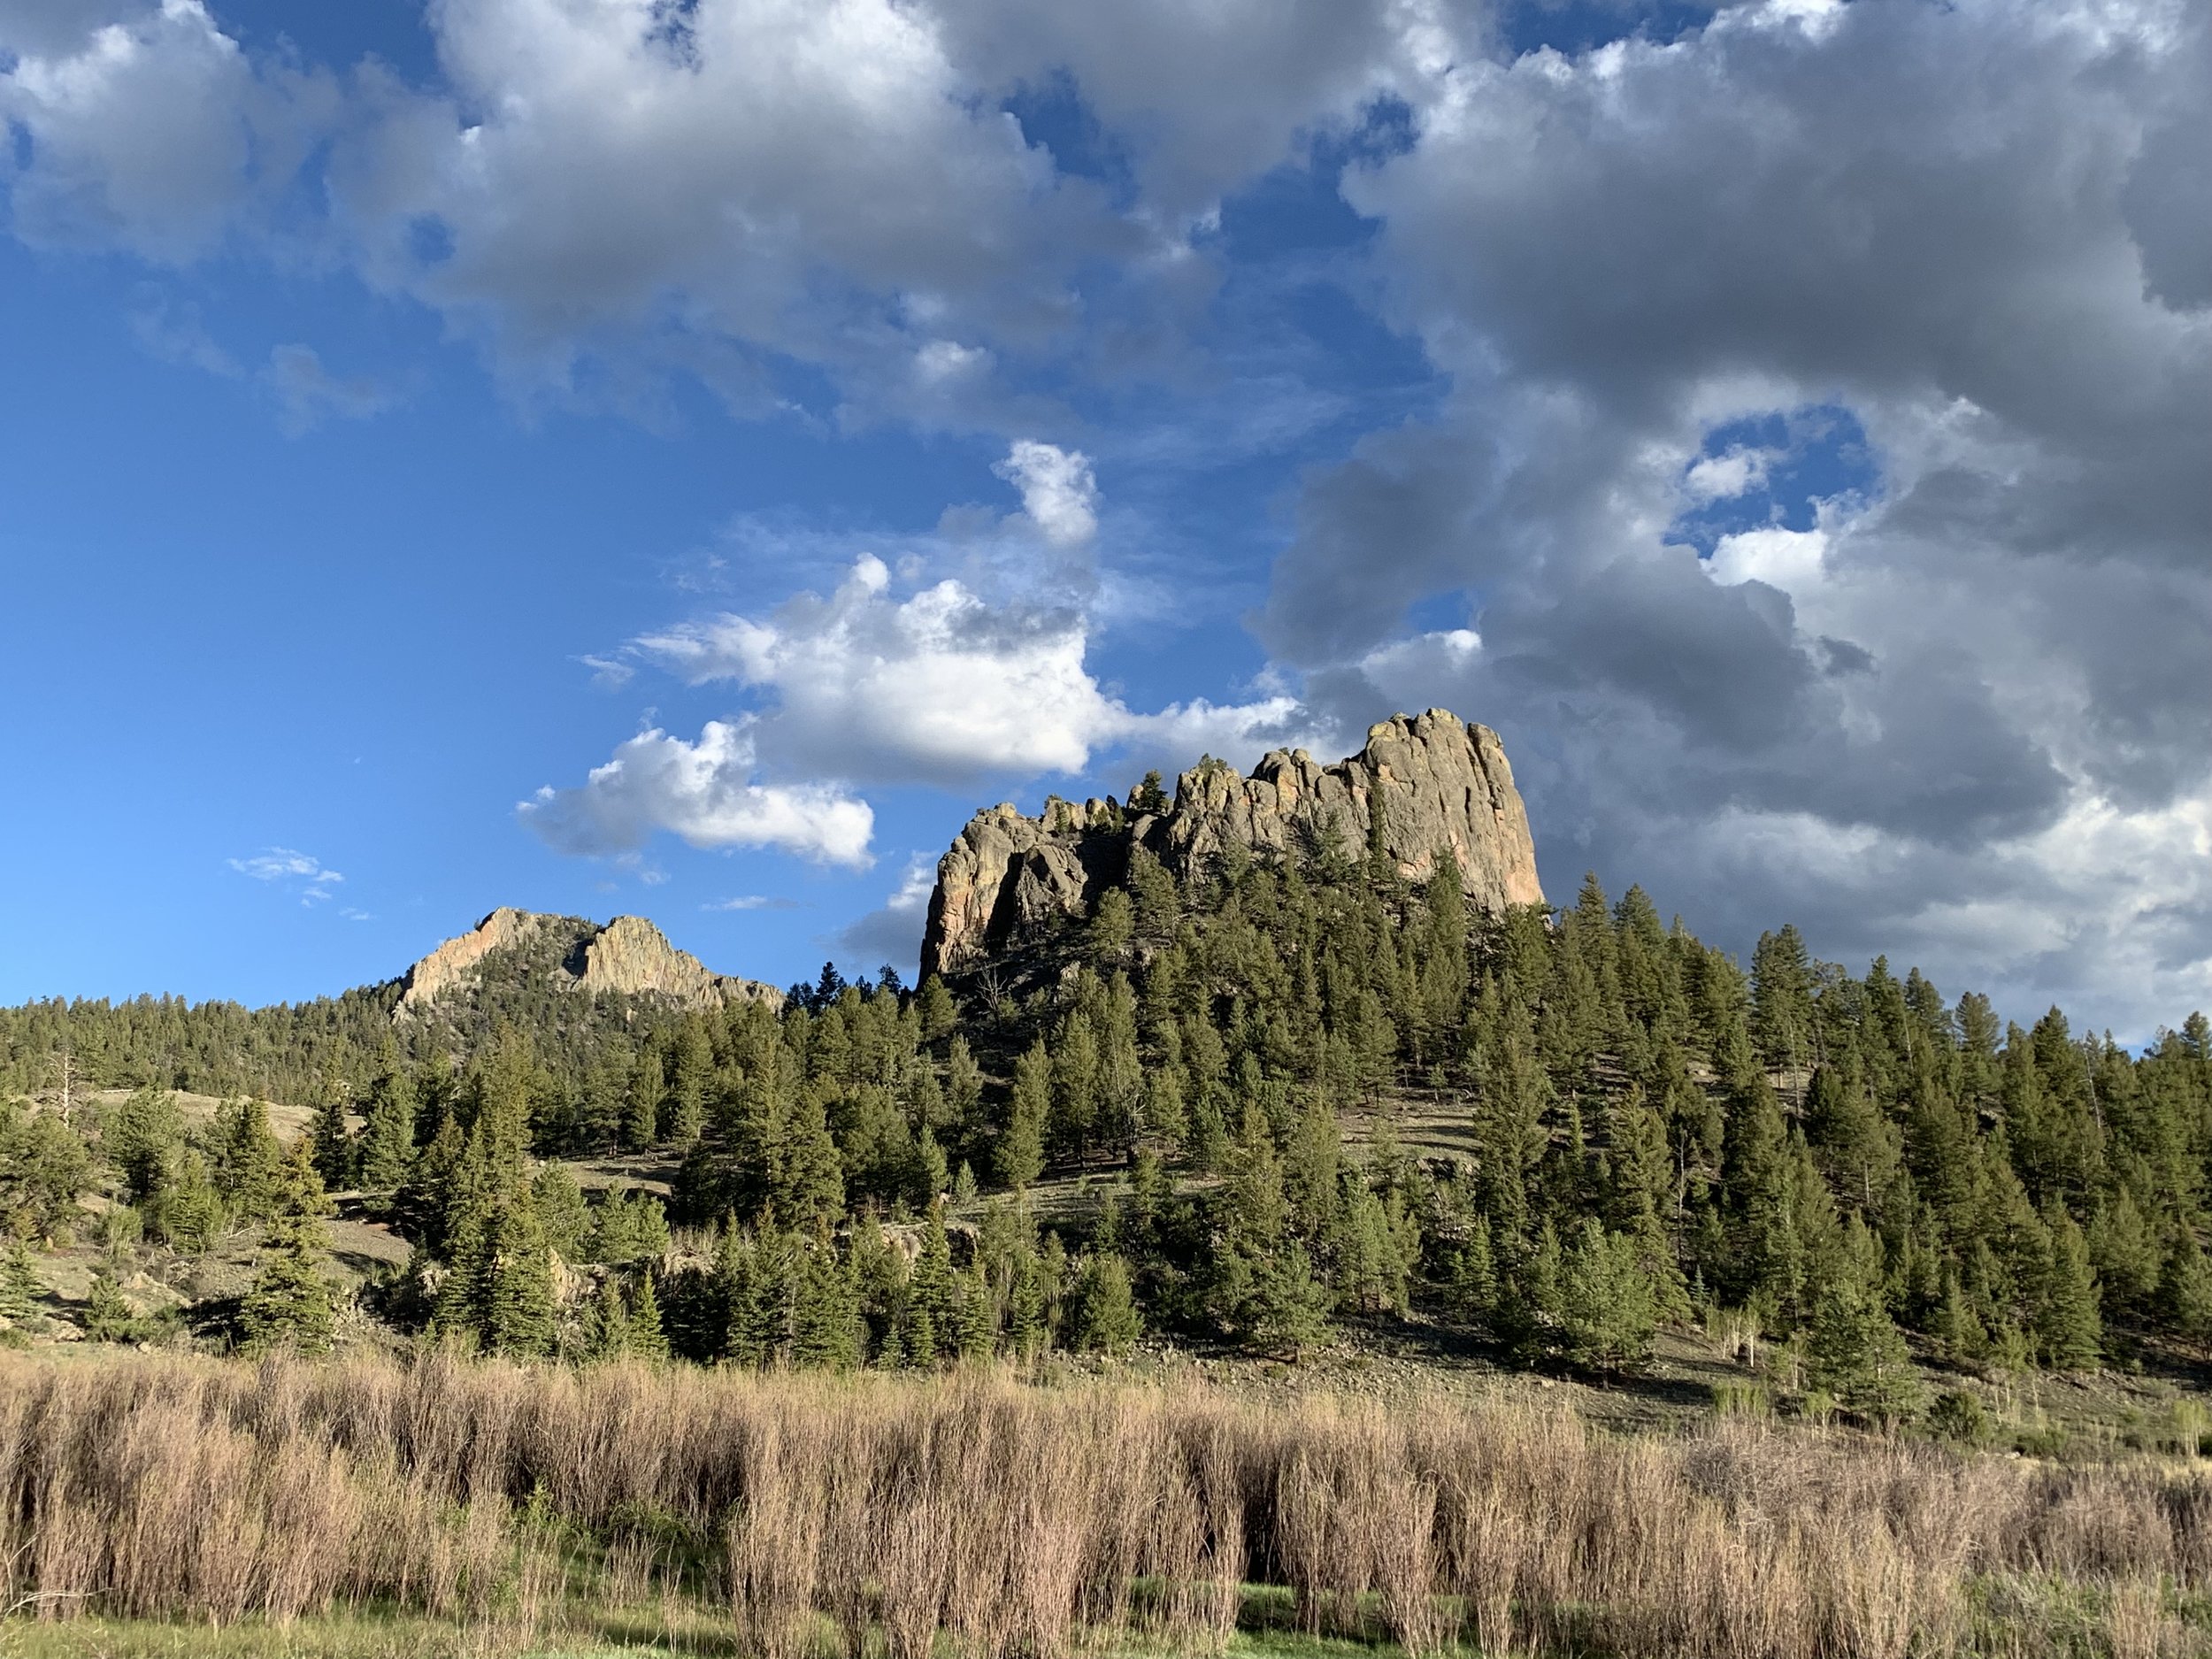
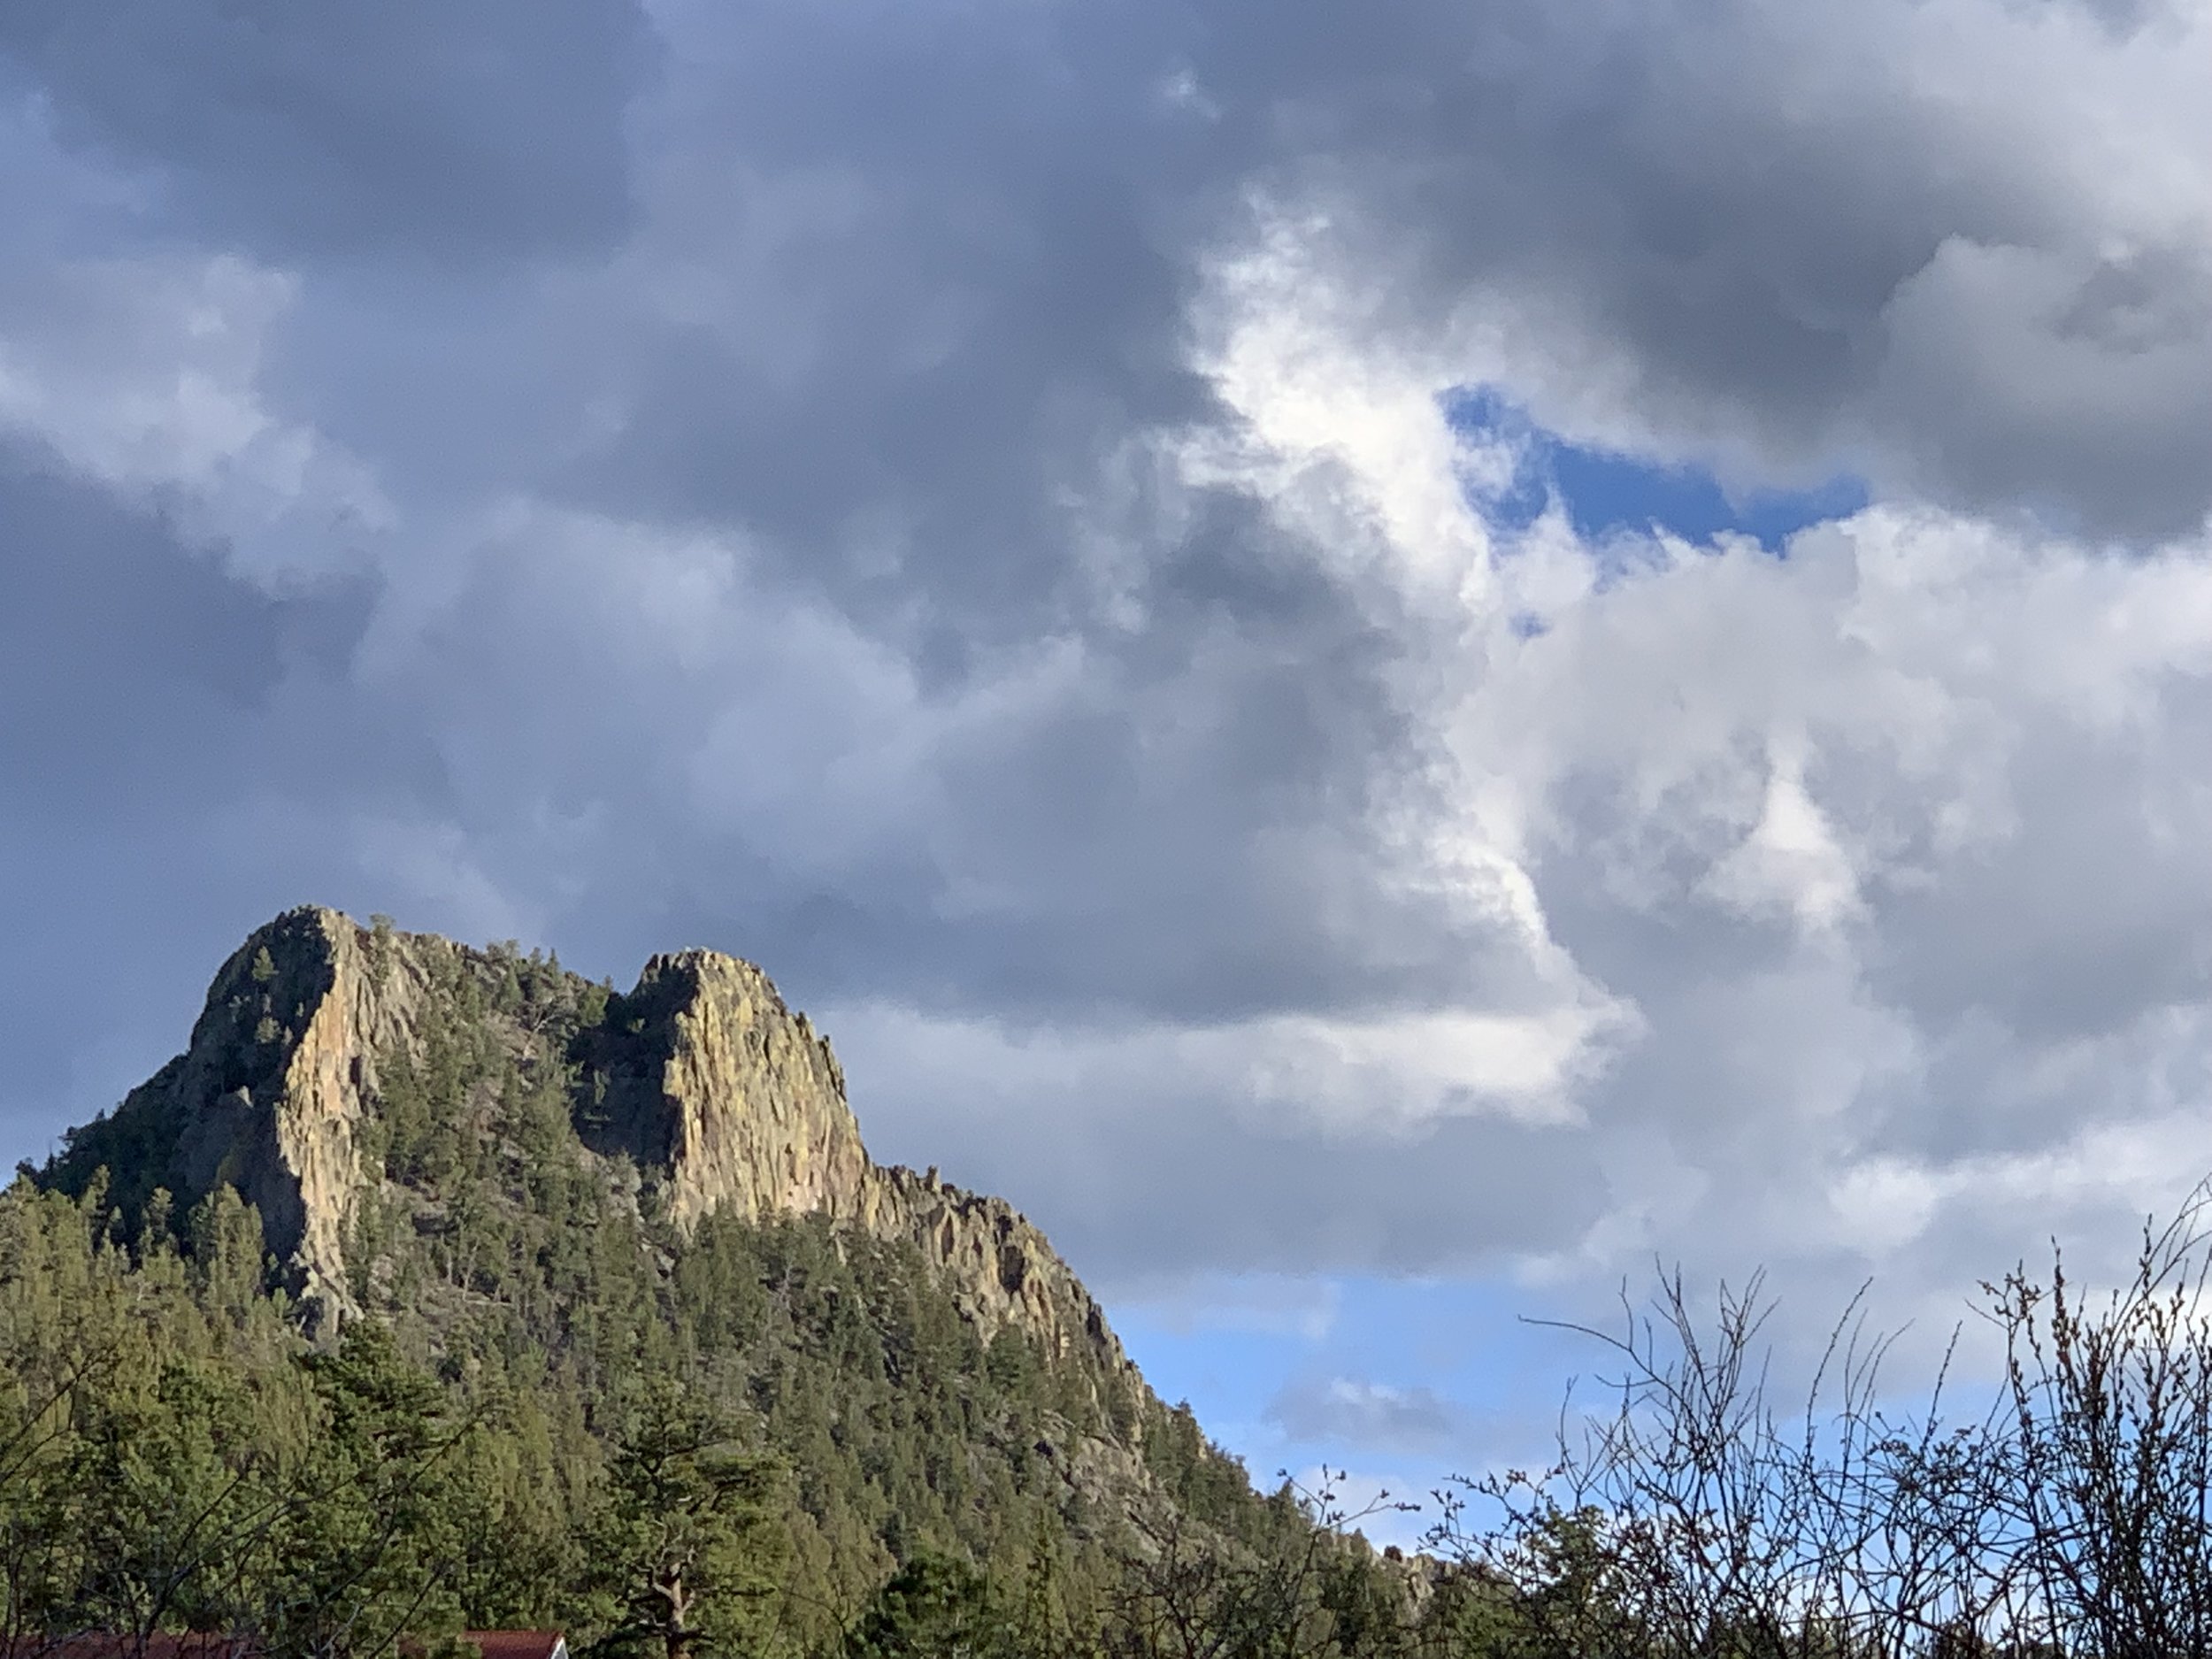
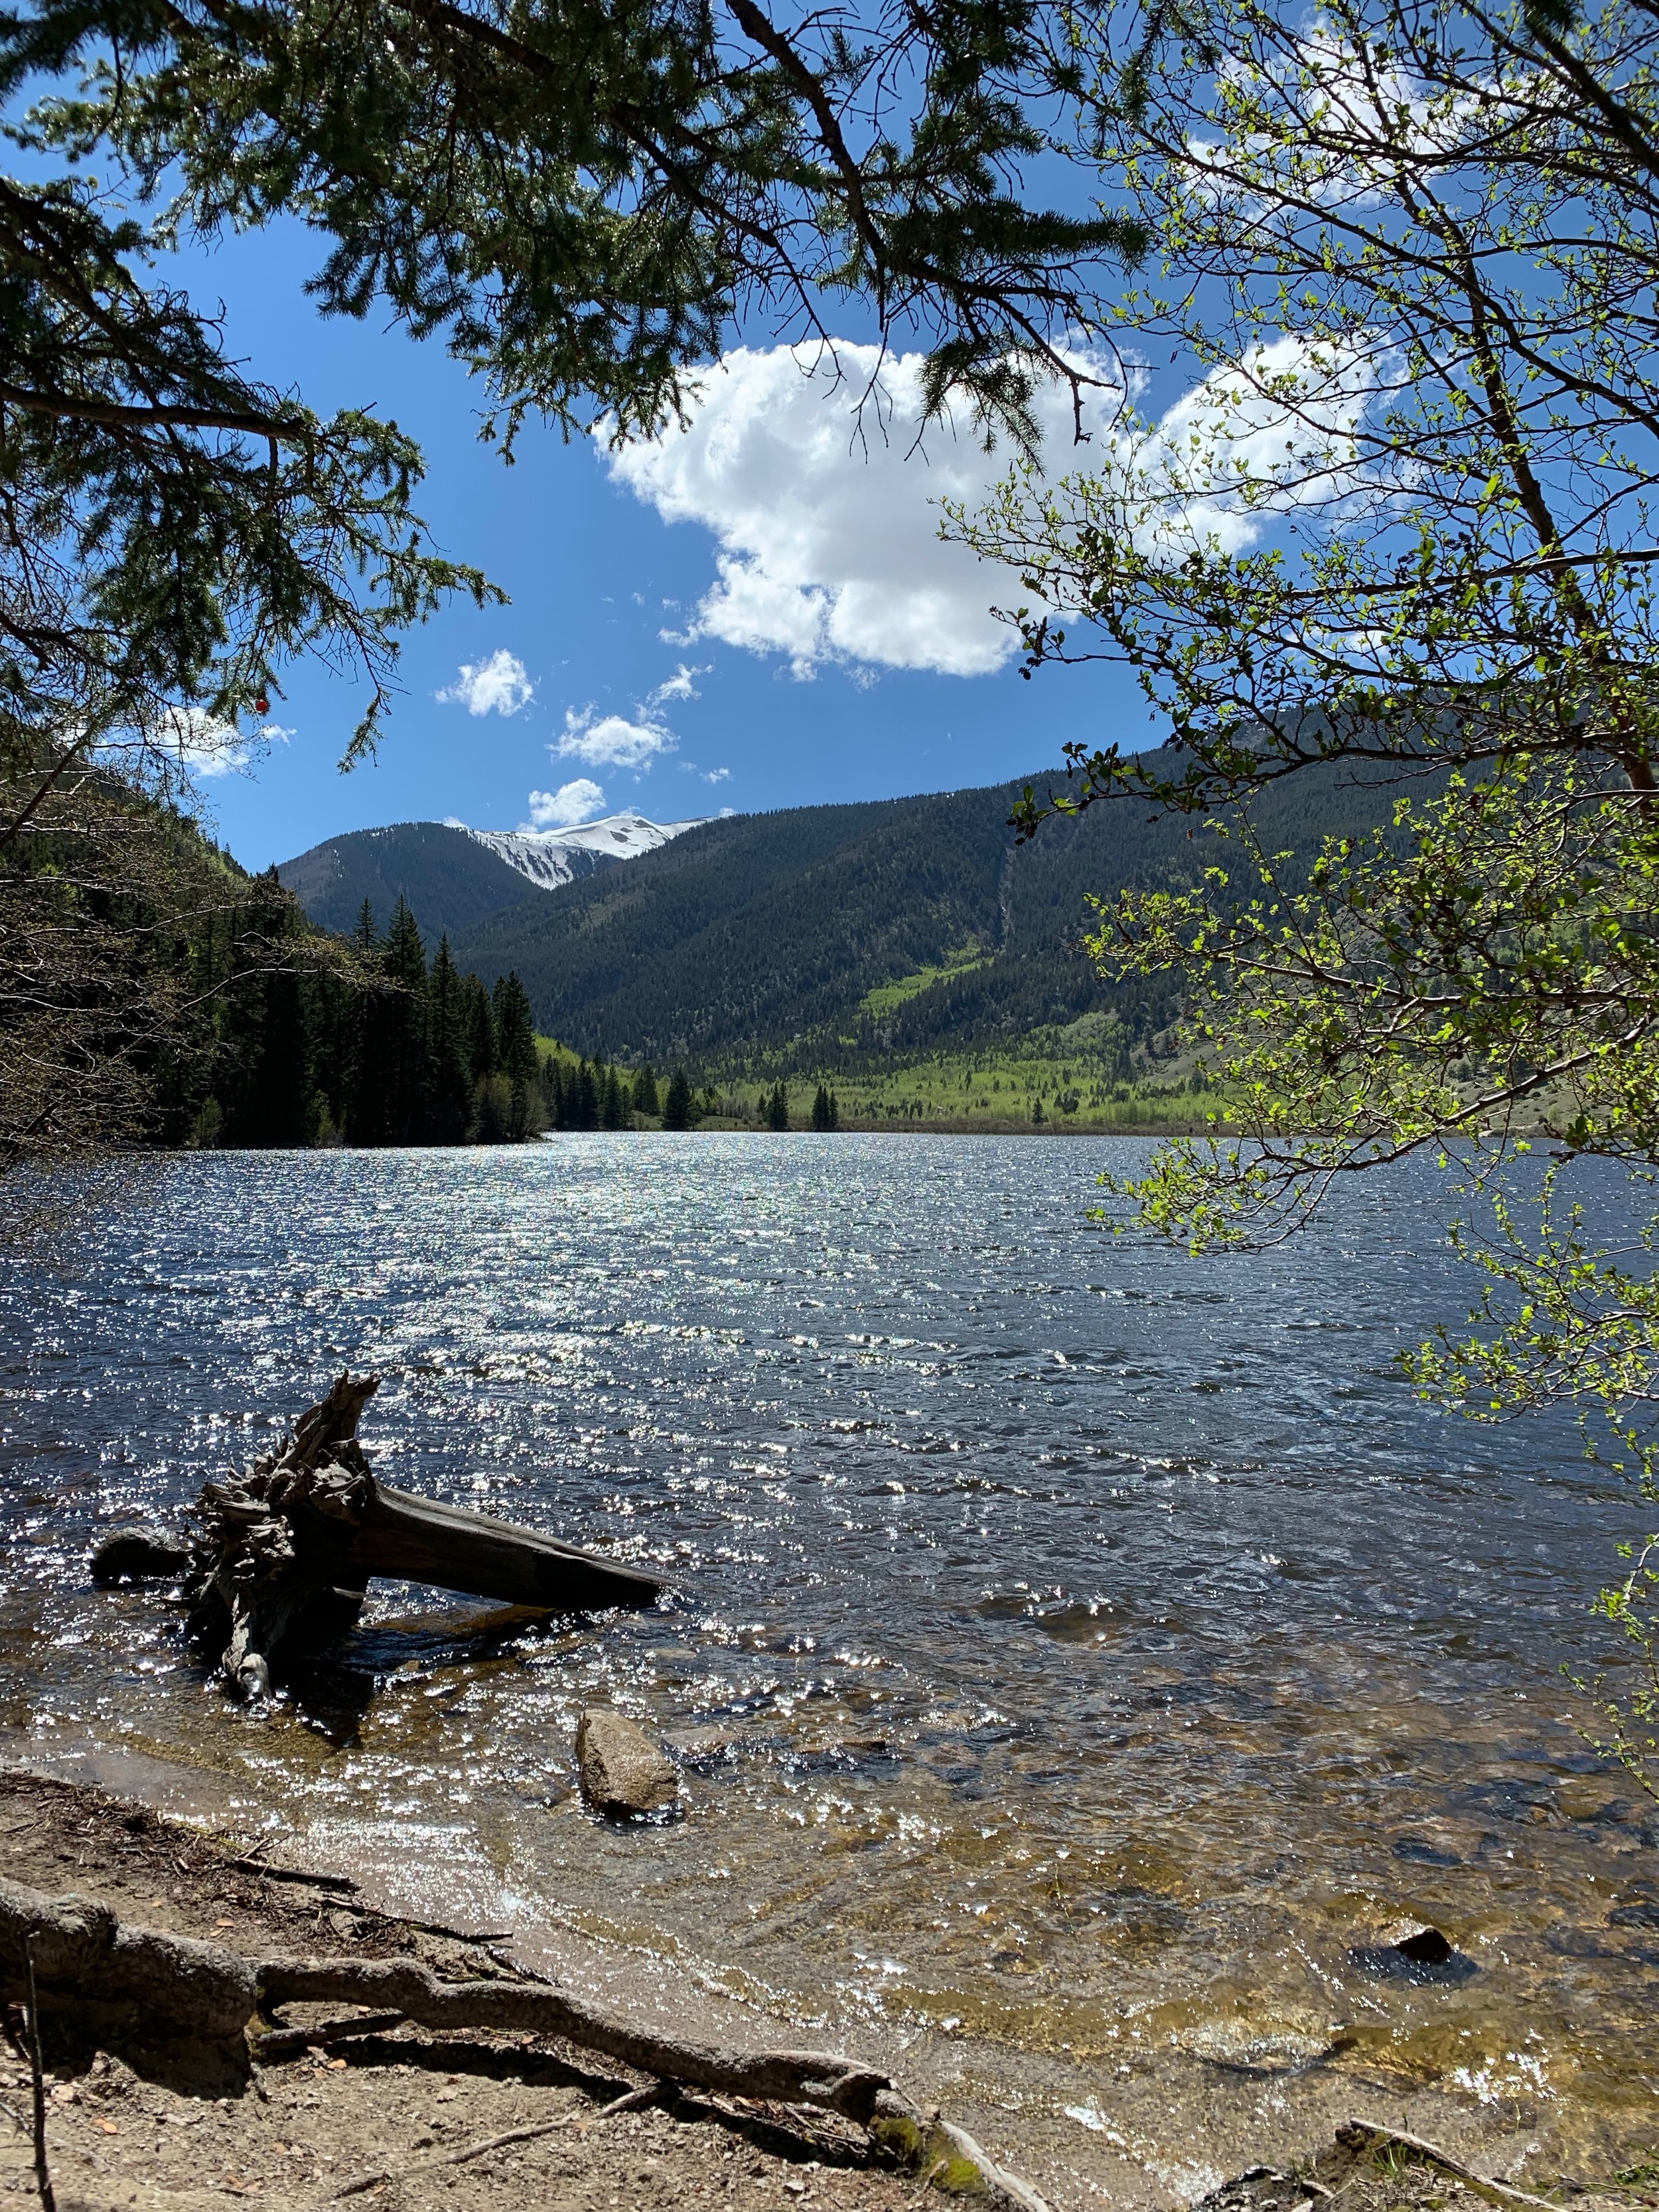
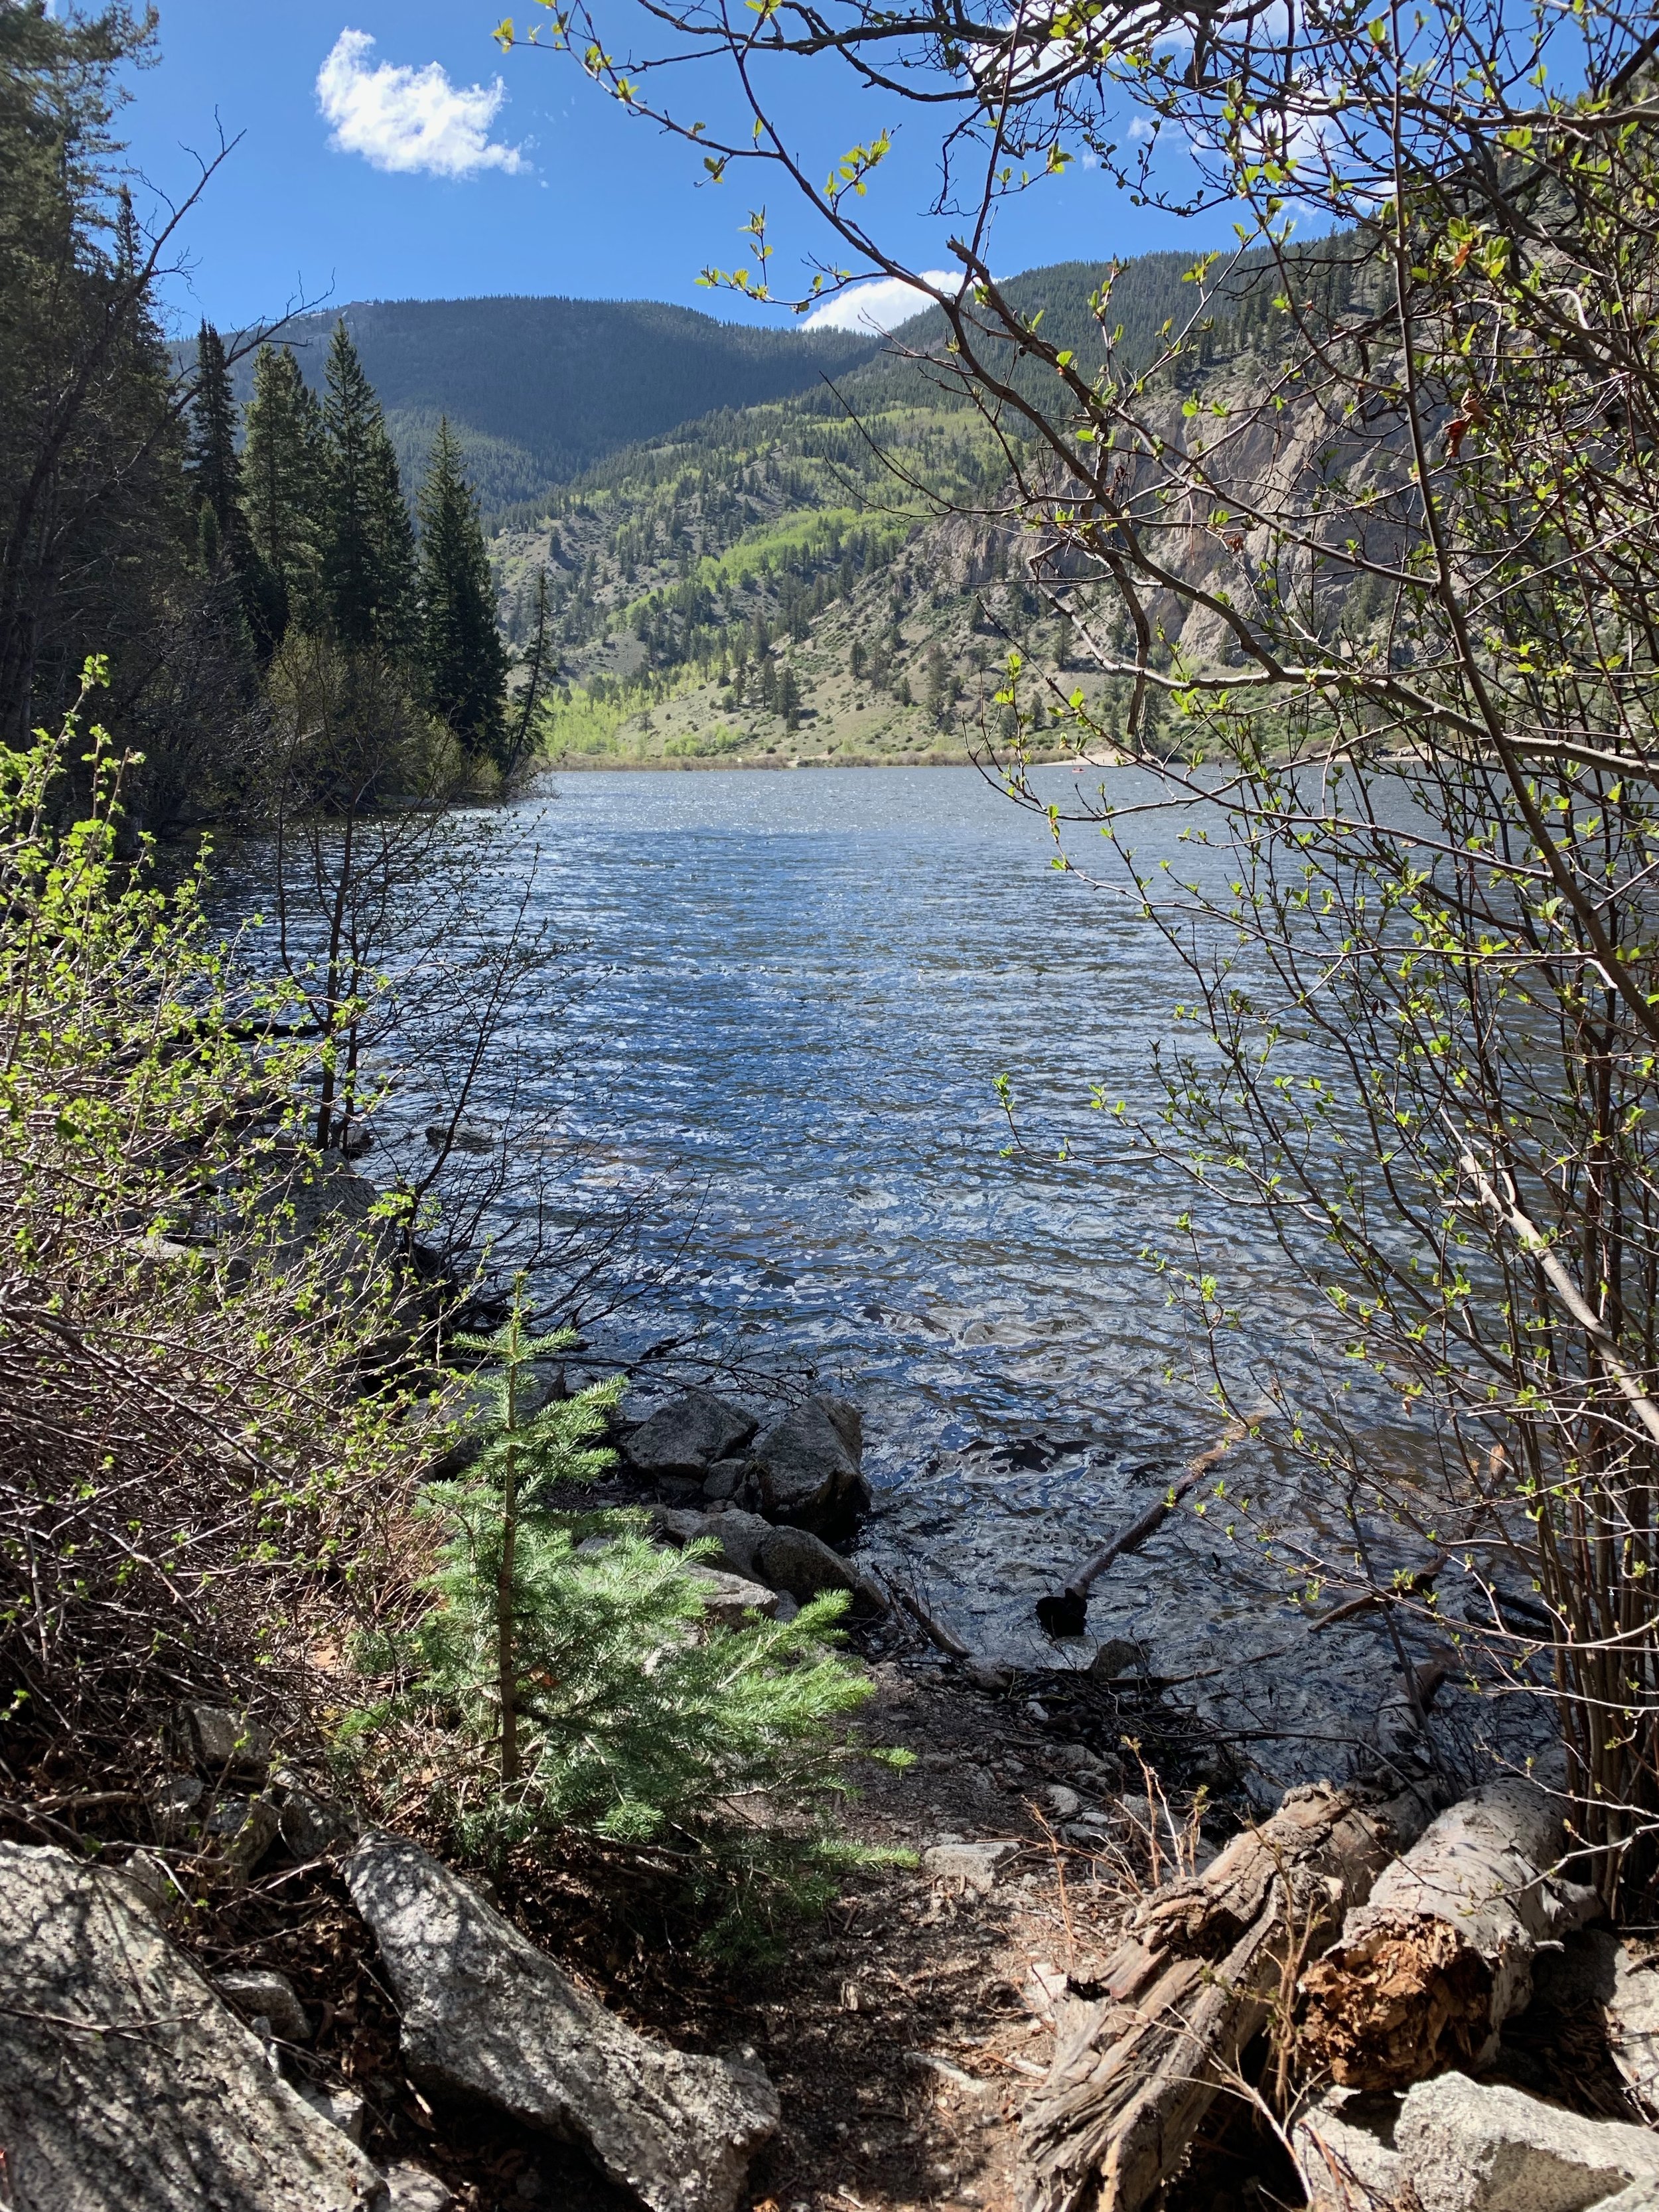
Four Mile Recreation Area
Also Four Mile Recreation Area

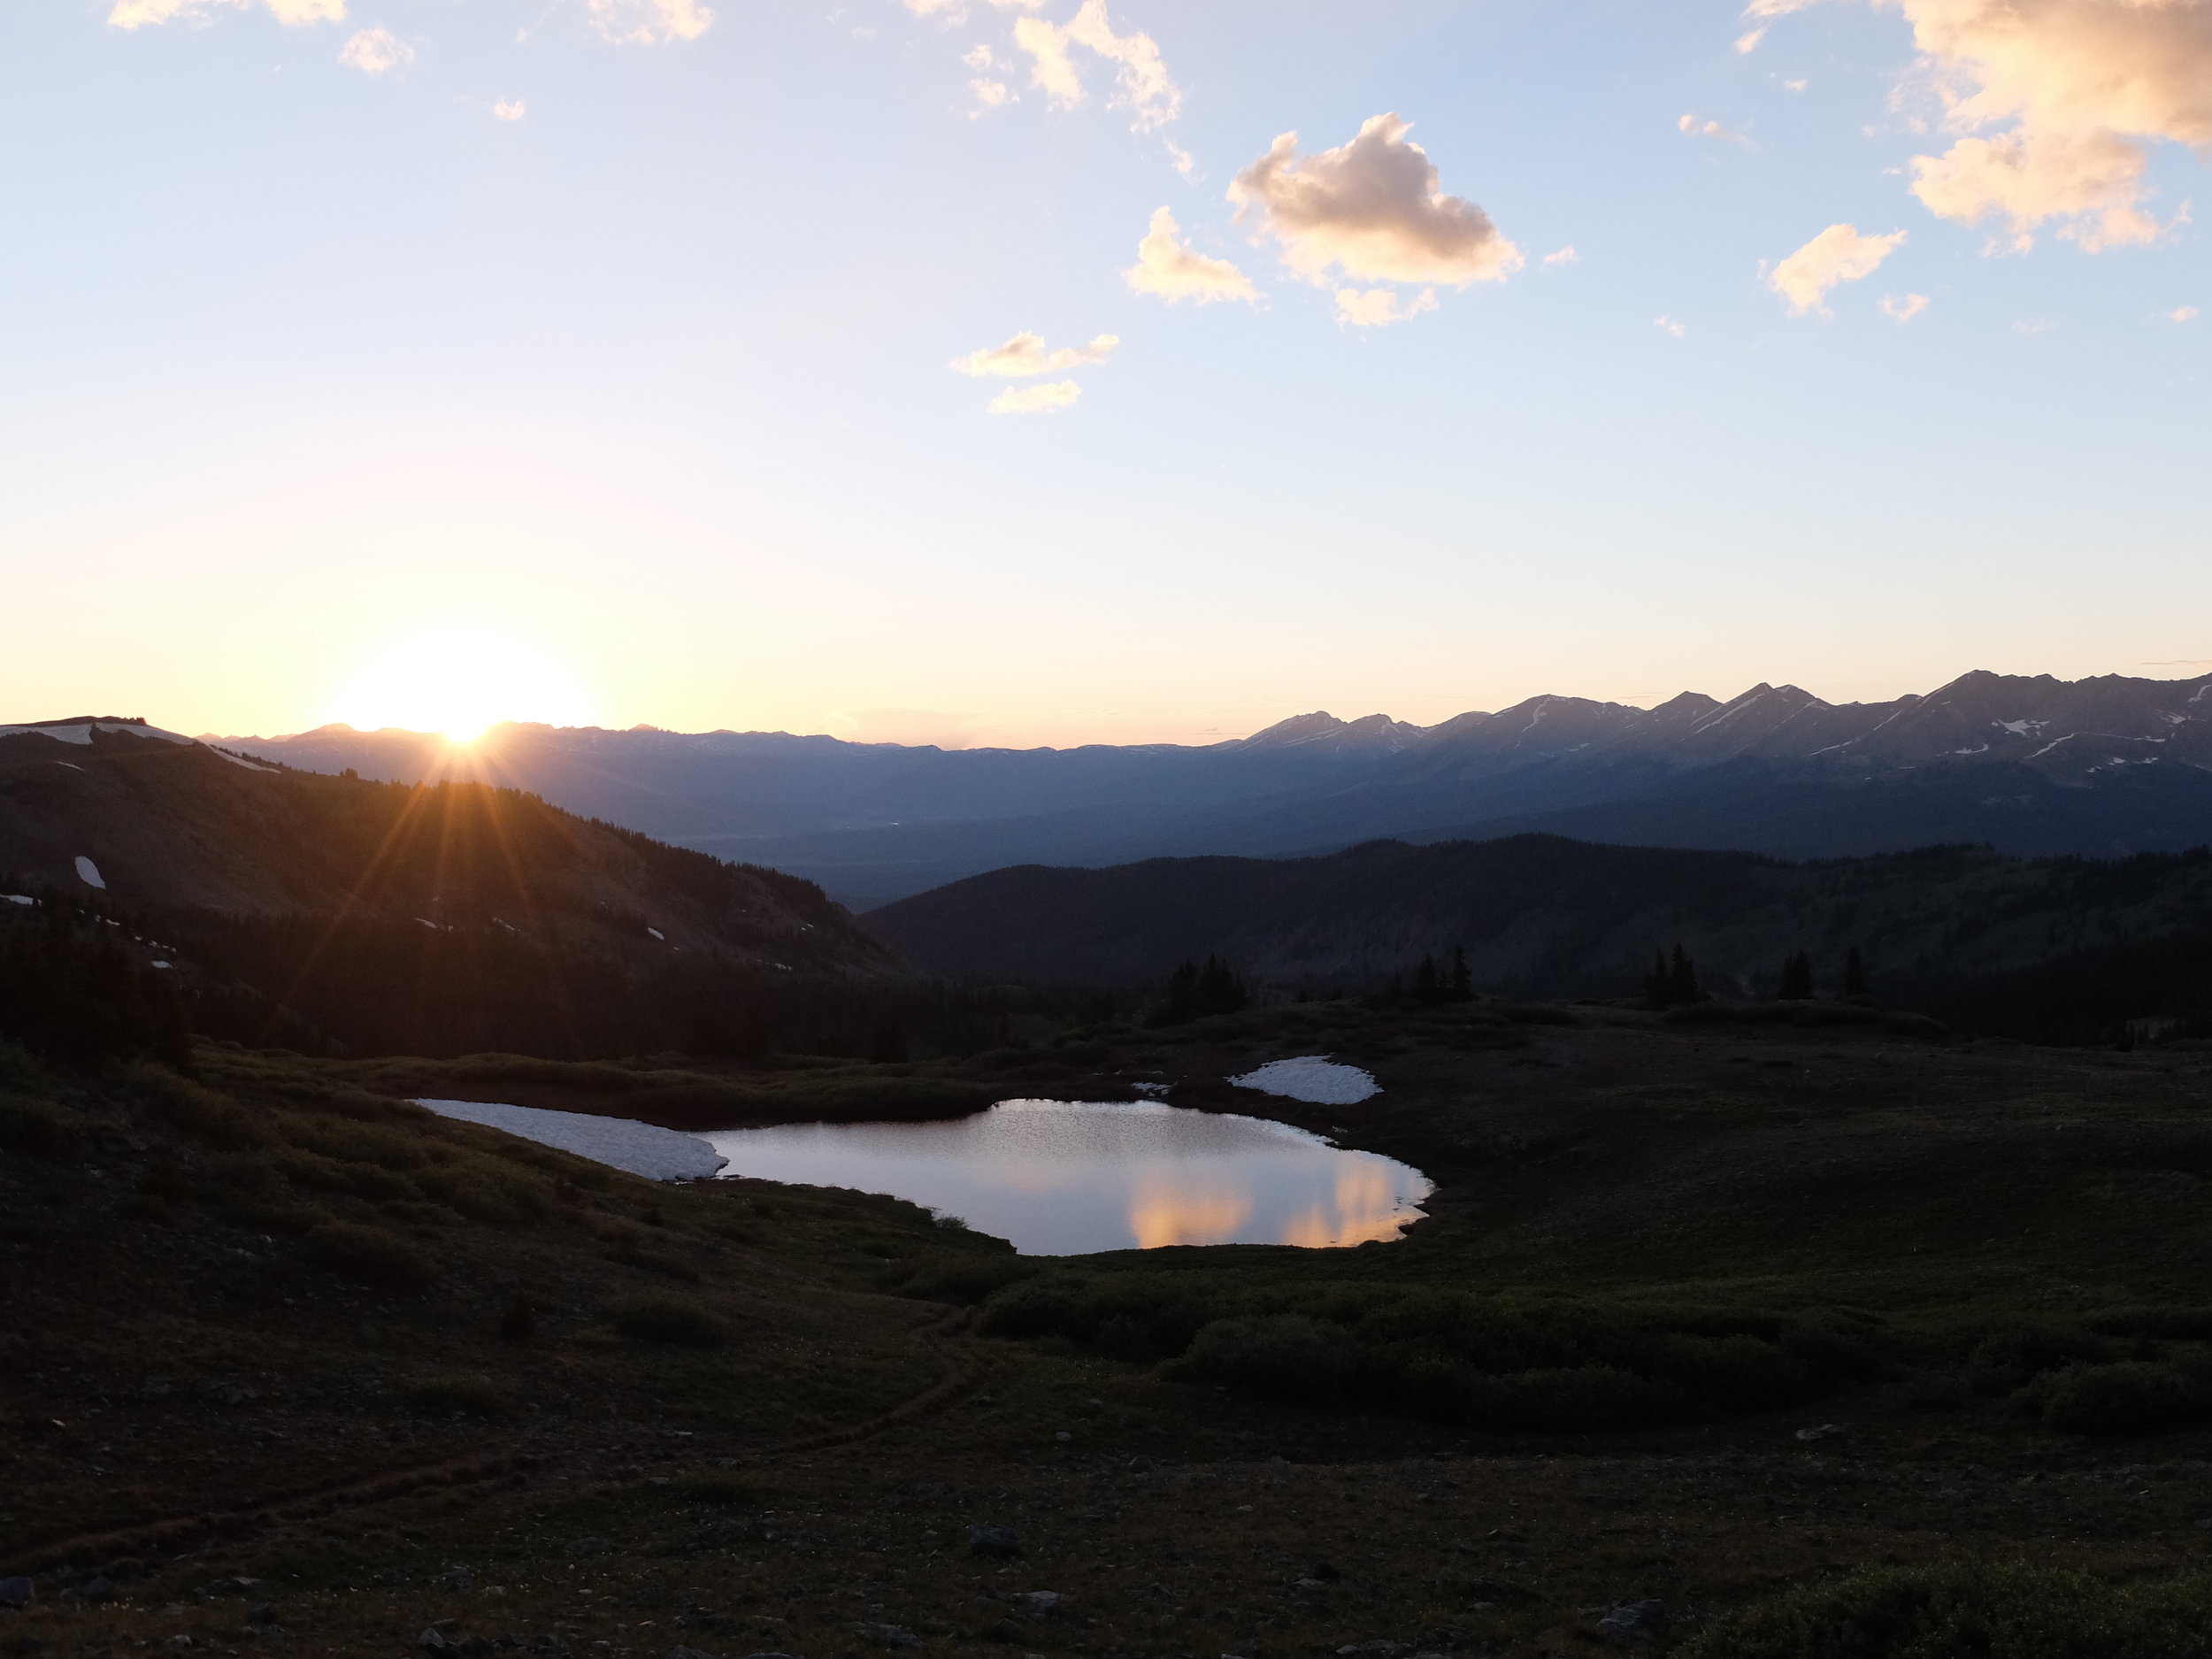
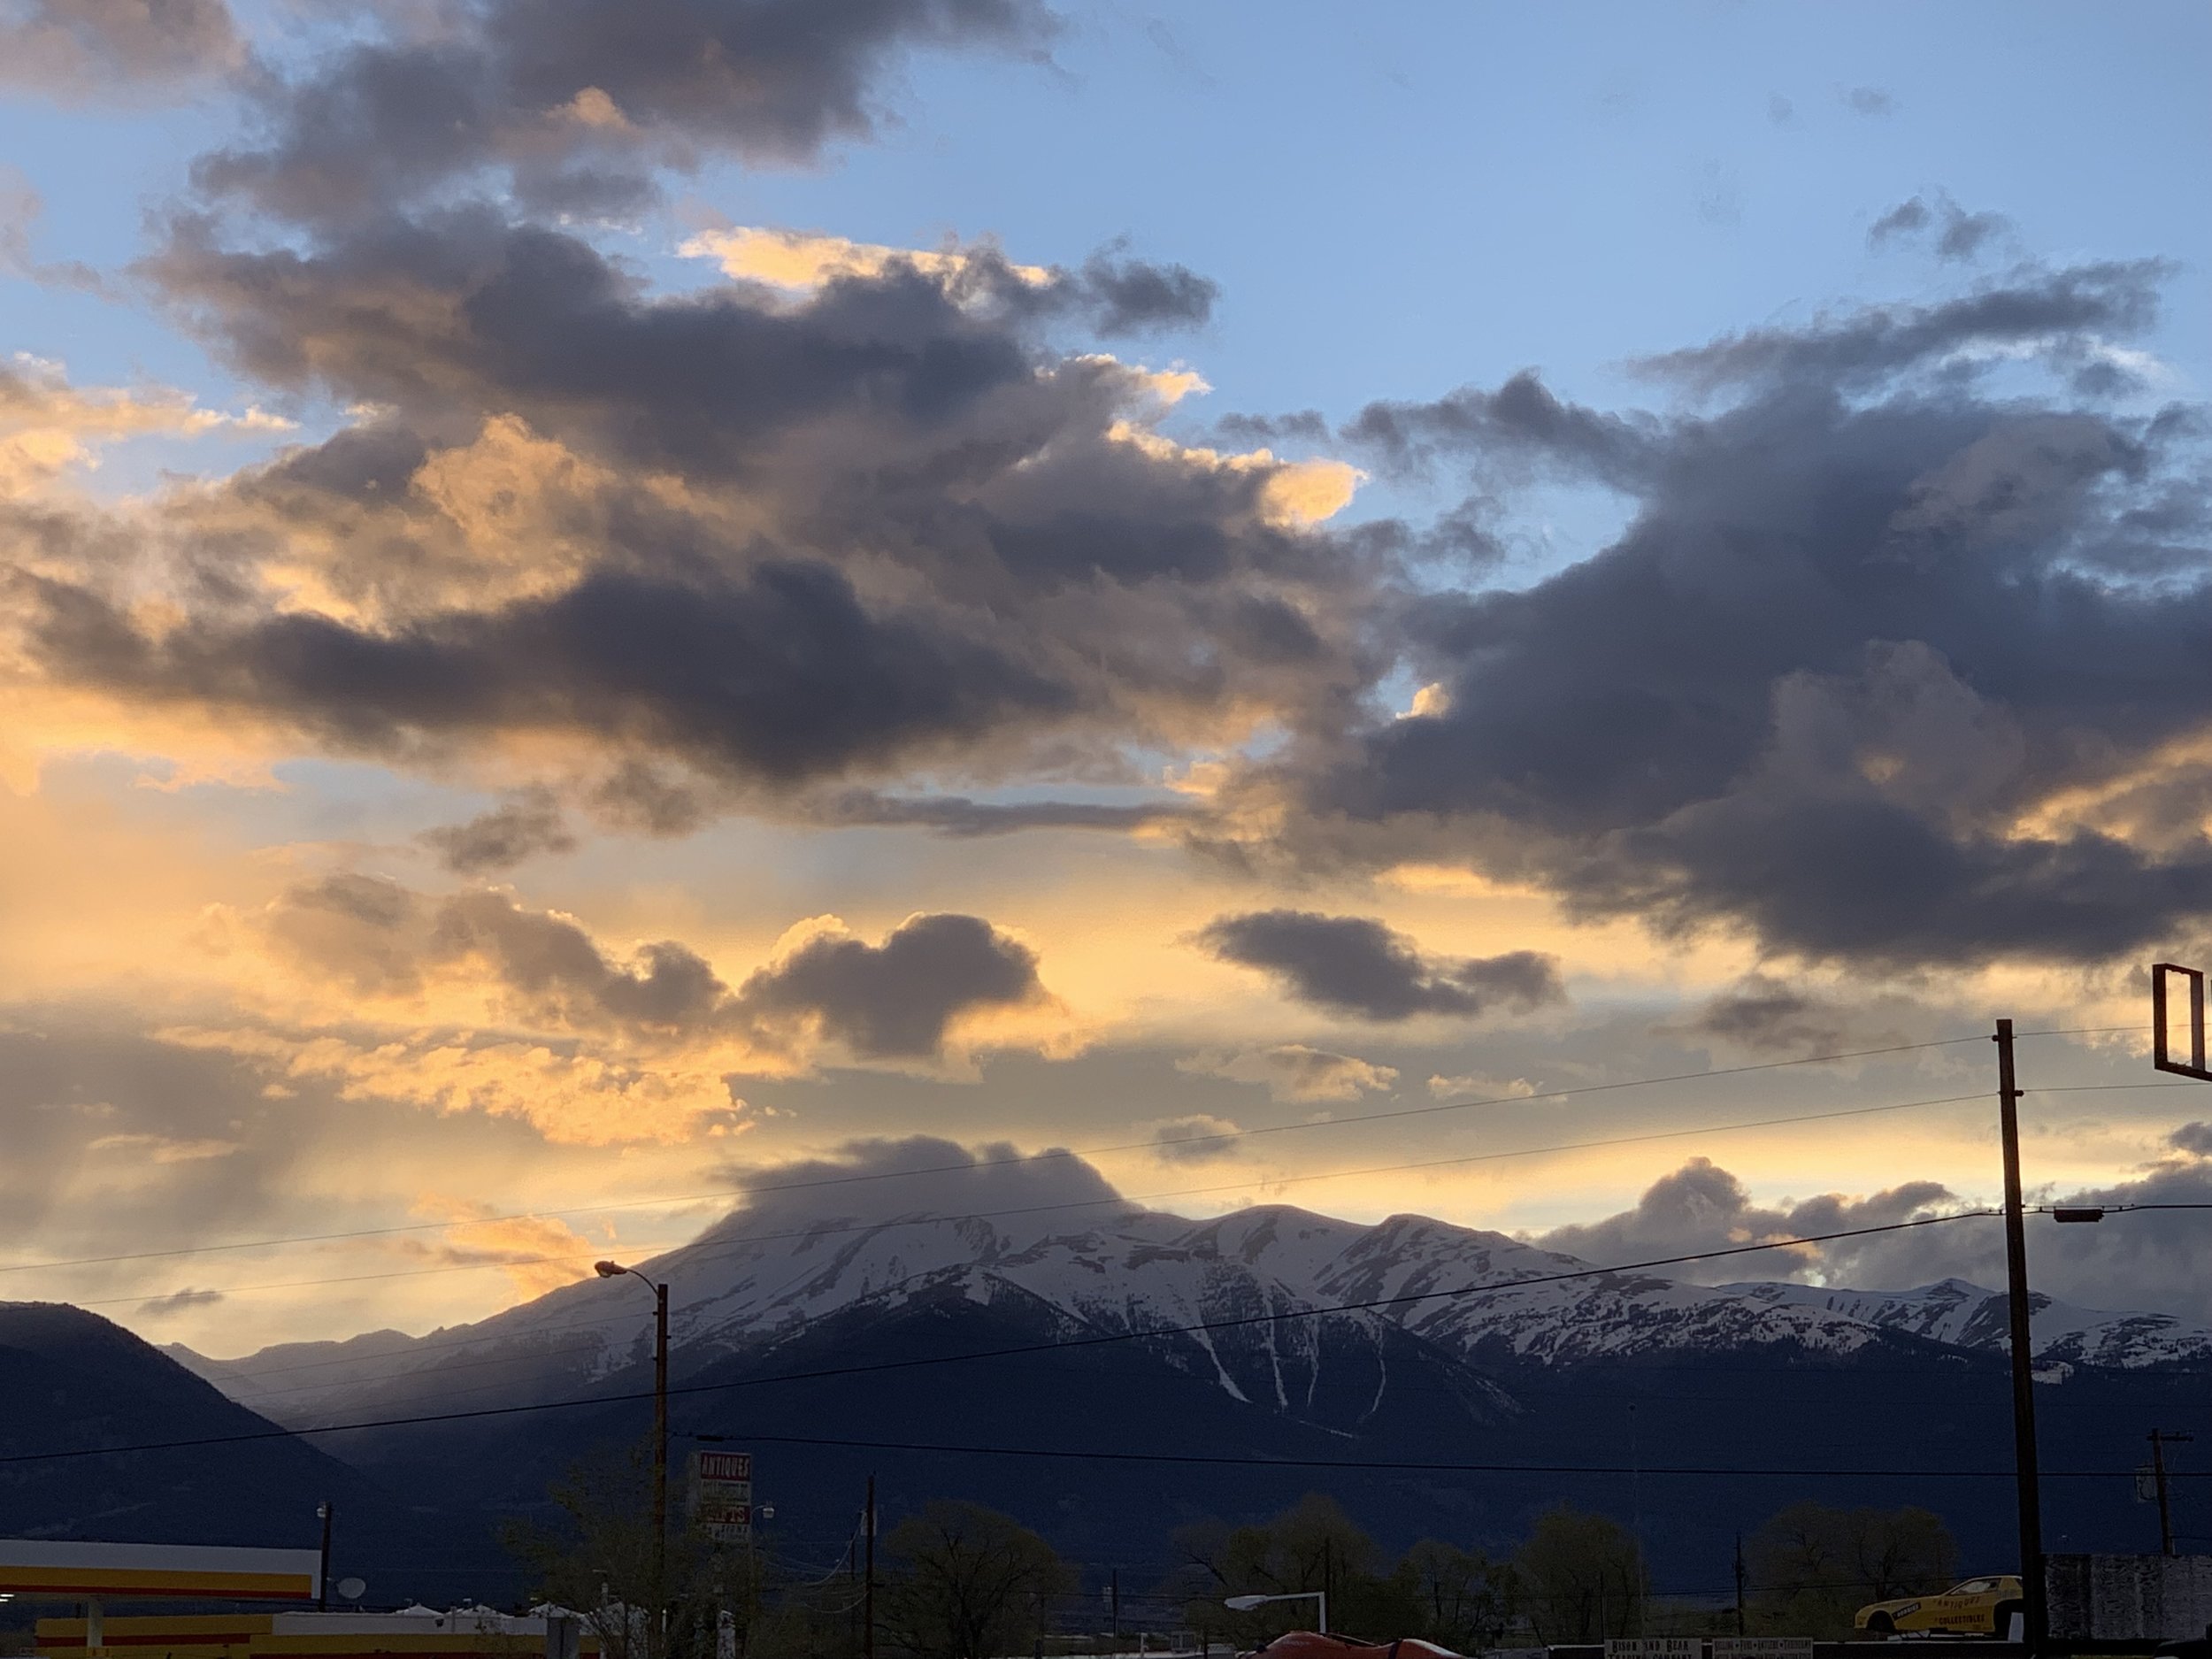
Sunset at the south end of the valley, looks fake! (Taken with my cellphone on the side of the road because I didn’t have my camera with me…drat!)
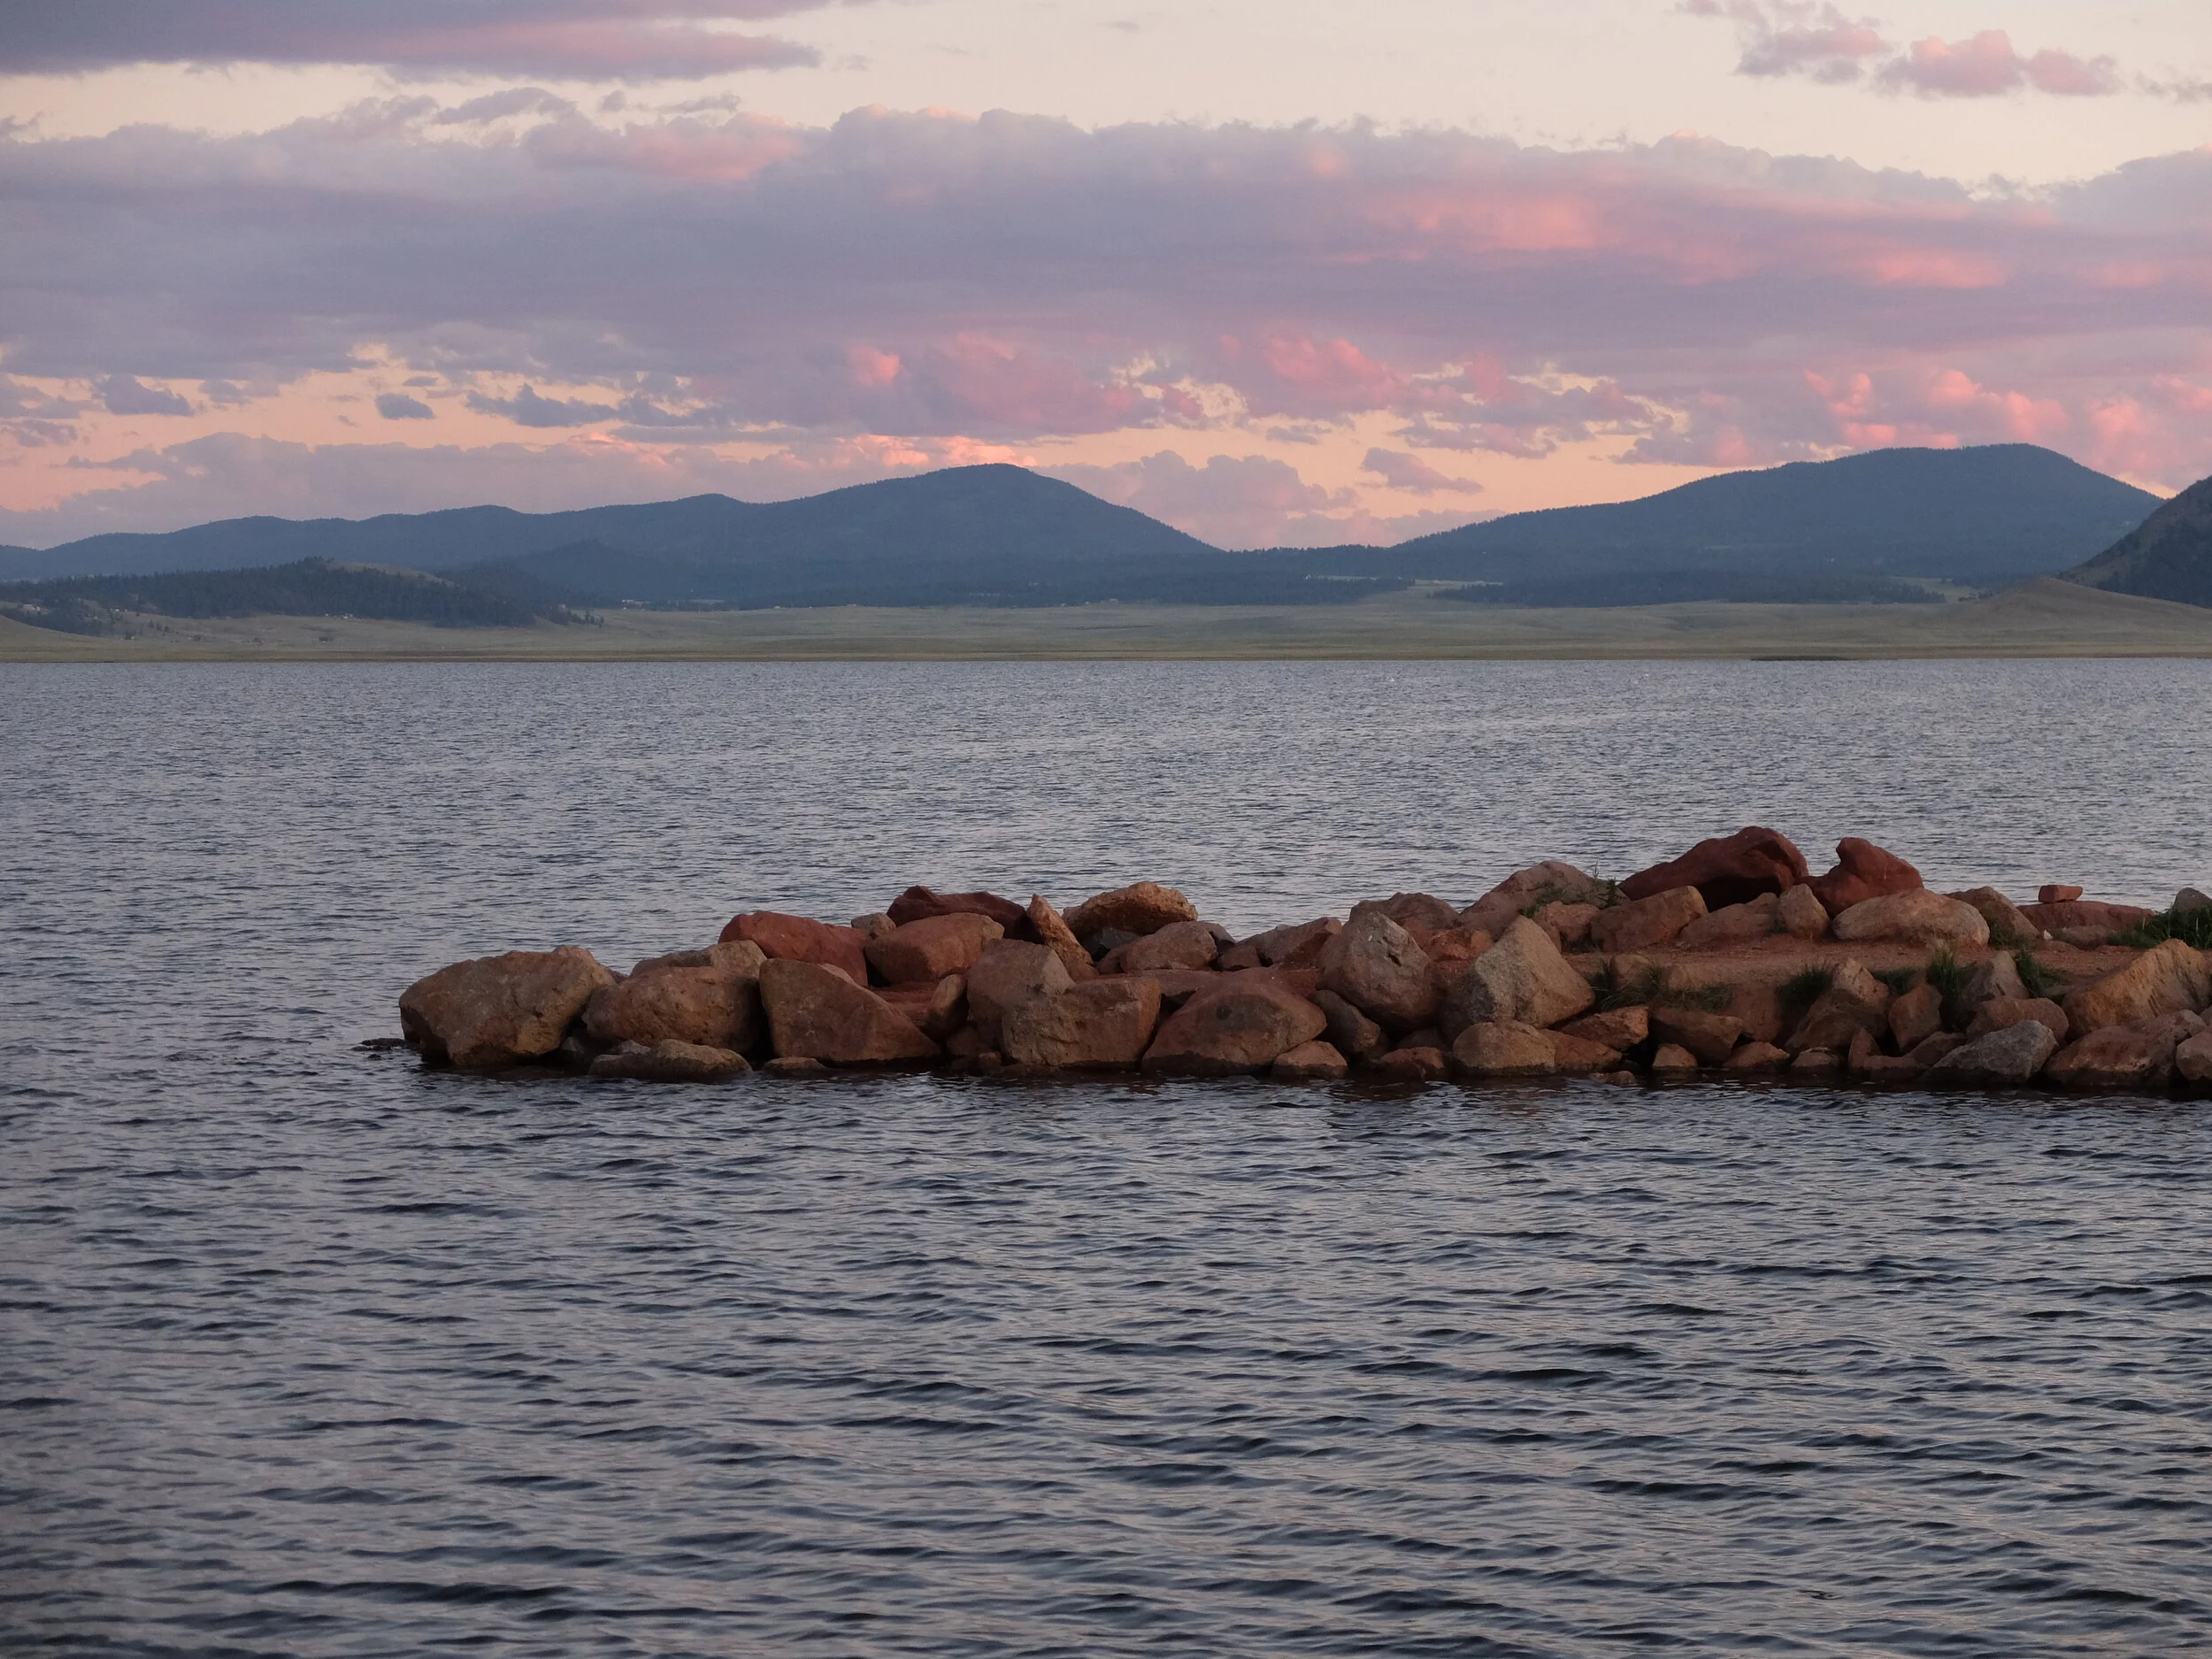
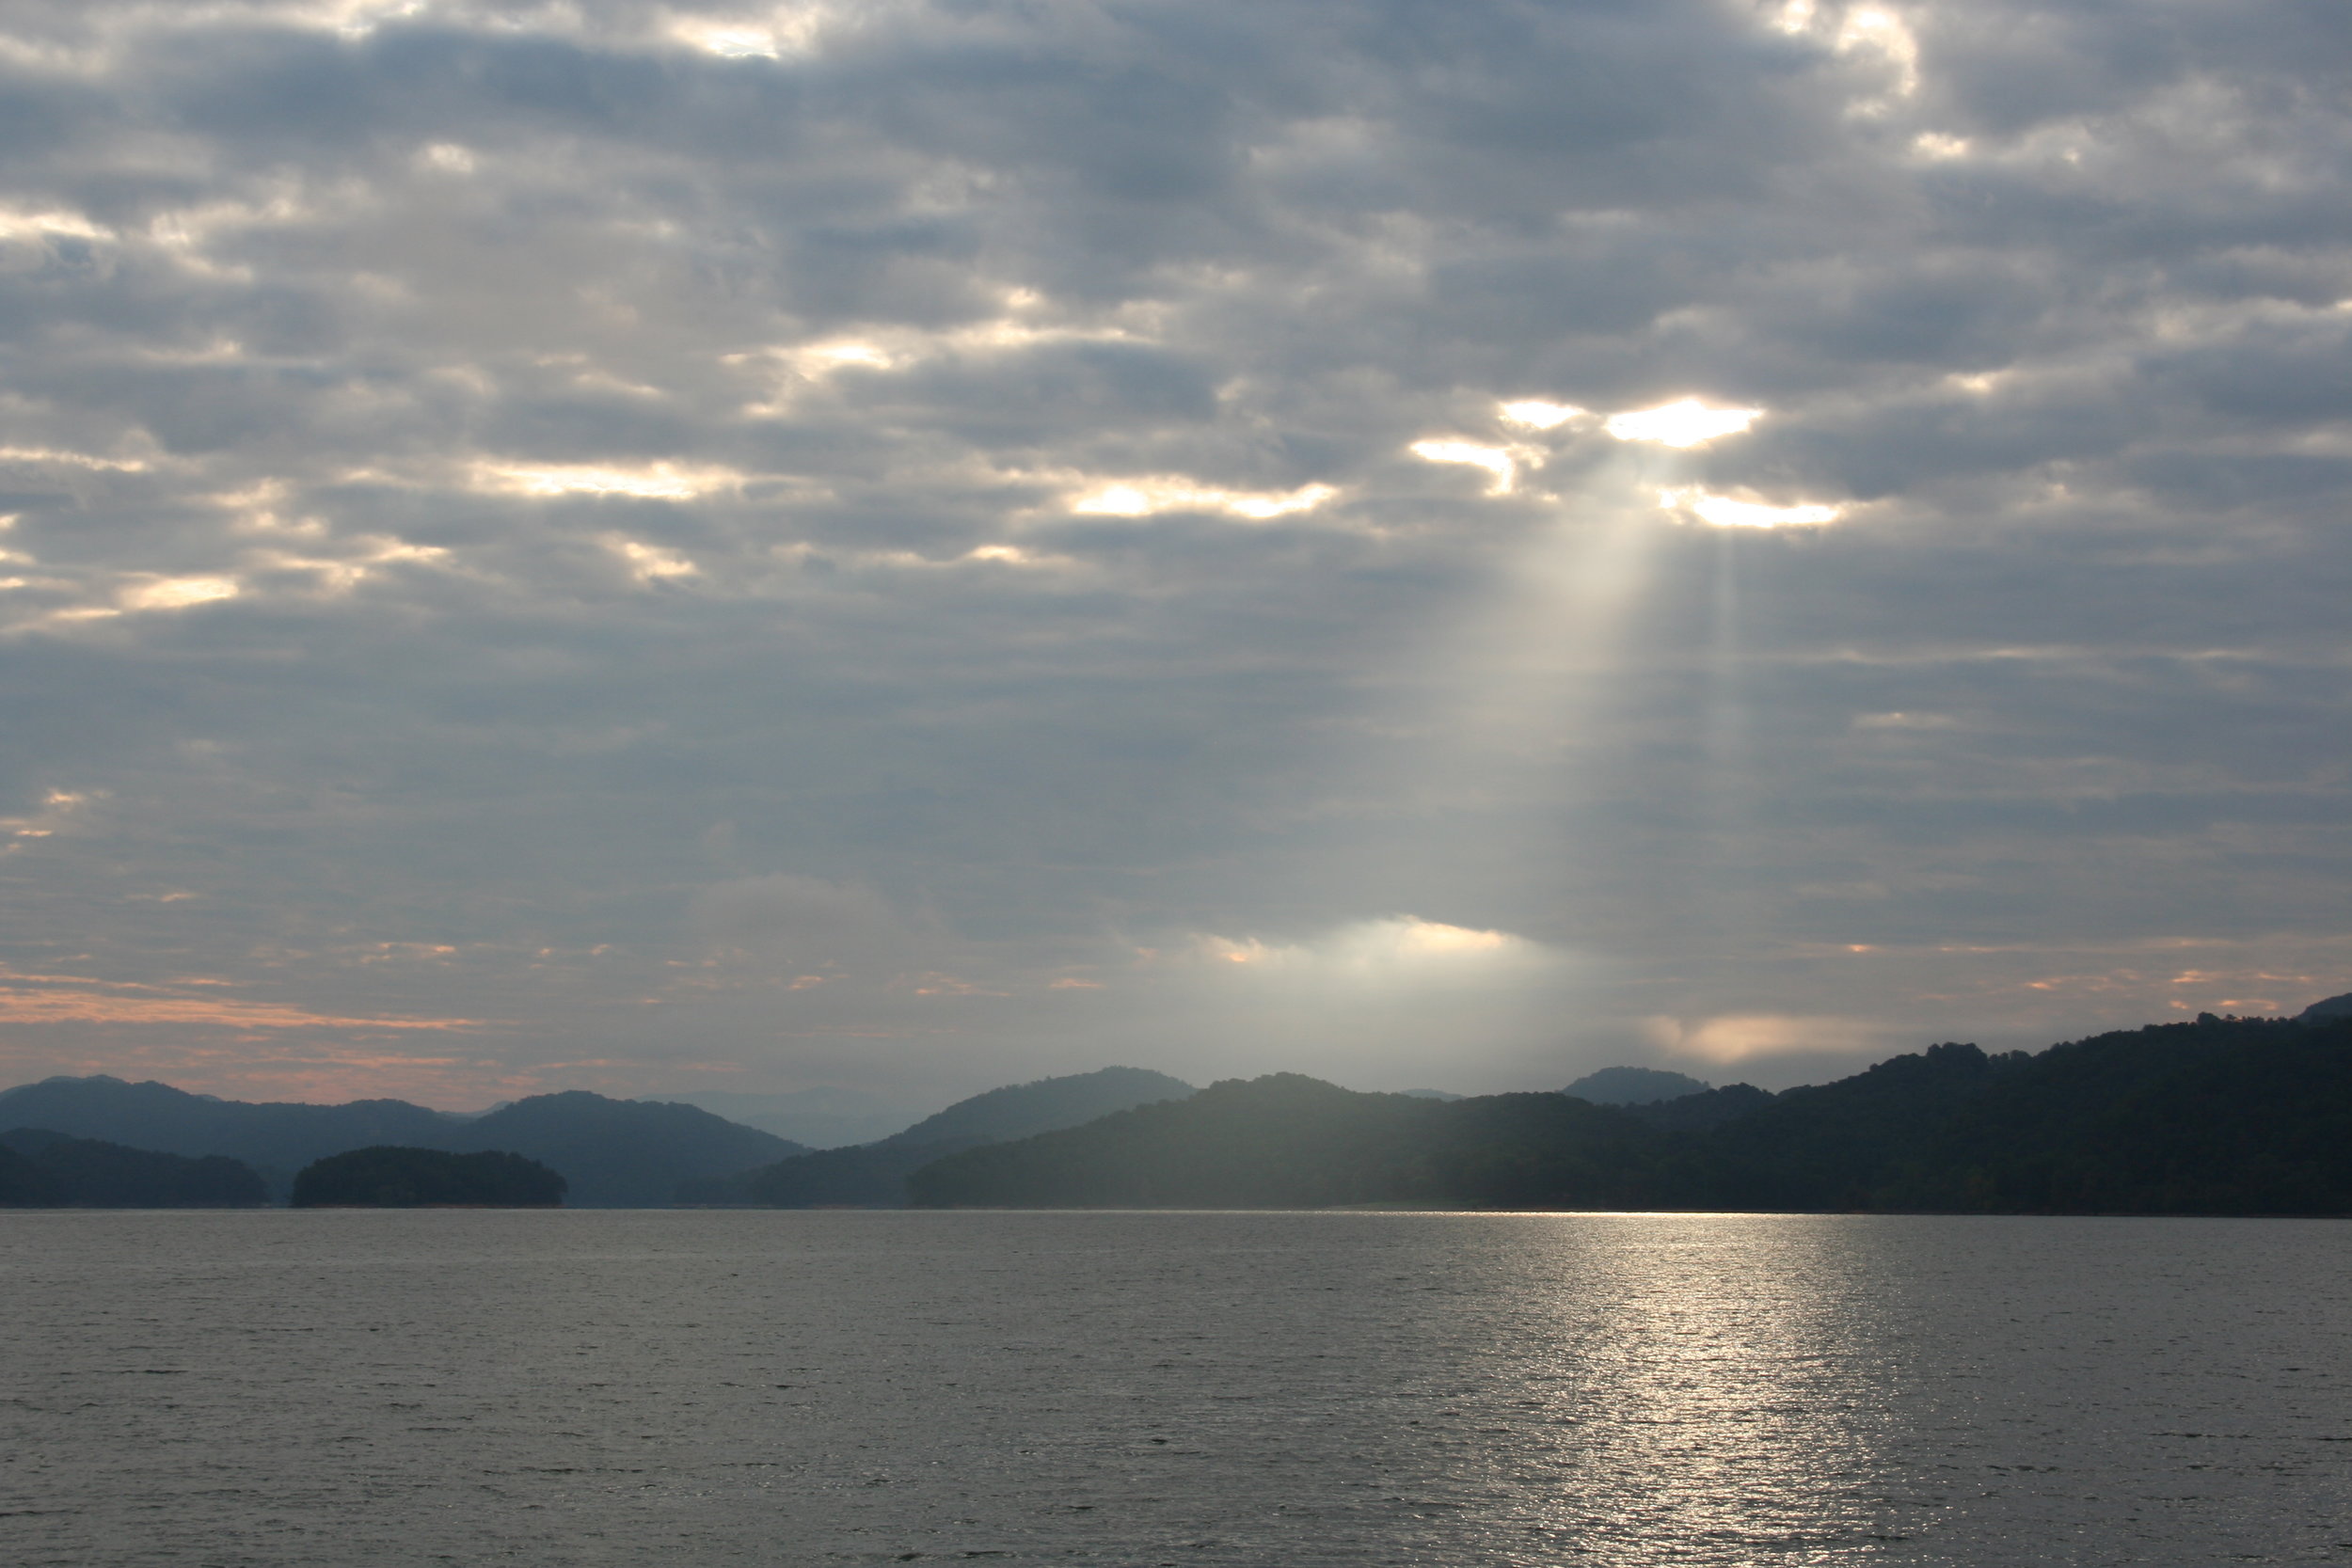
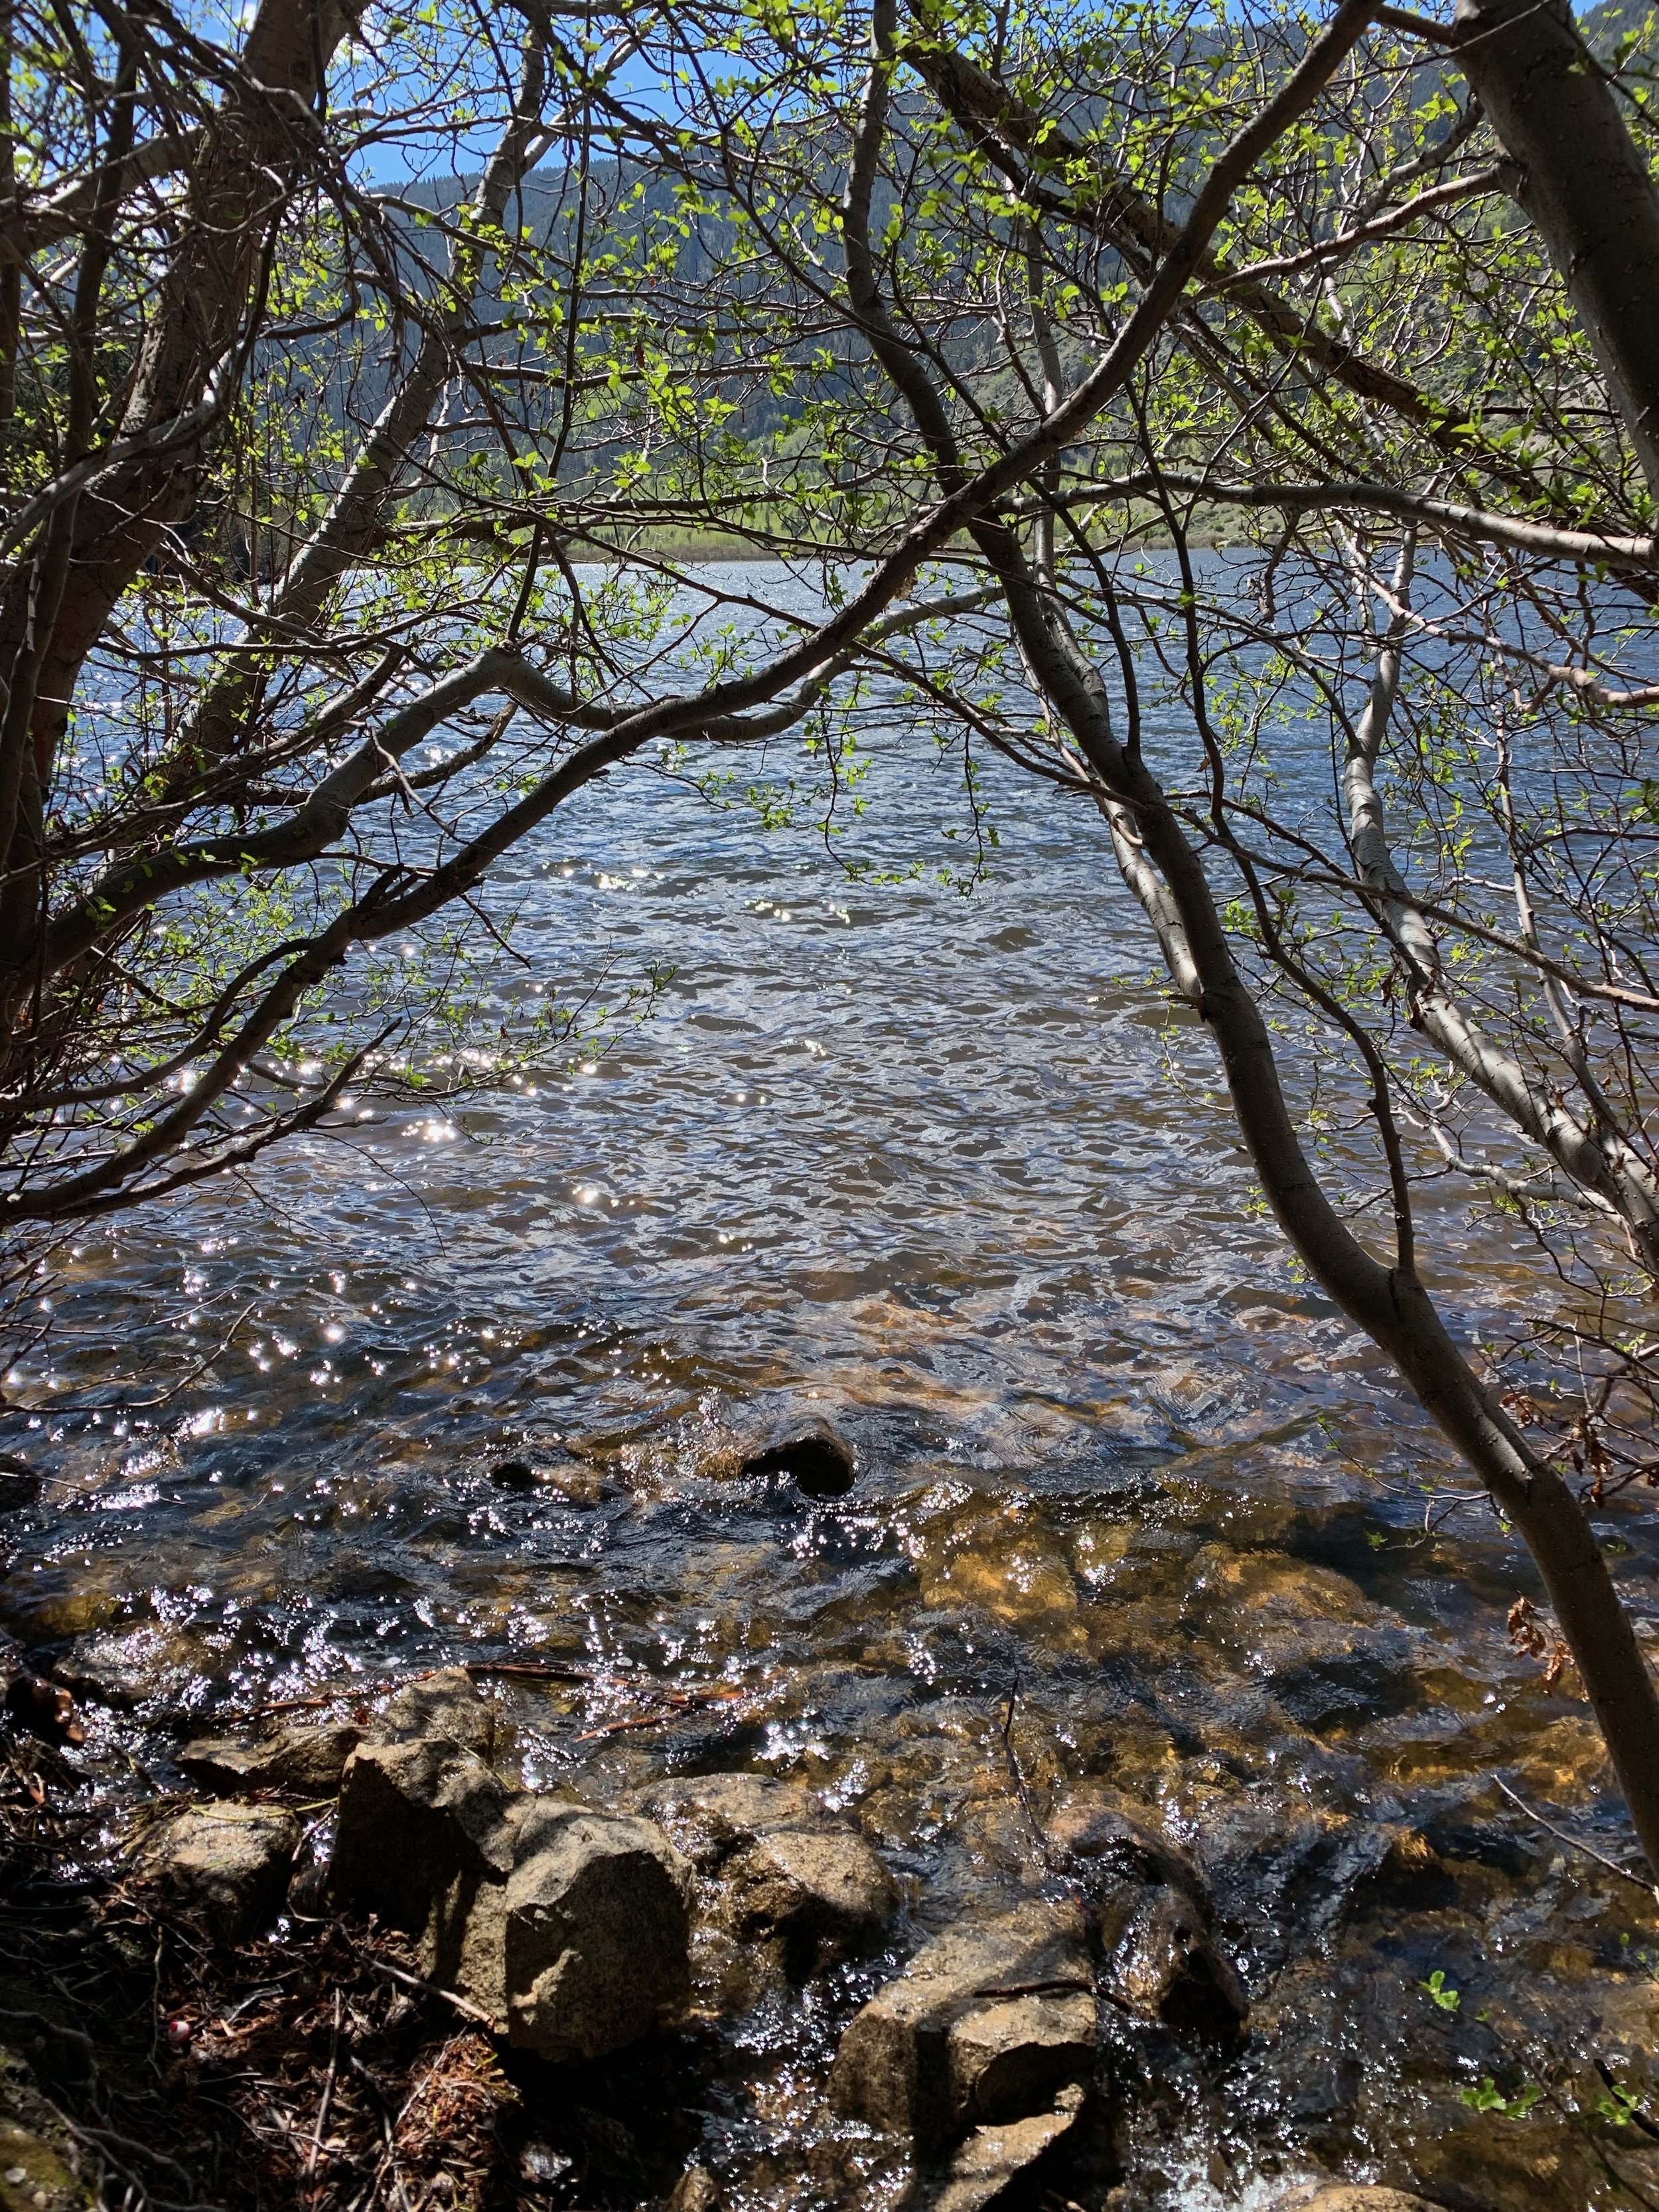
Antero Reservoir

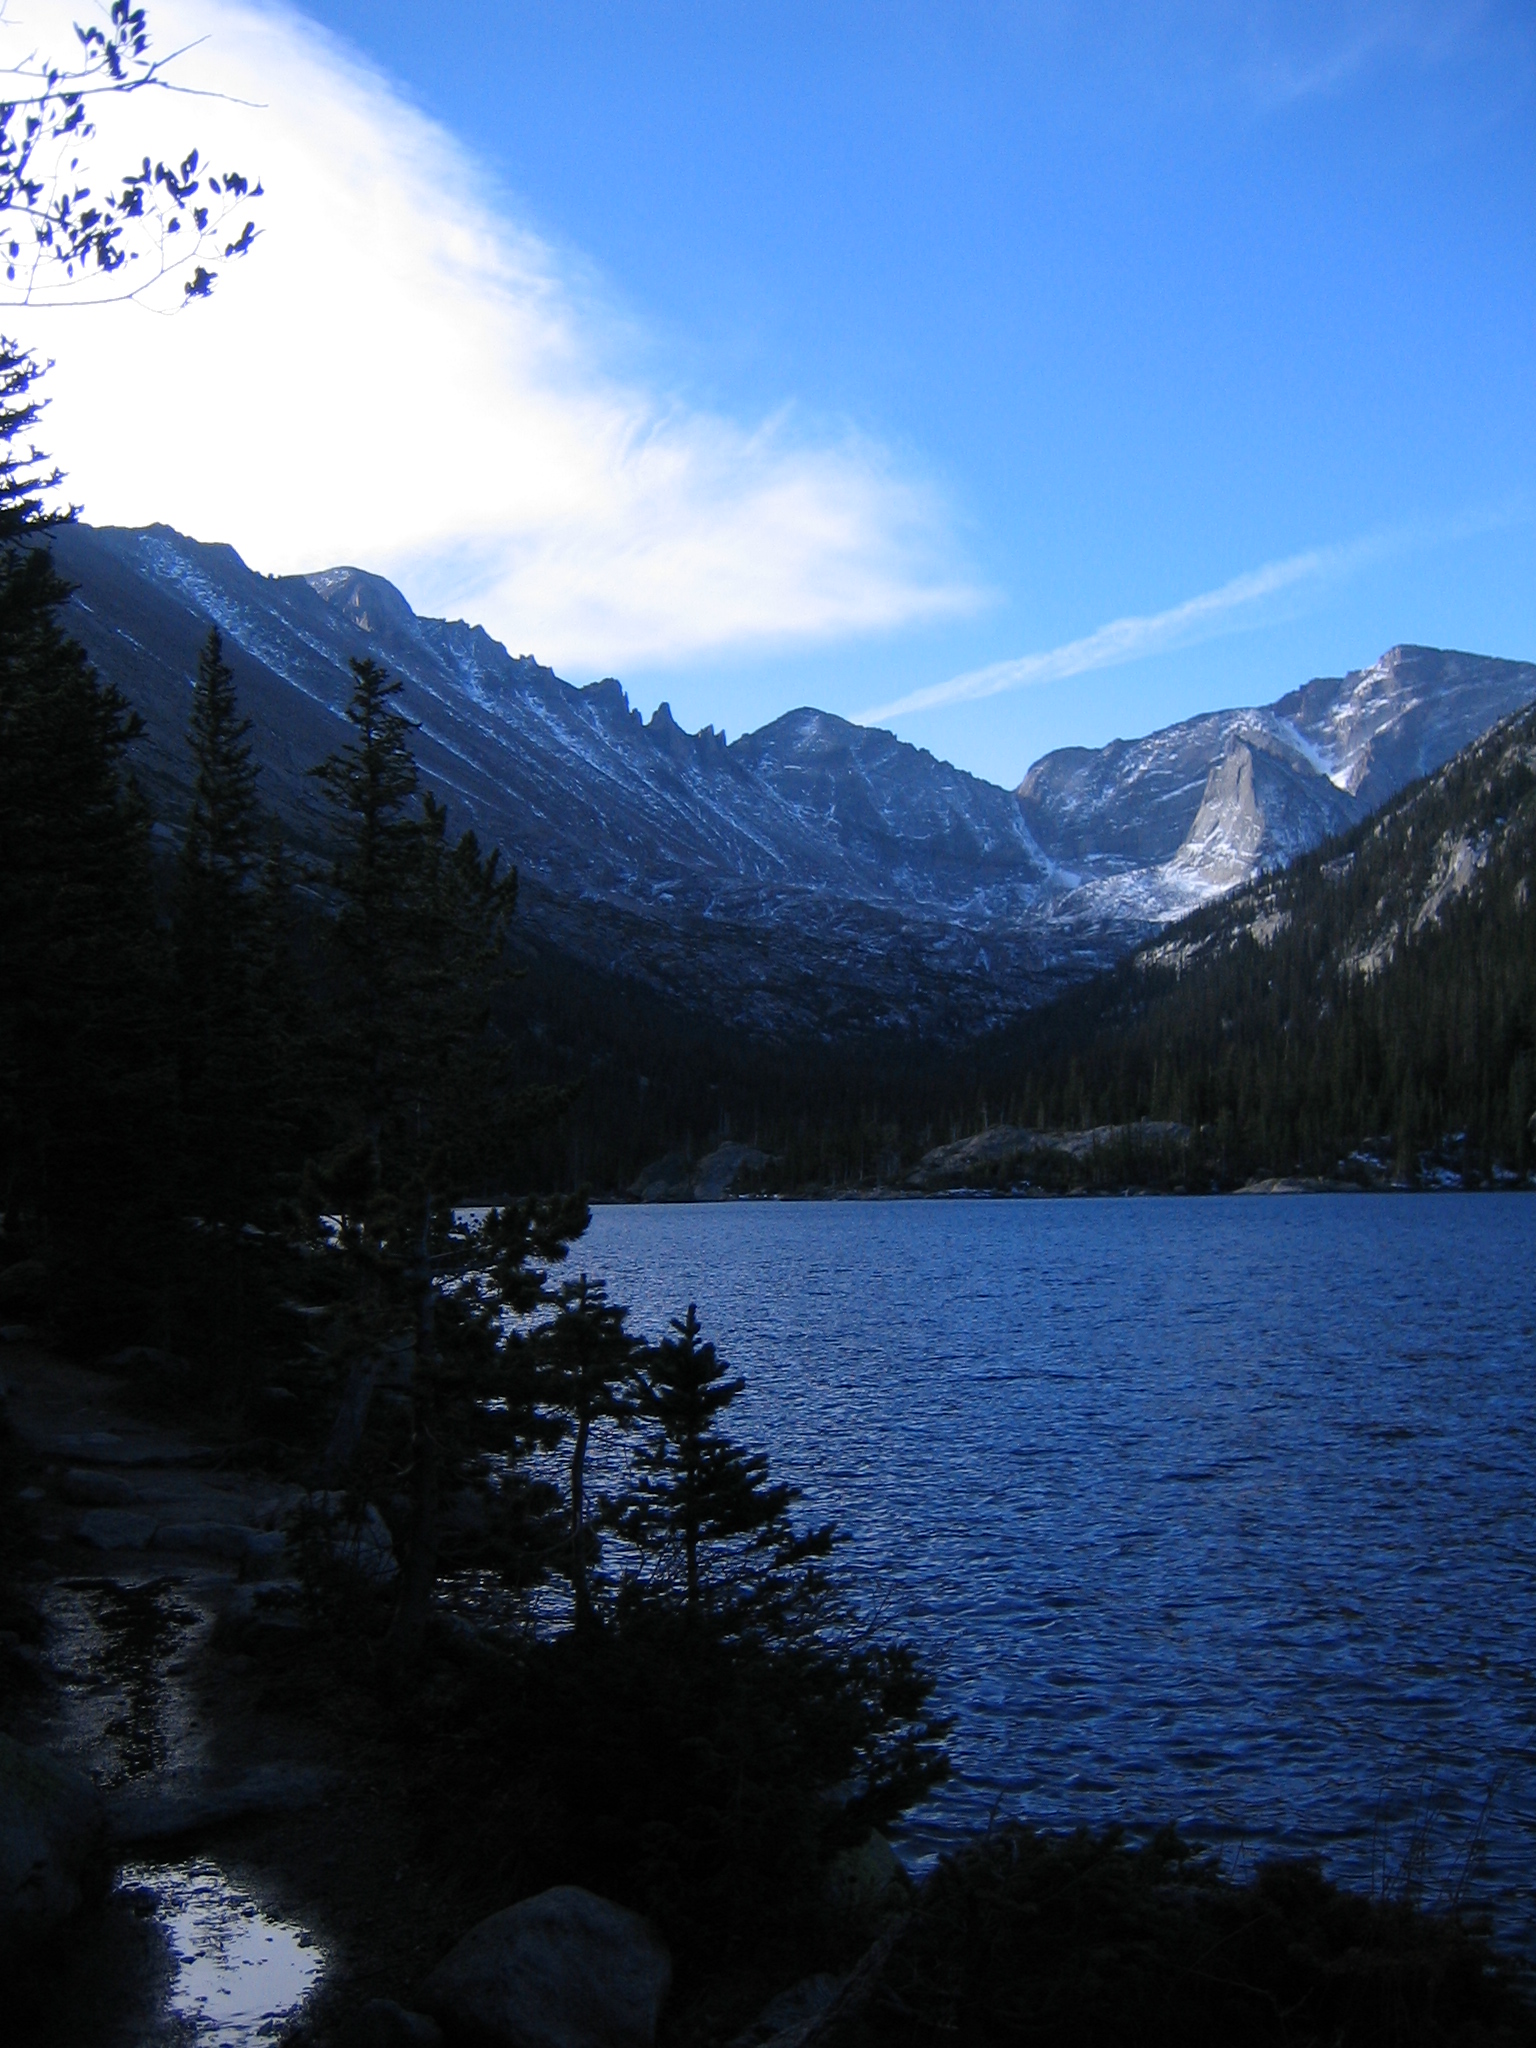
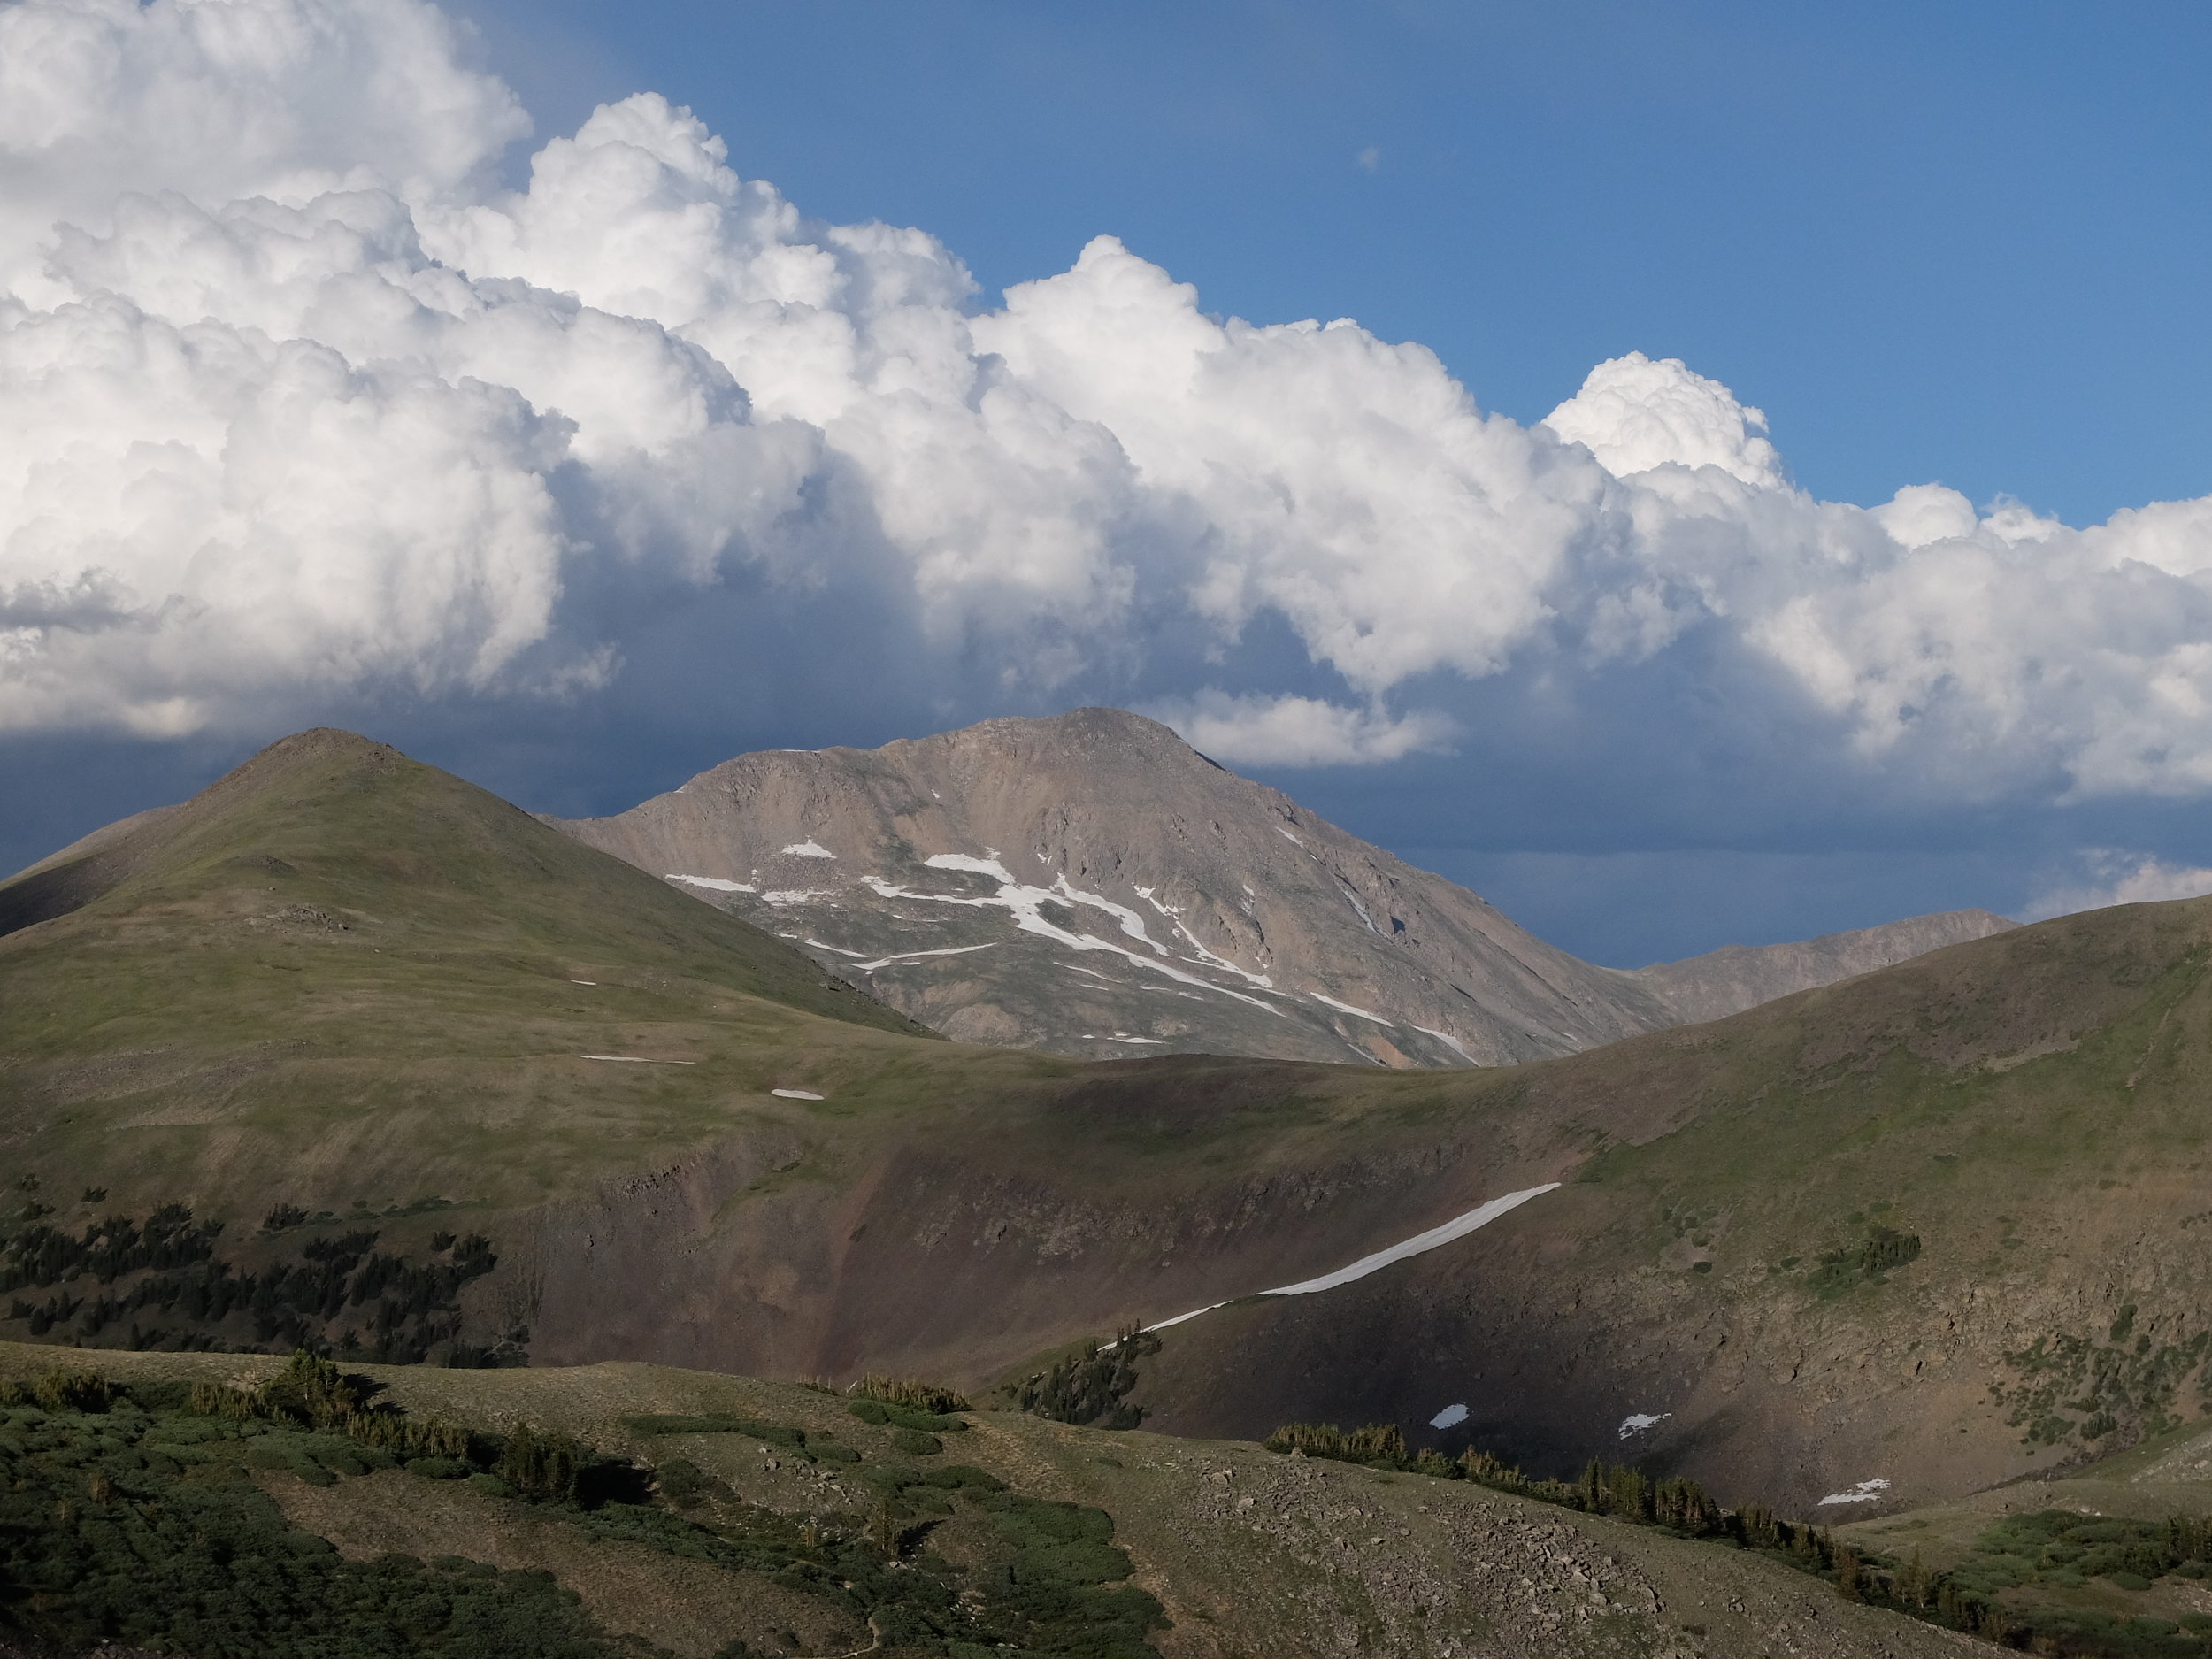
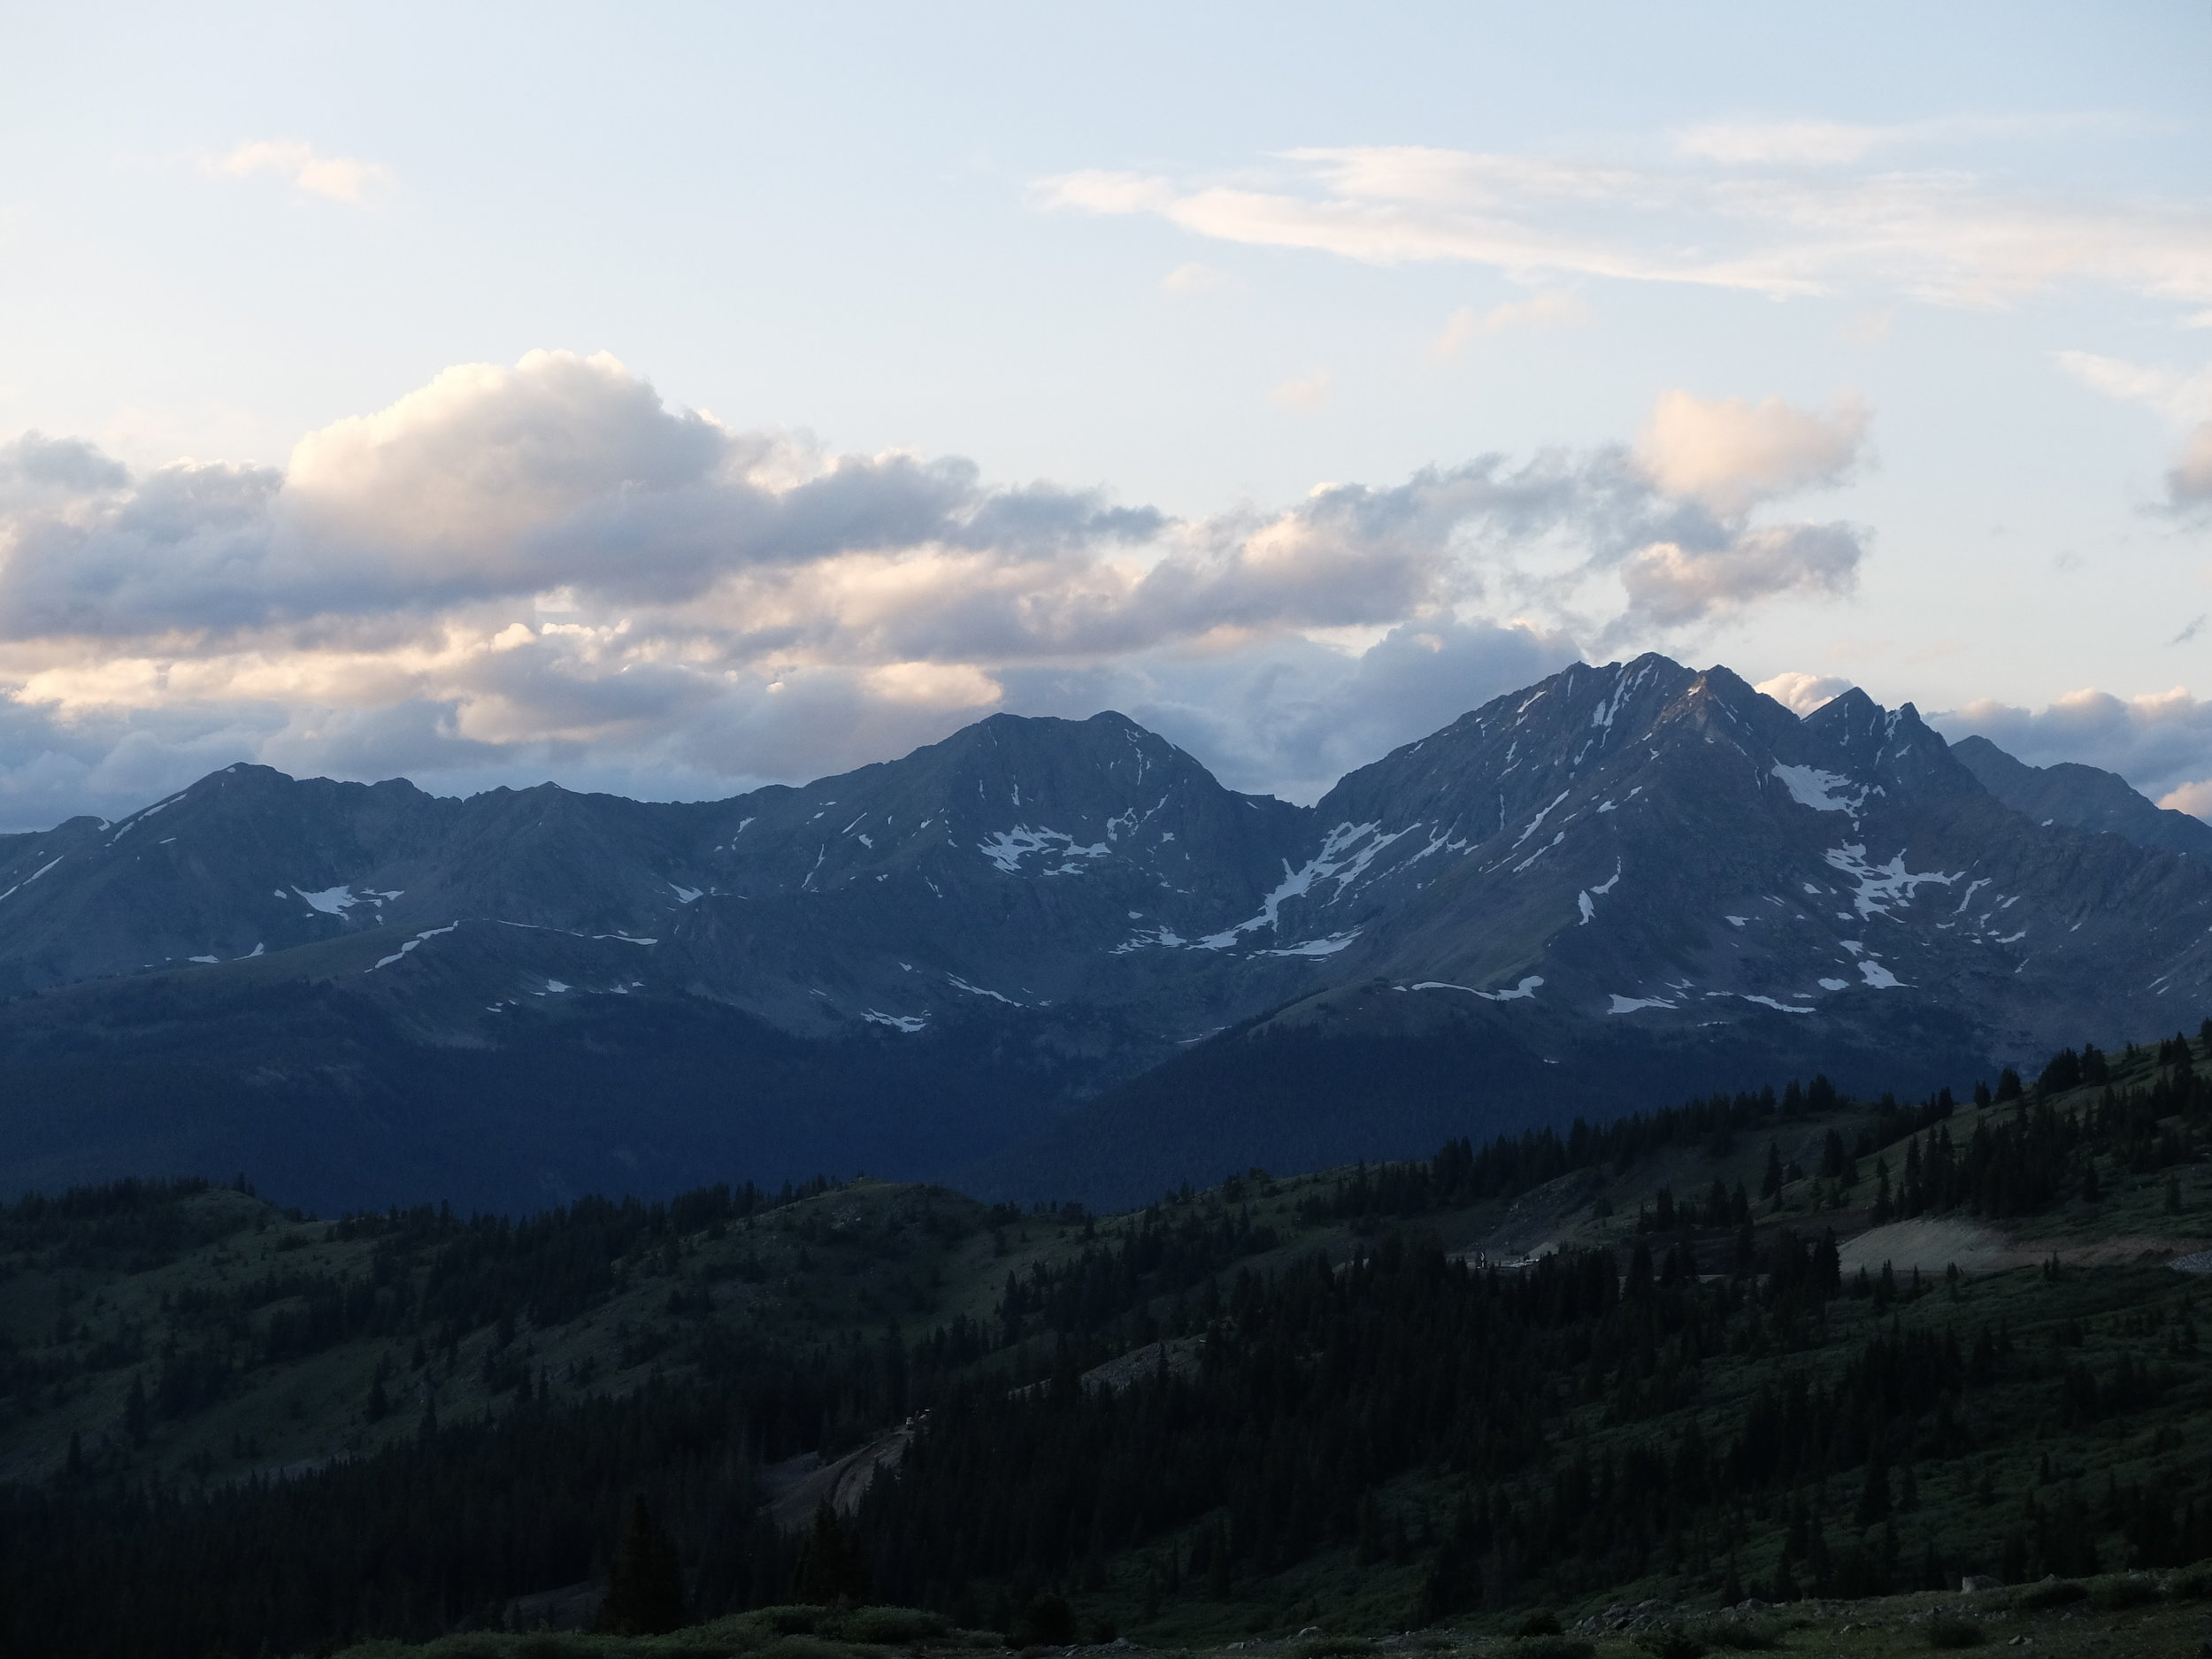
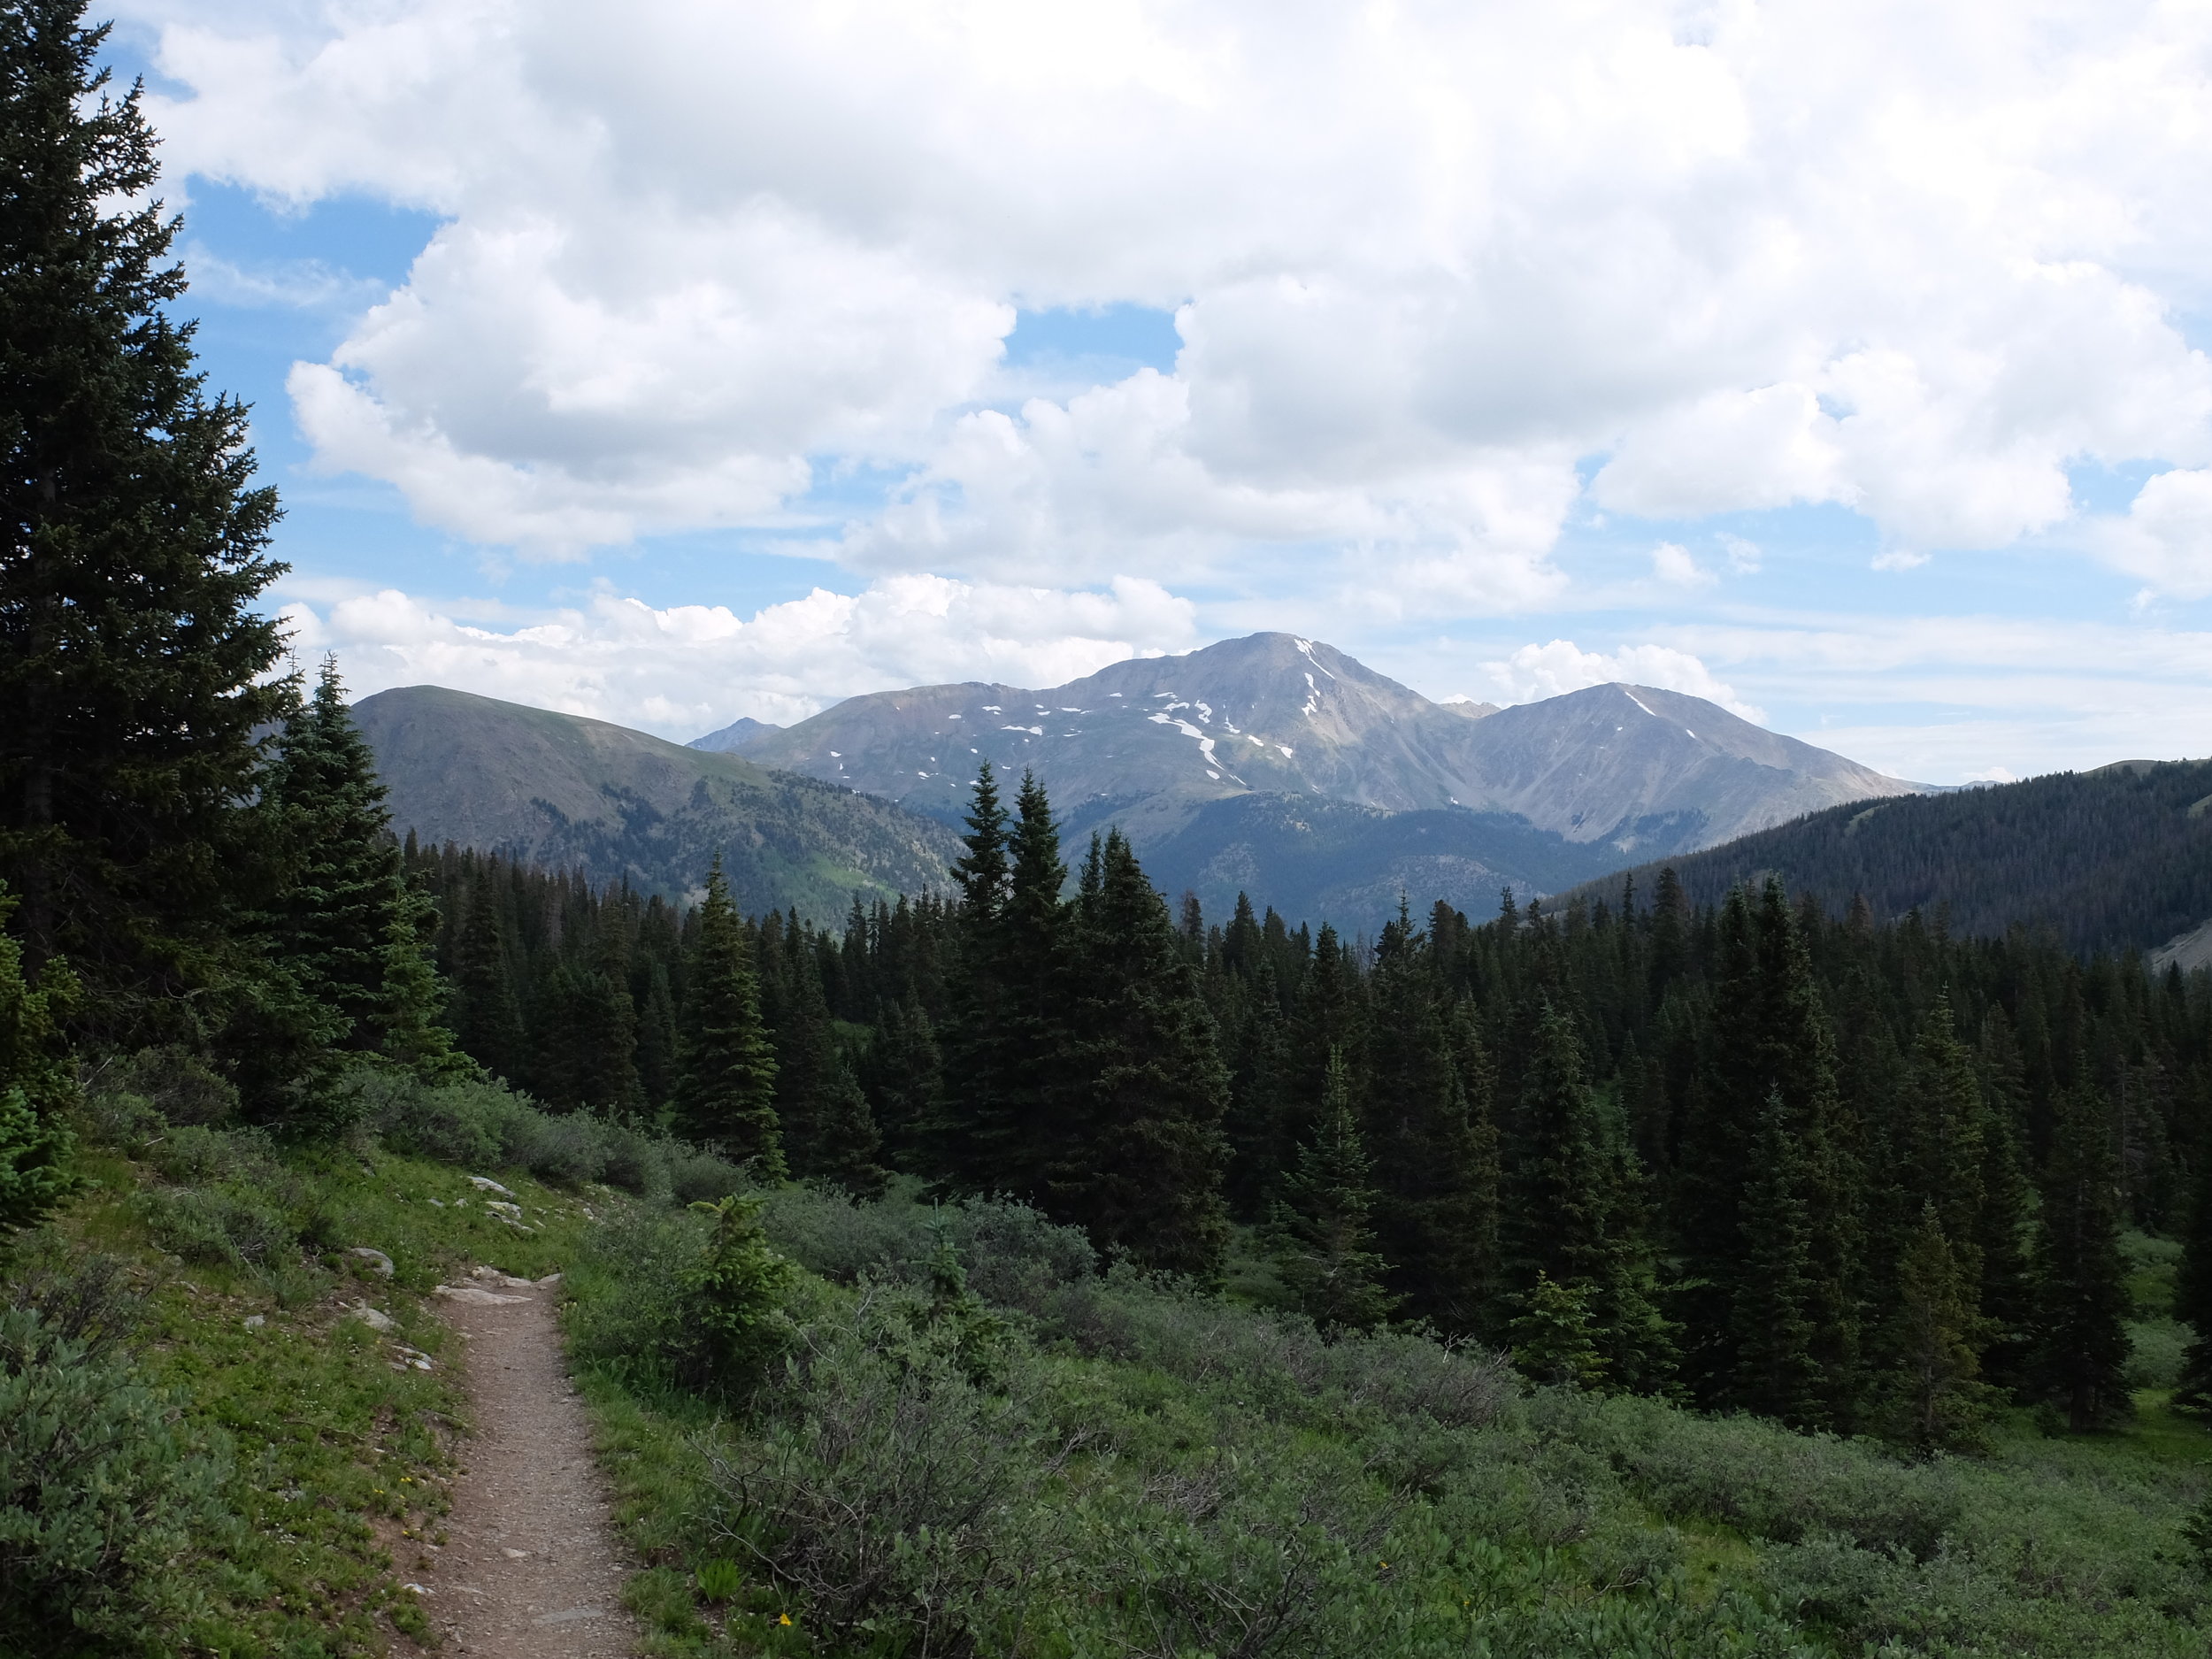
West side of the Sawtooths, from the Continental Divide
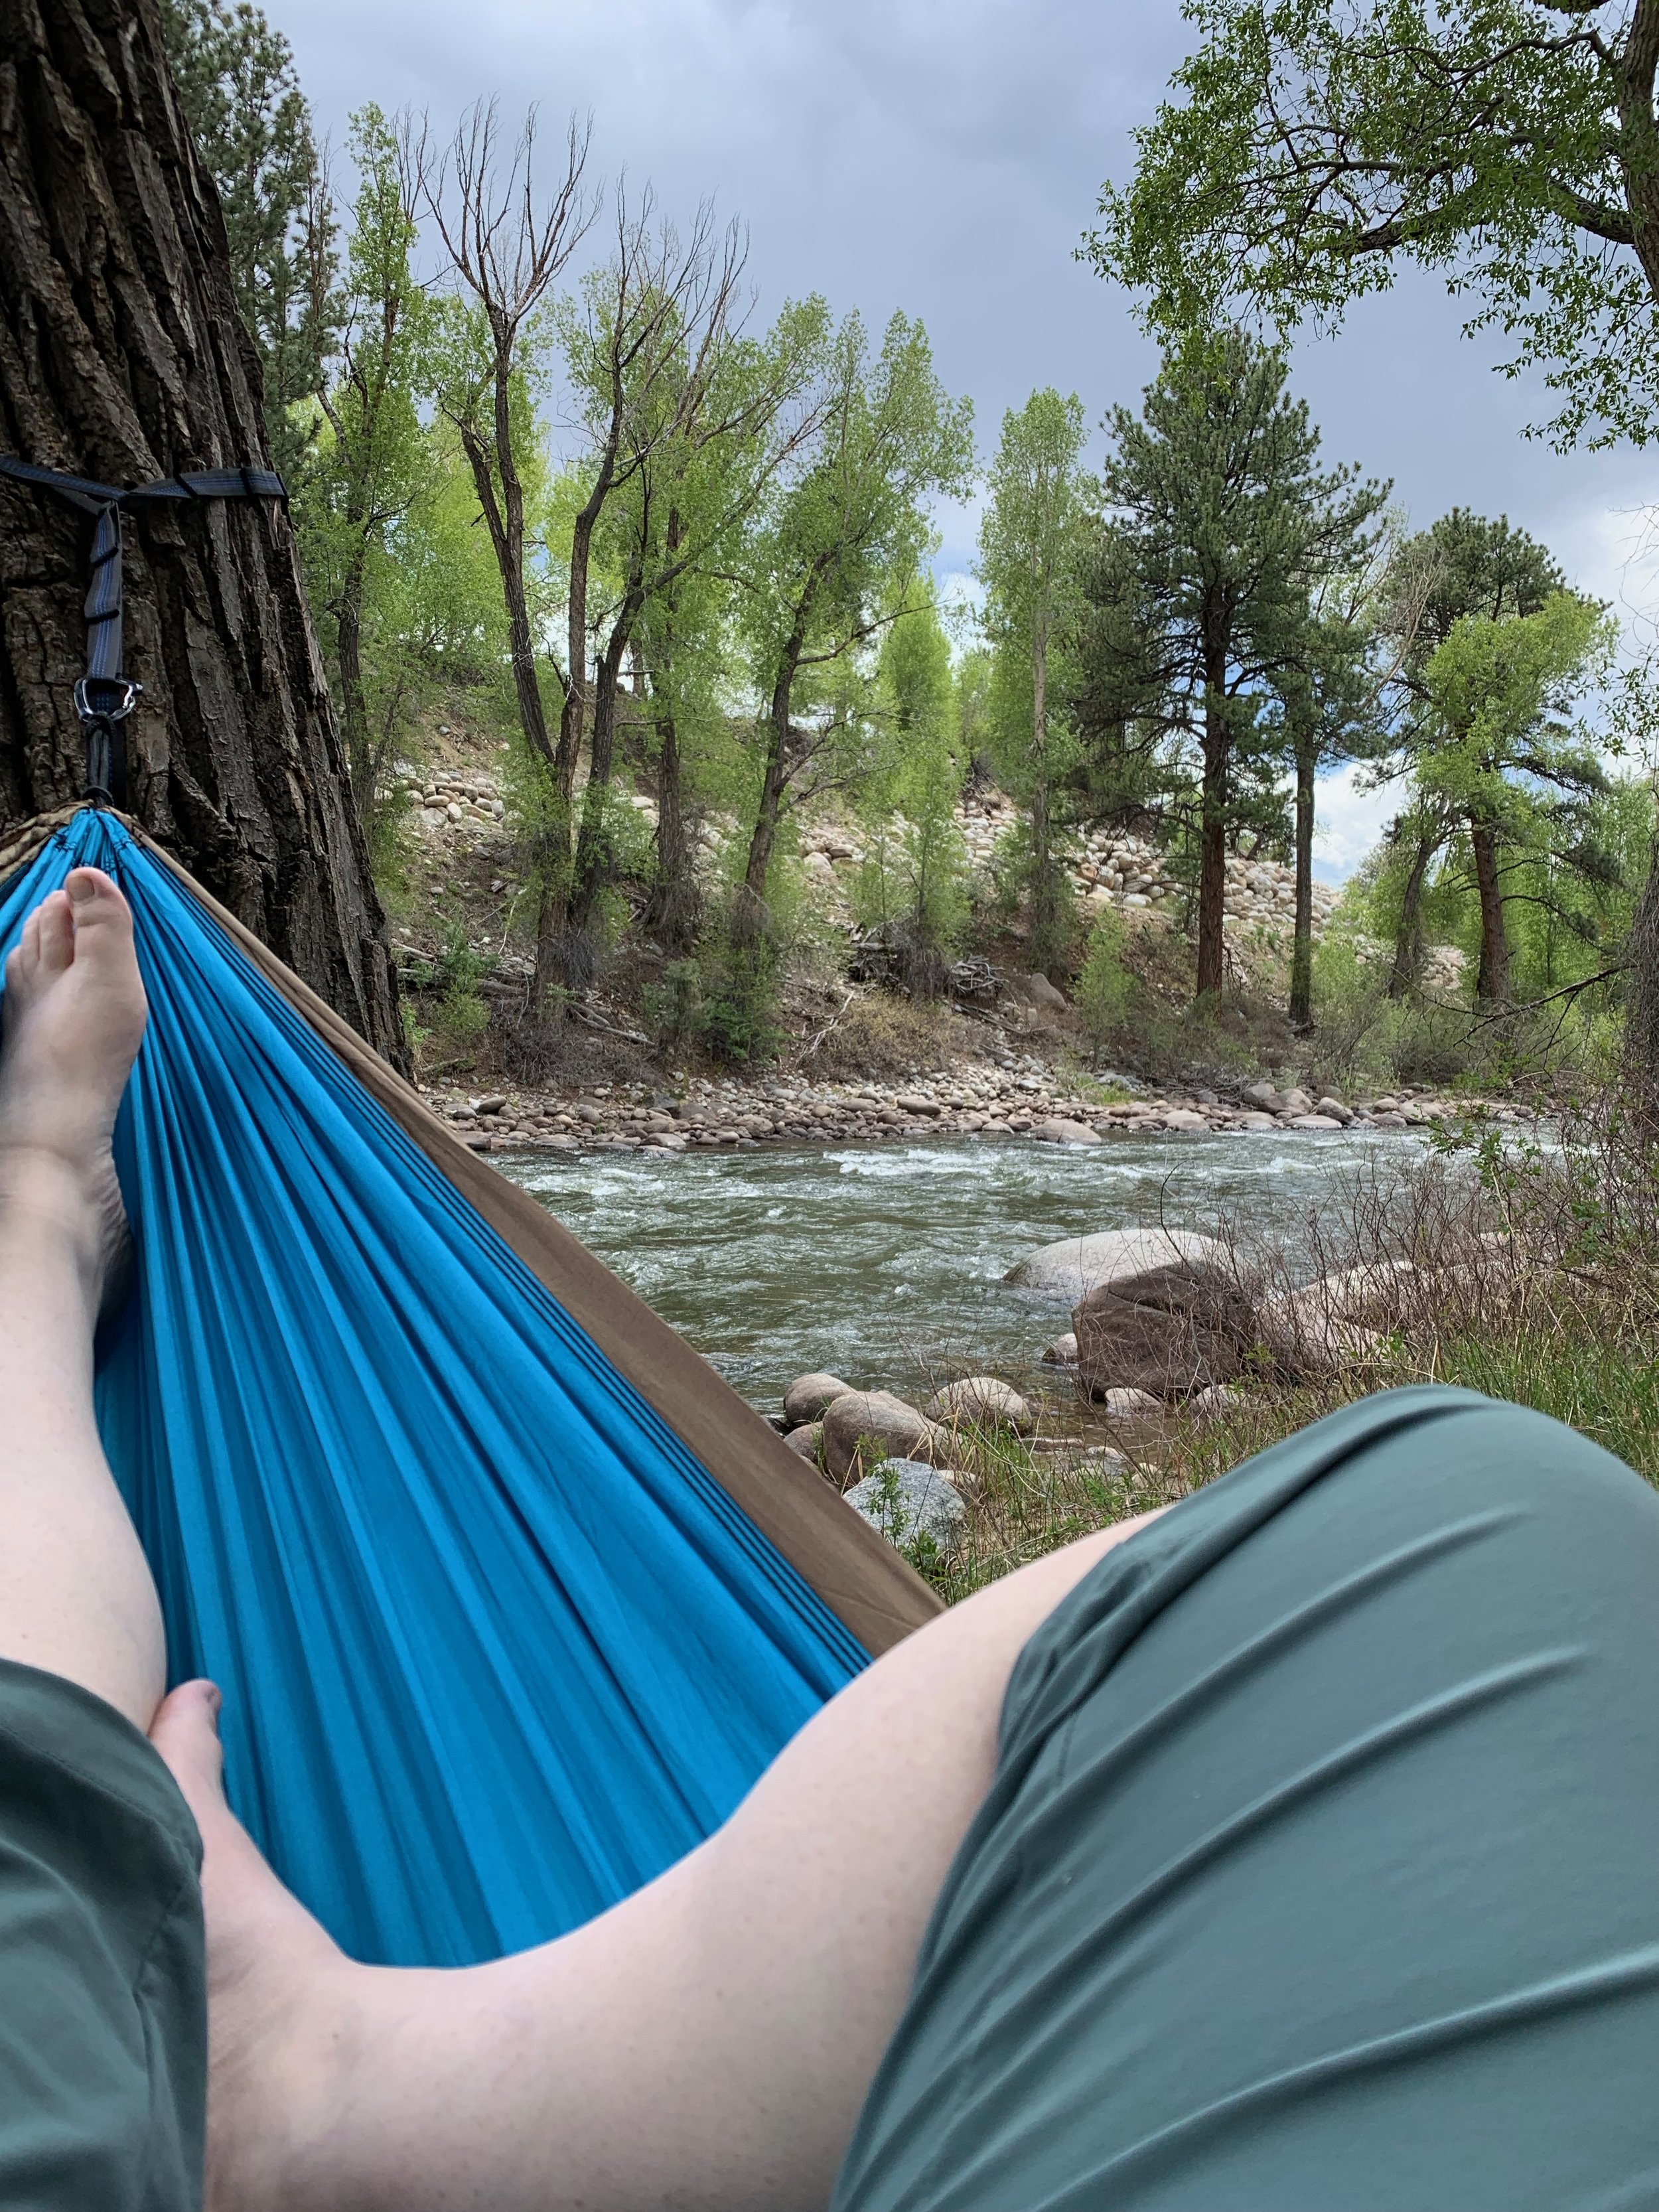
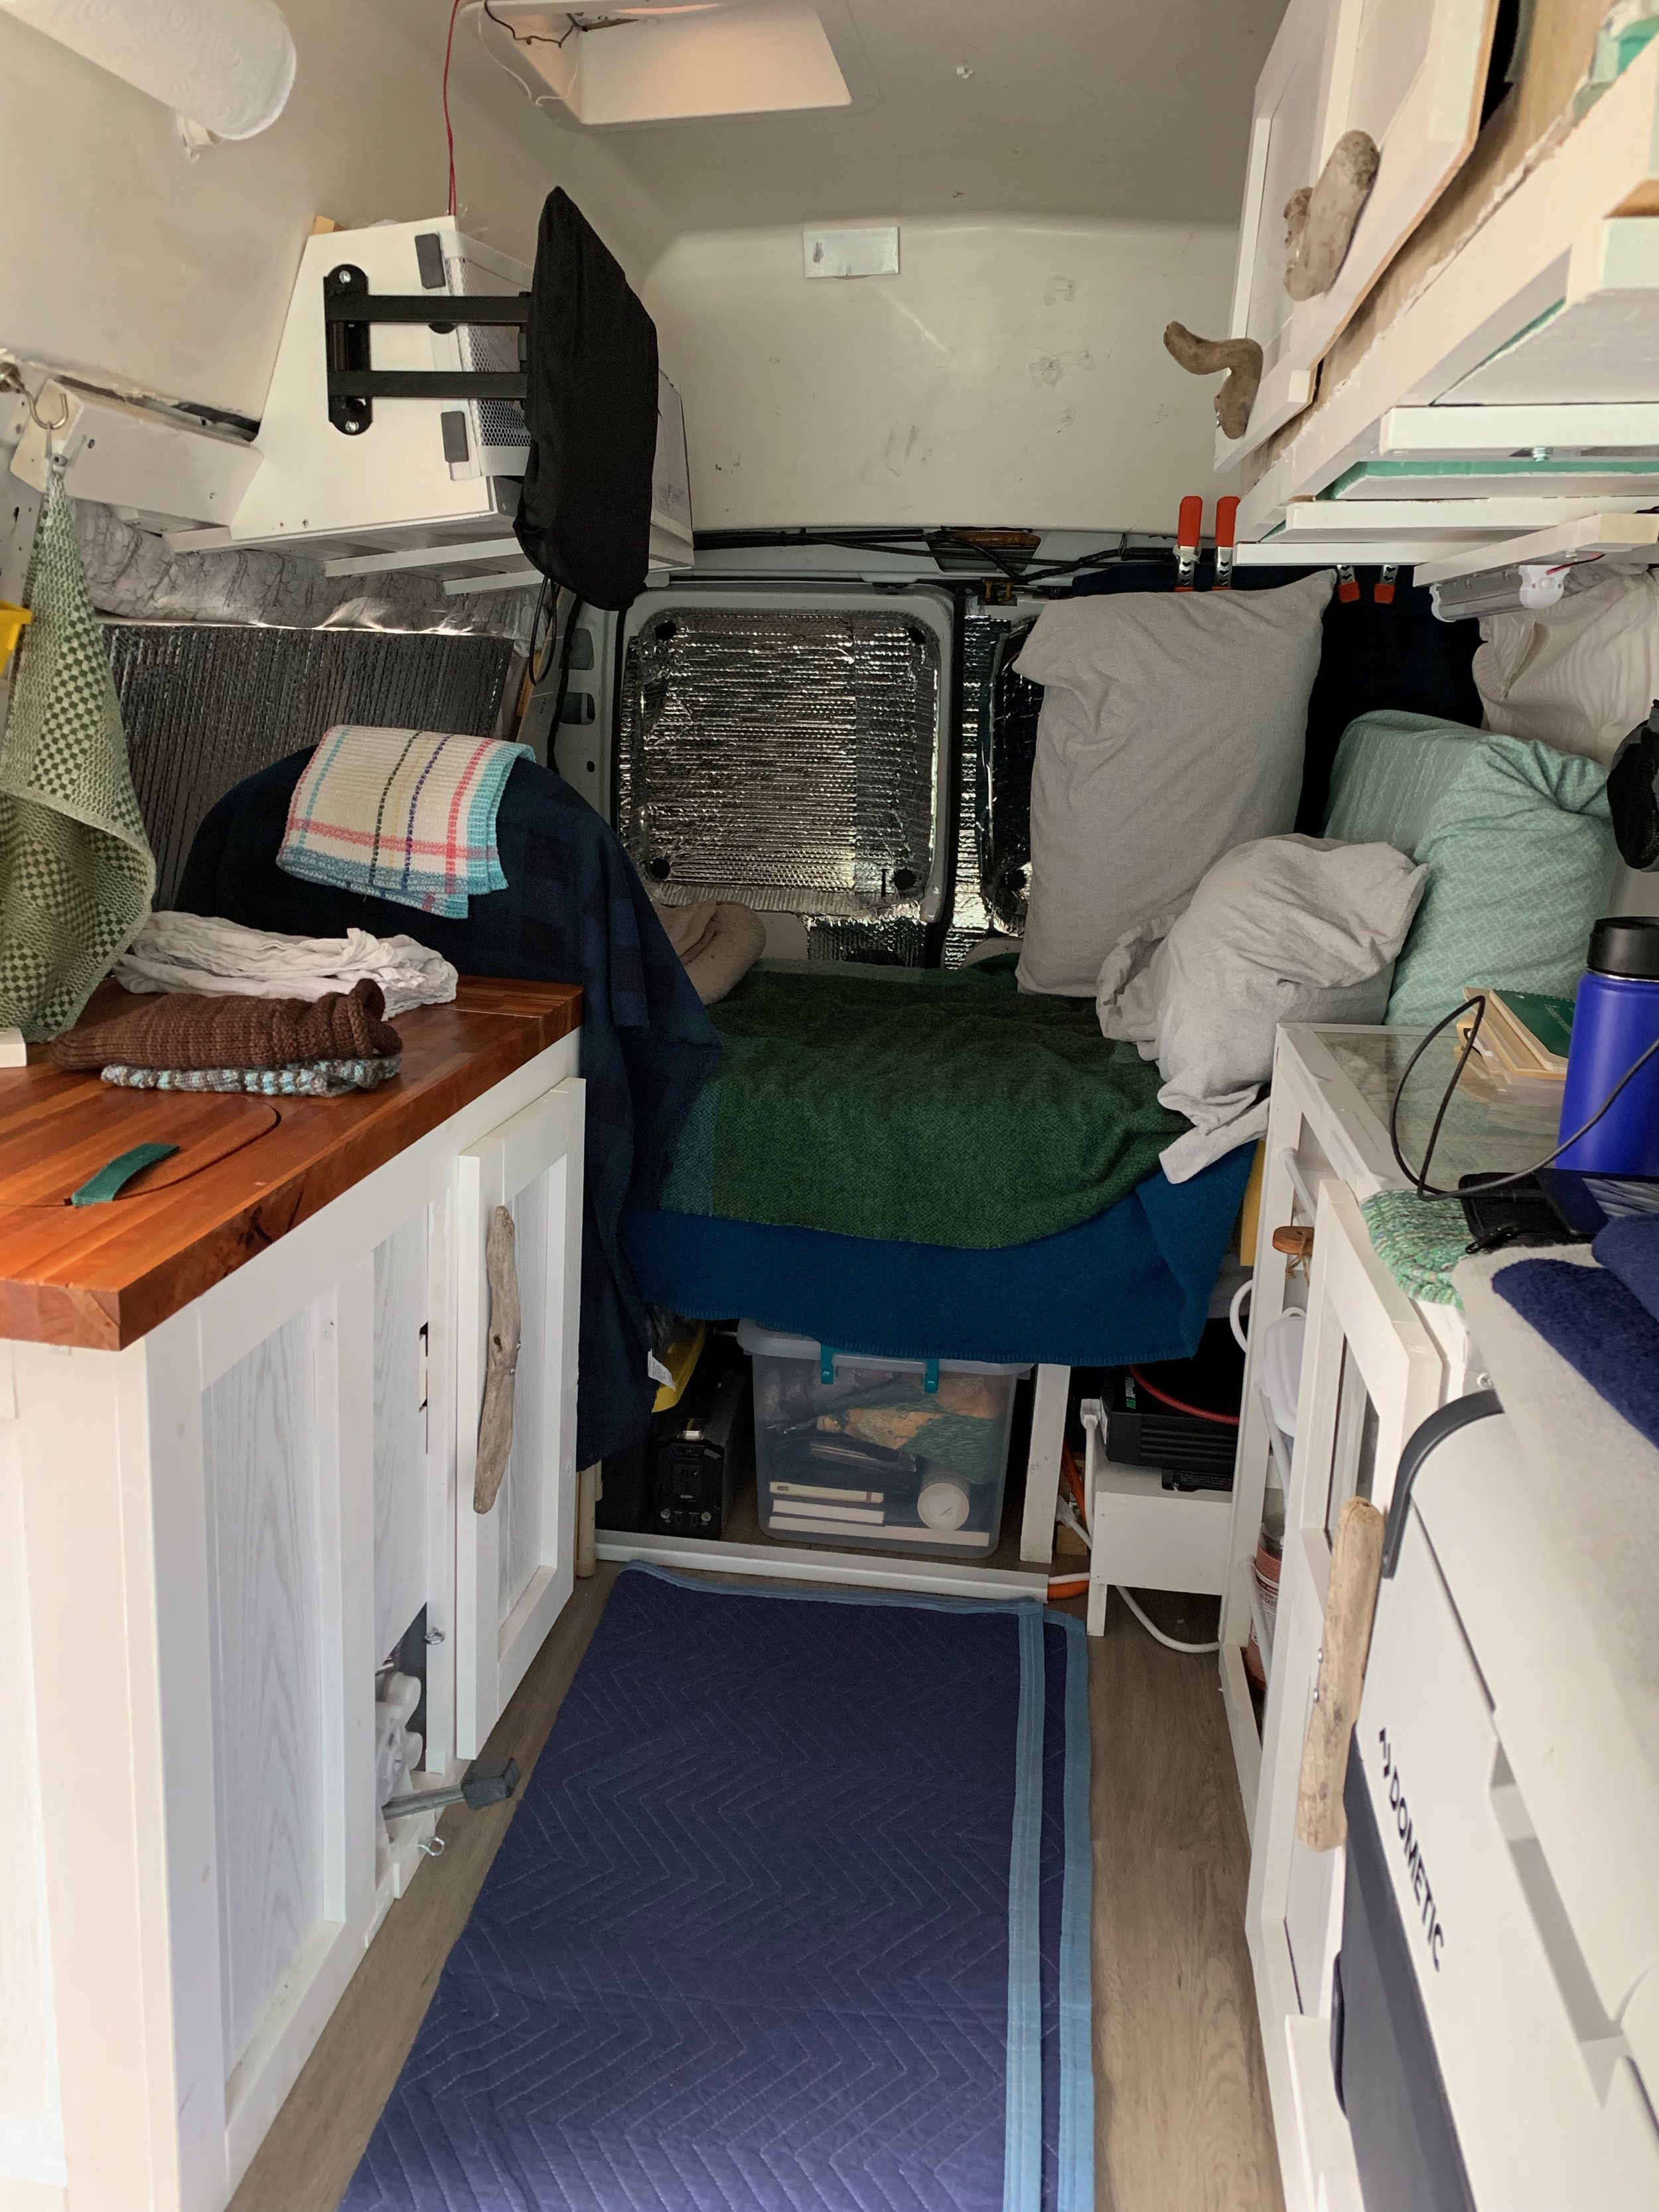
Since I mostly worked four days on, three days off, I took advantage of the chance to do a fair amount of remote camping. The camping was AMAZING. While there are a number of campgrounds in the area I never paid for a camp spot but found plenty of free boon docking. All of these were within 45 minutes of where I lived/worked.
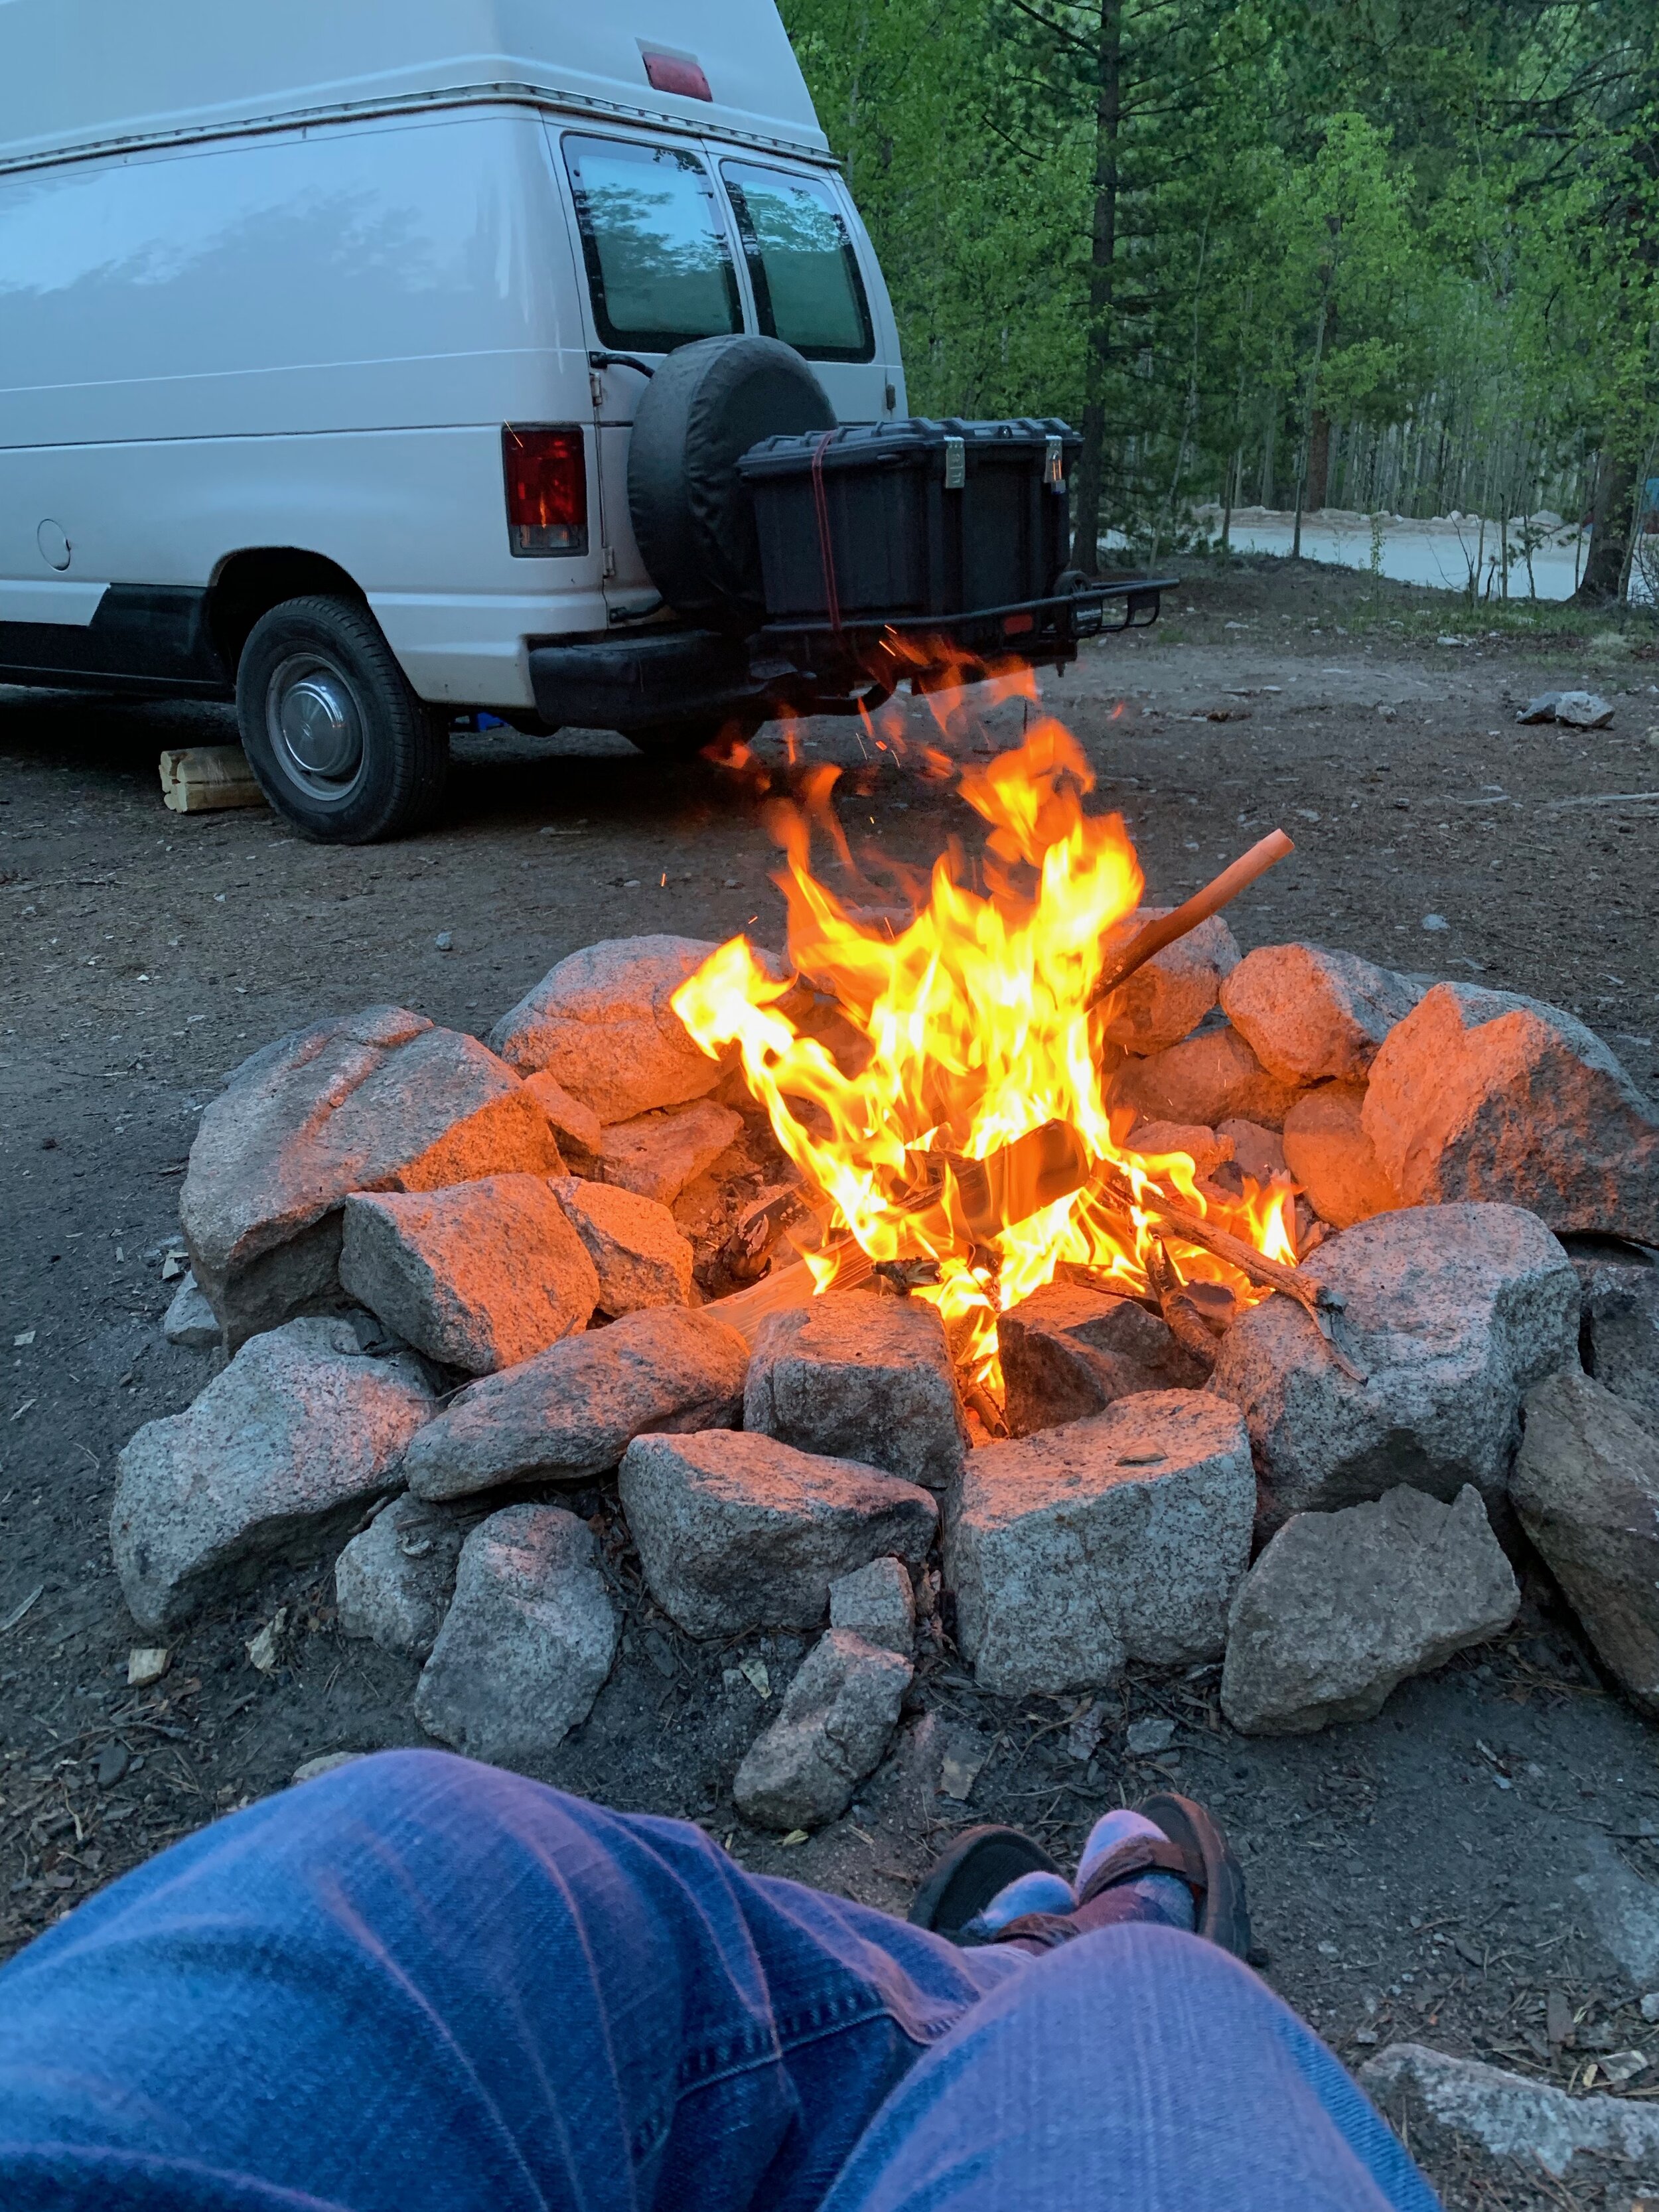
Boon docking spot

Another boon docking site

Boon docking on the Middle Cottonwood
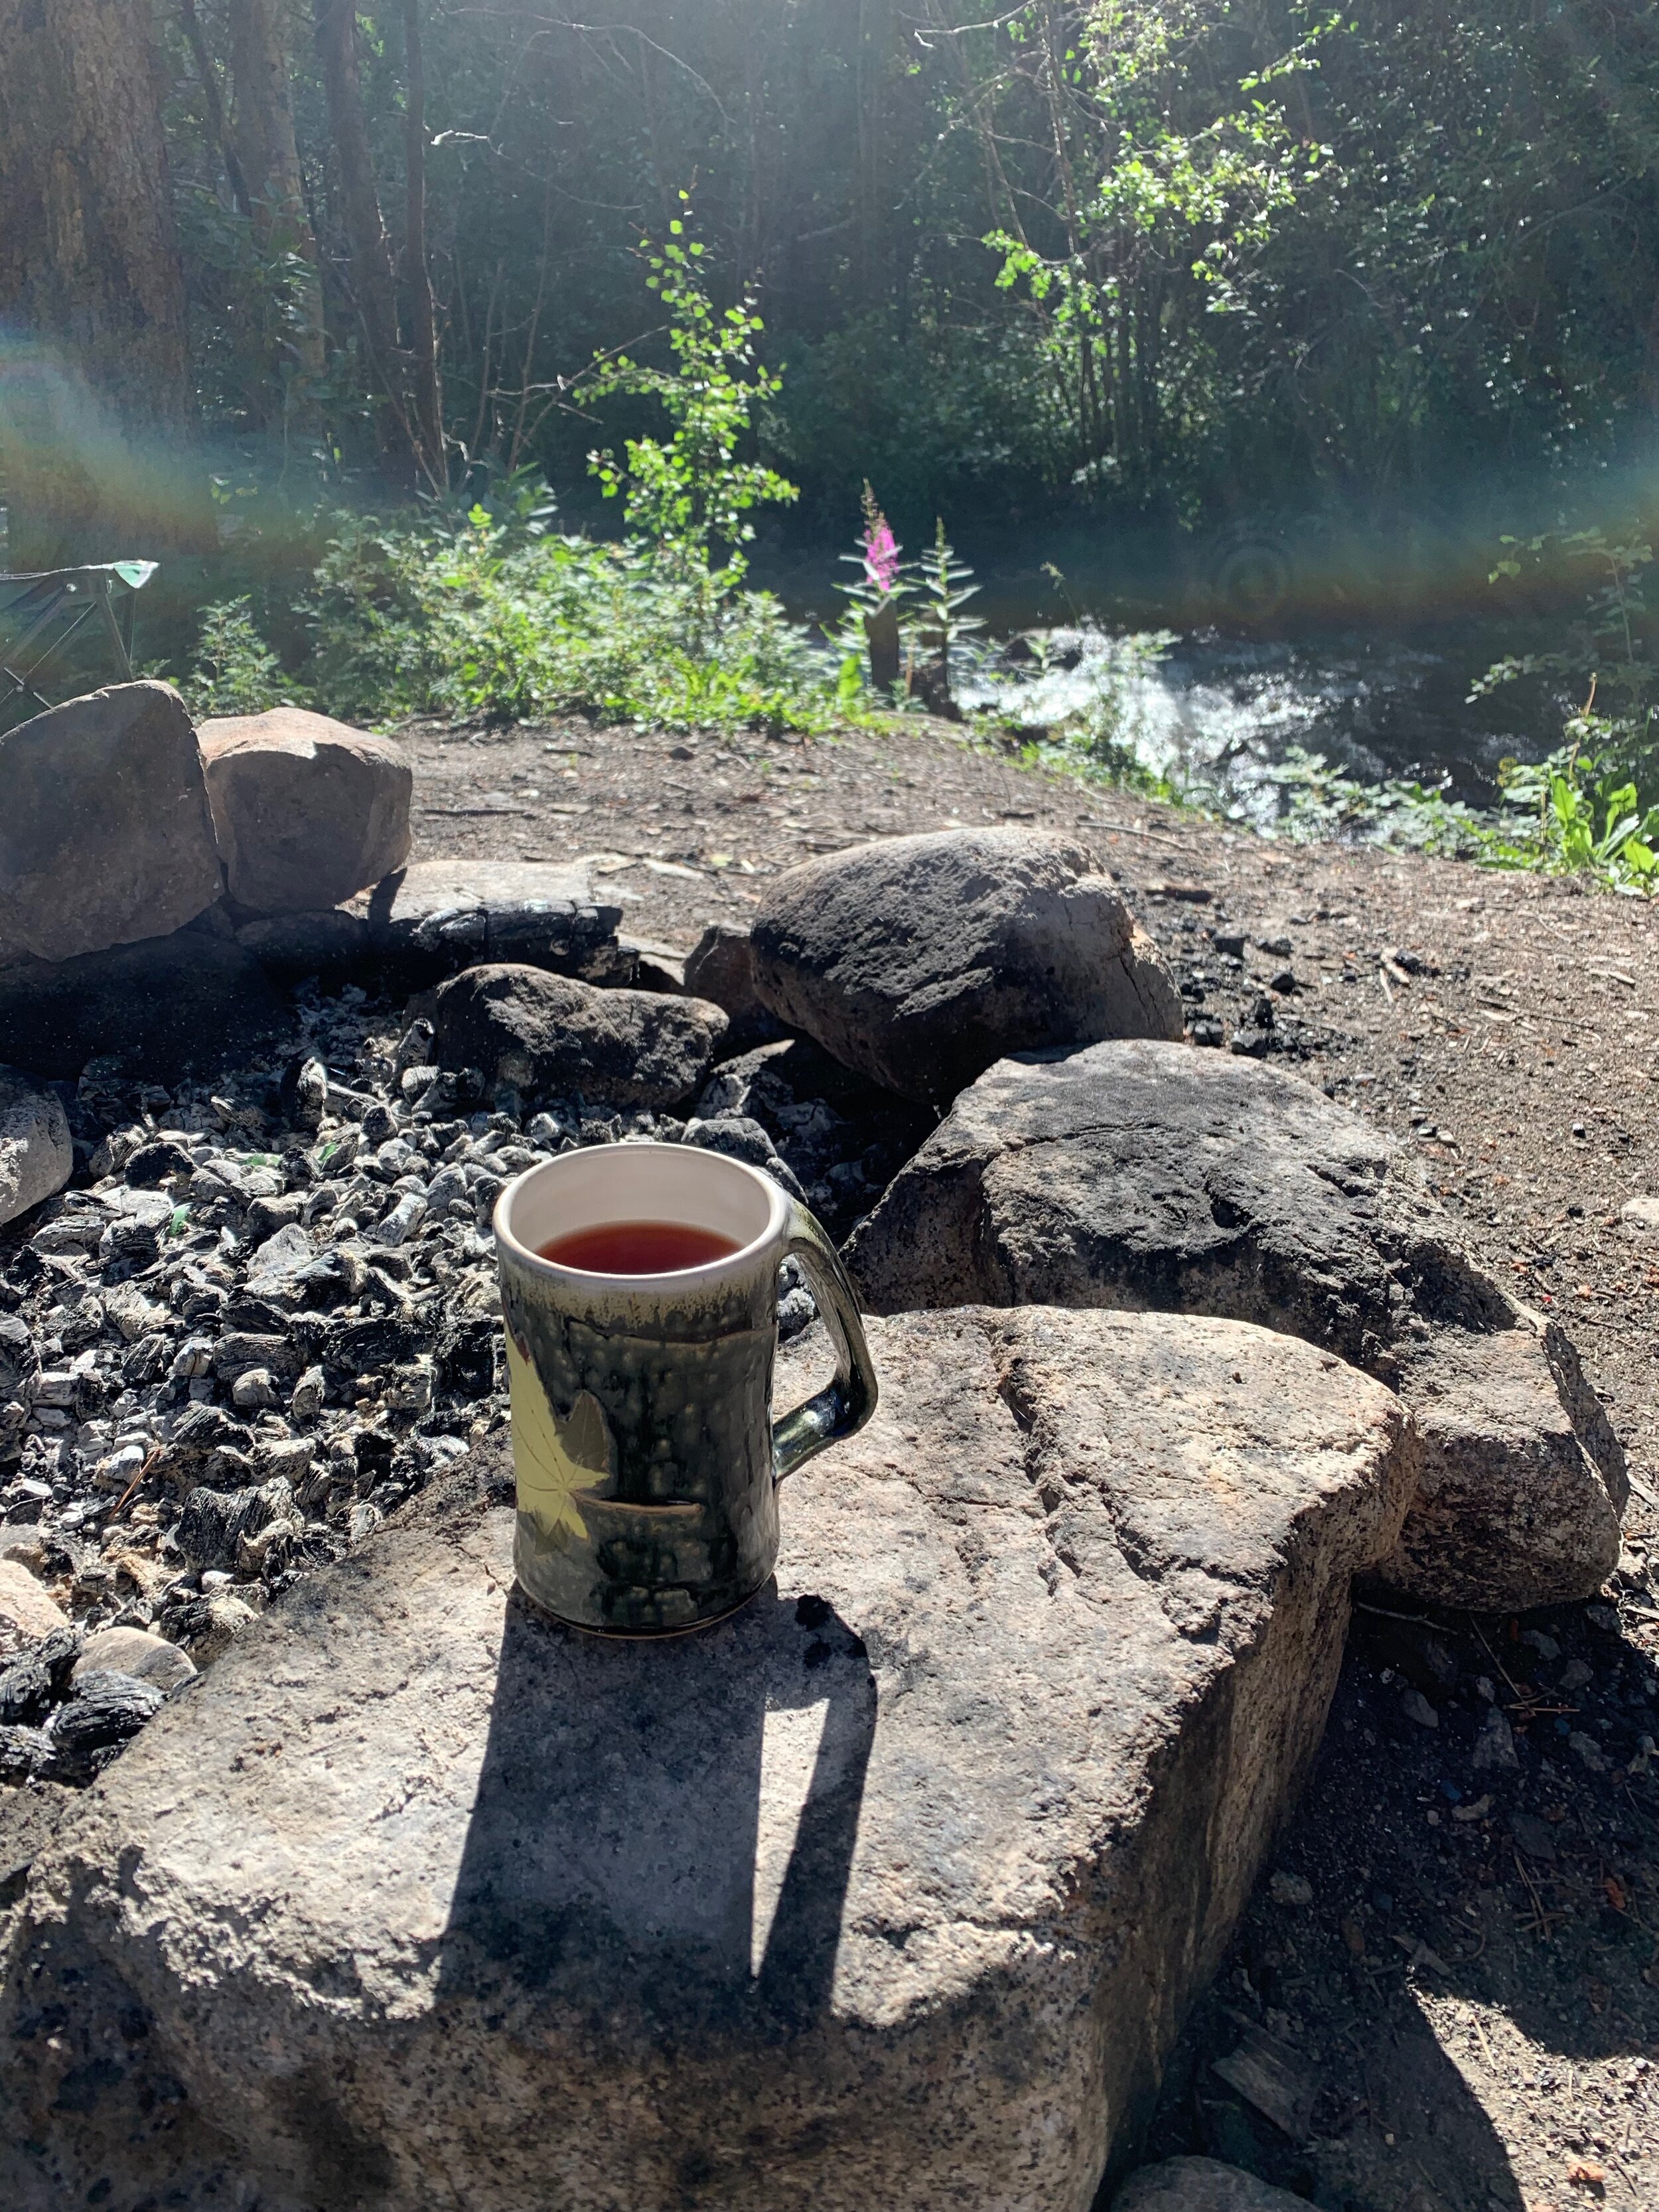
Morning tea at creekside
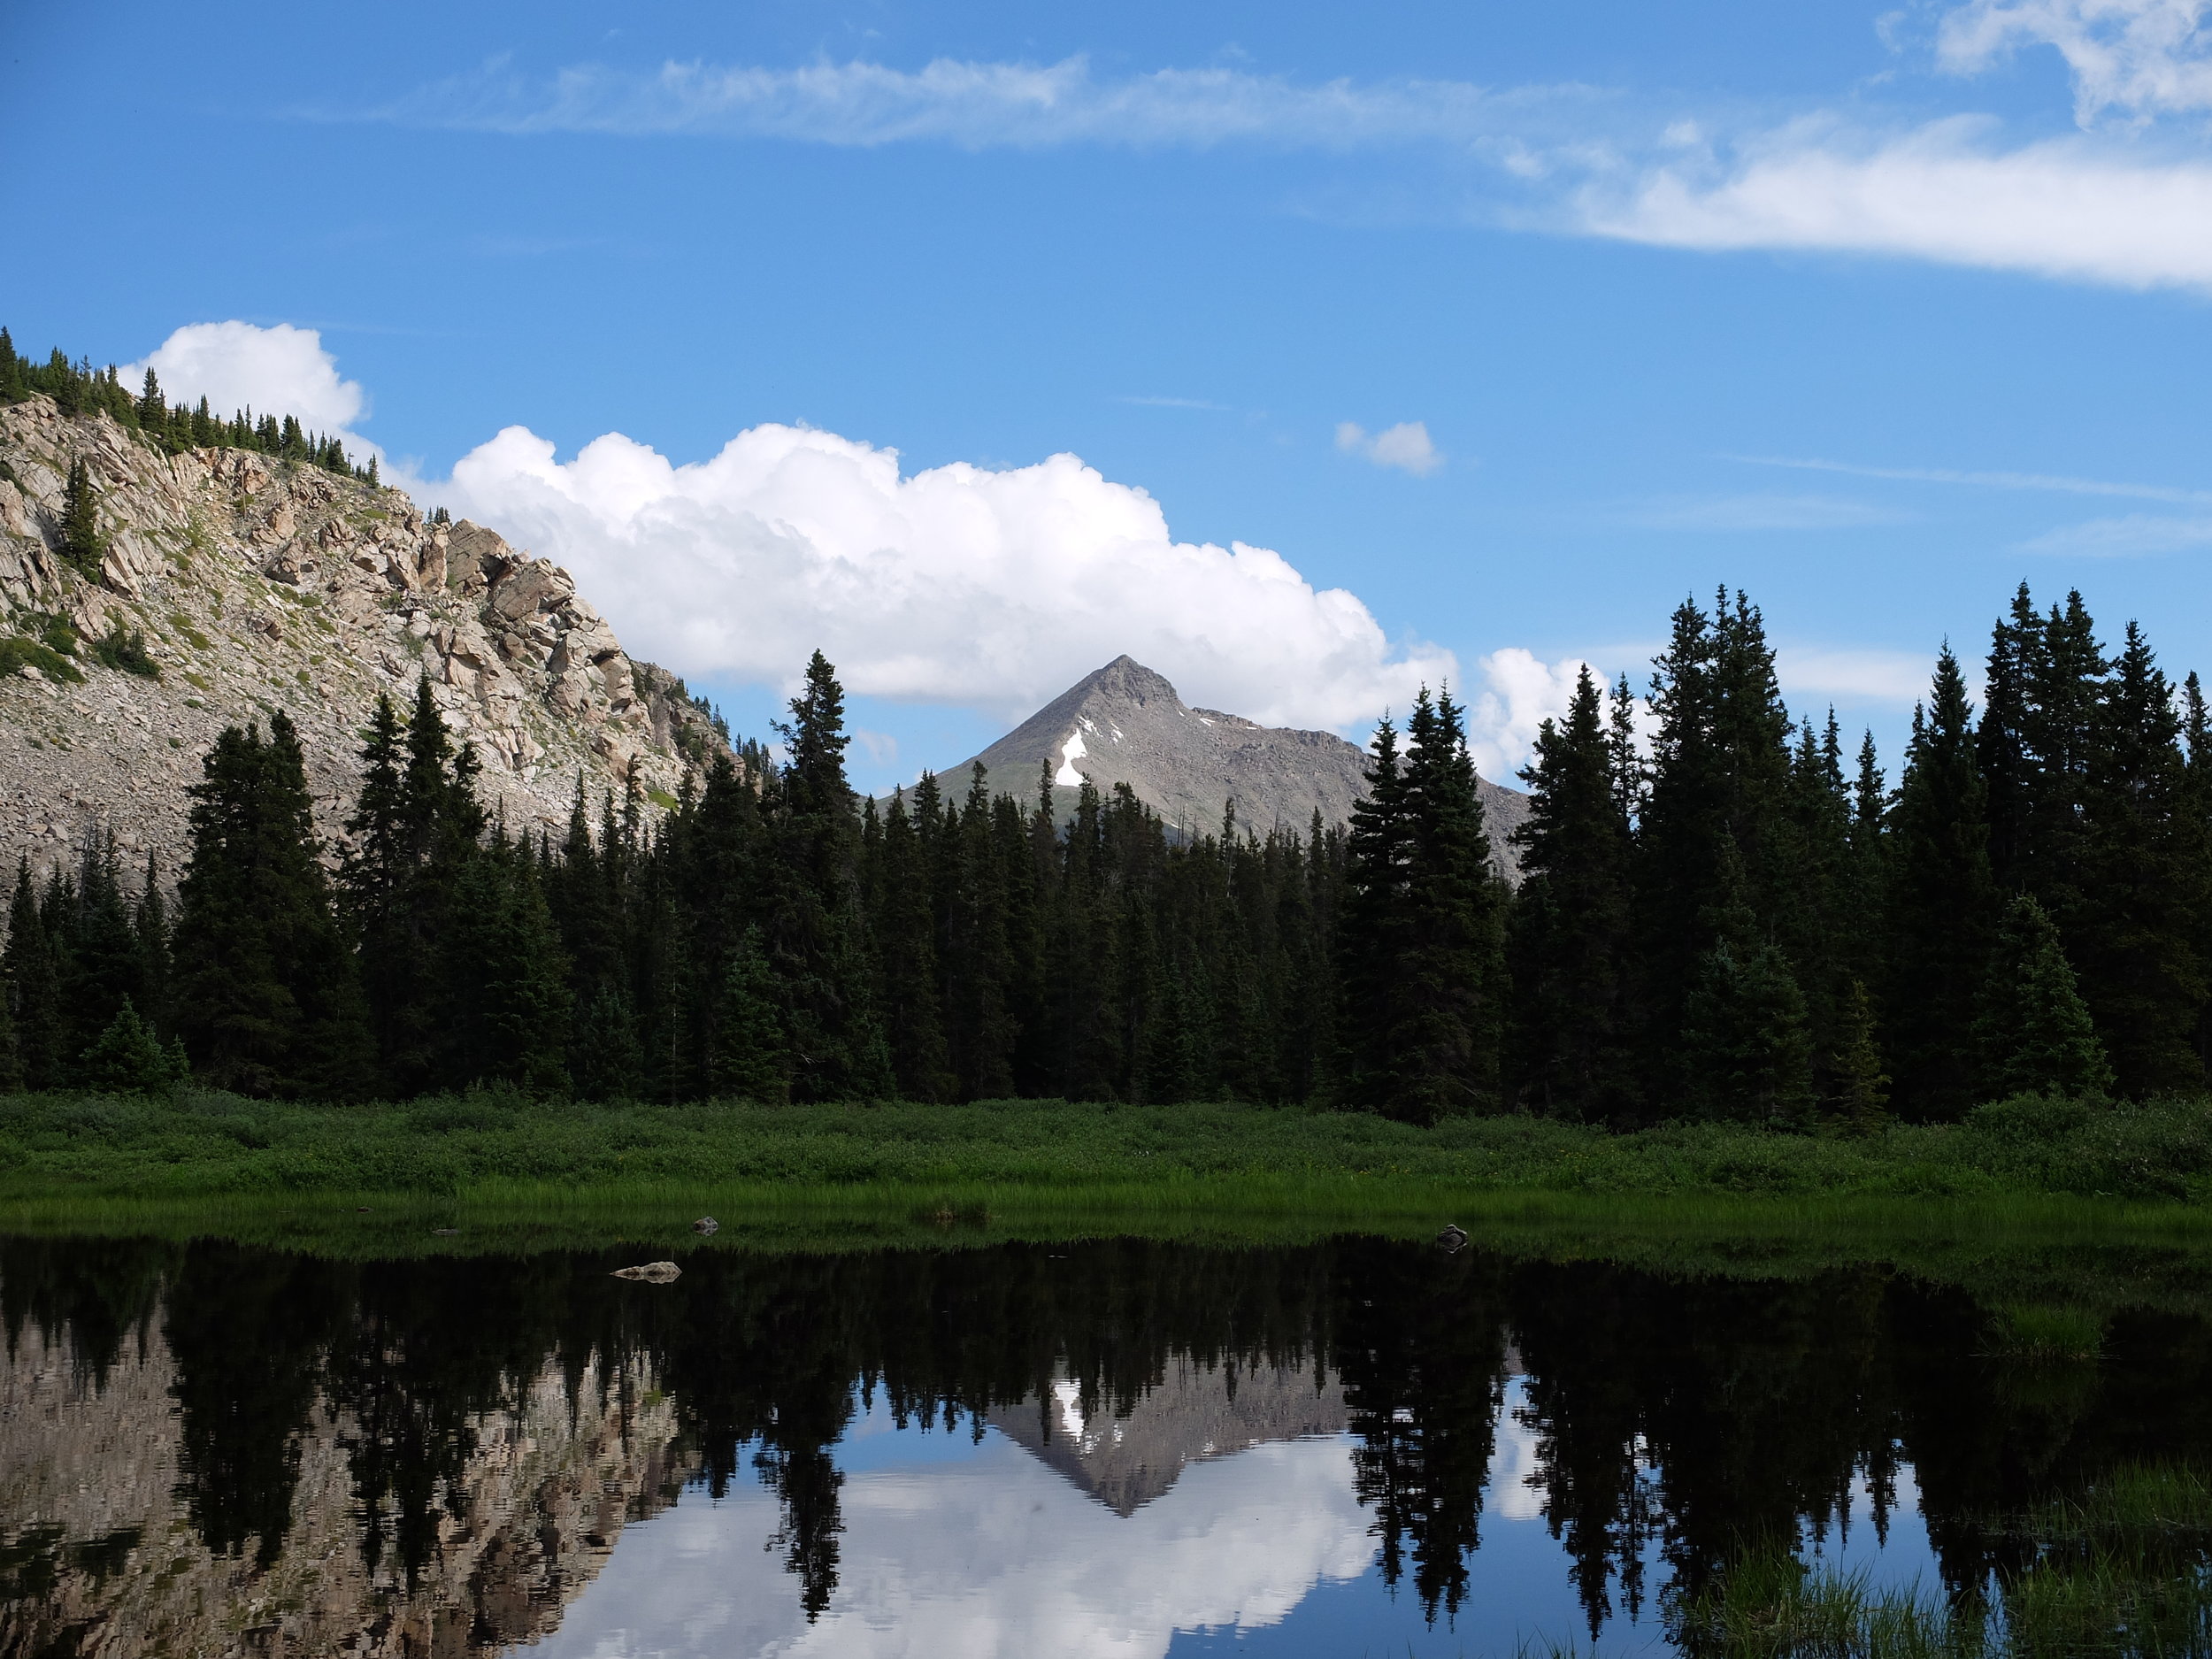
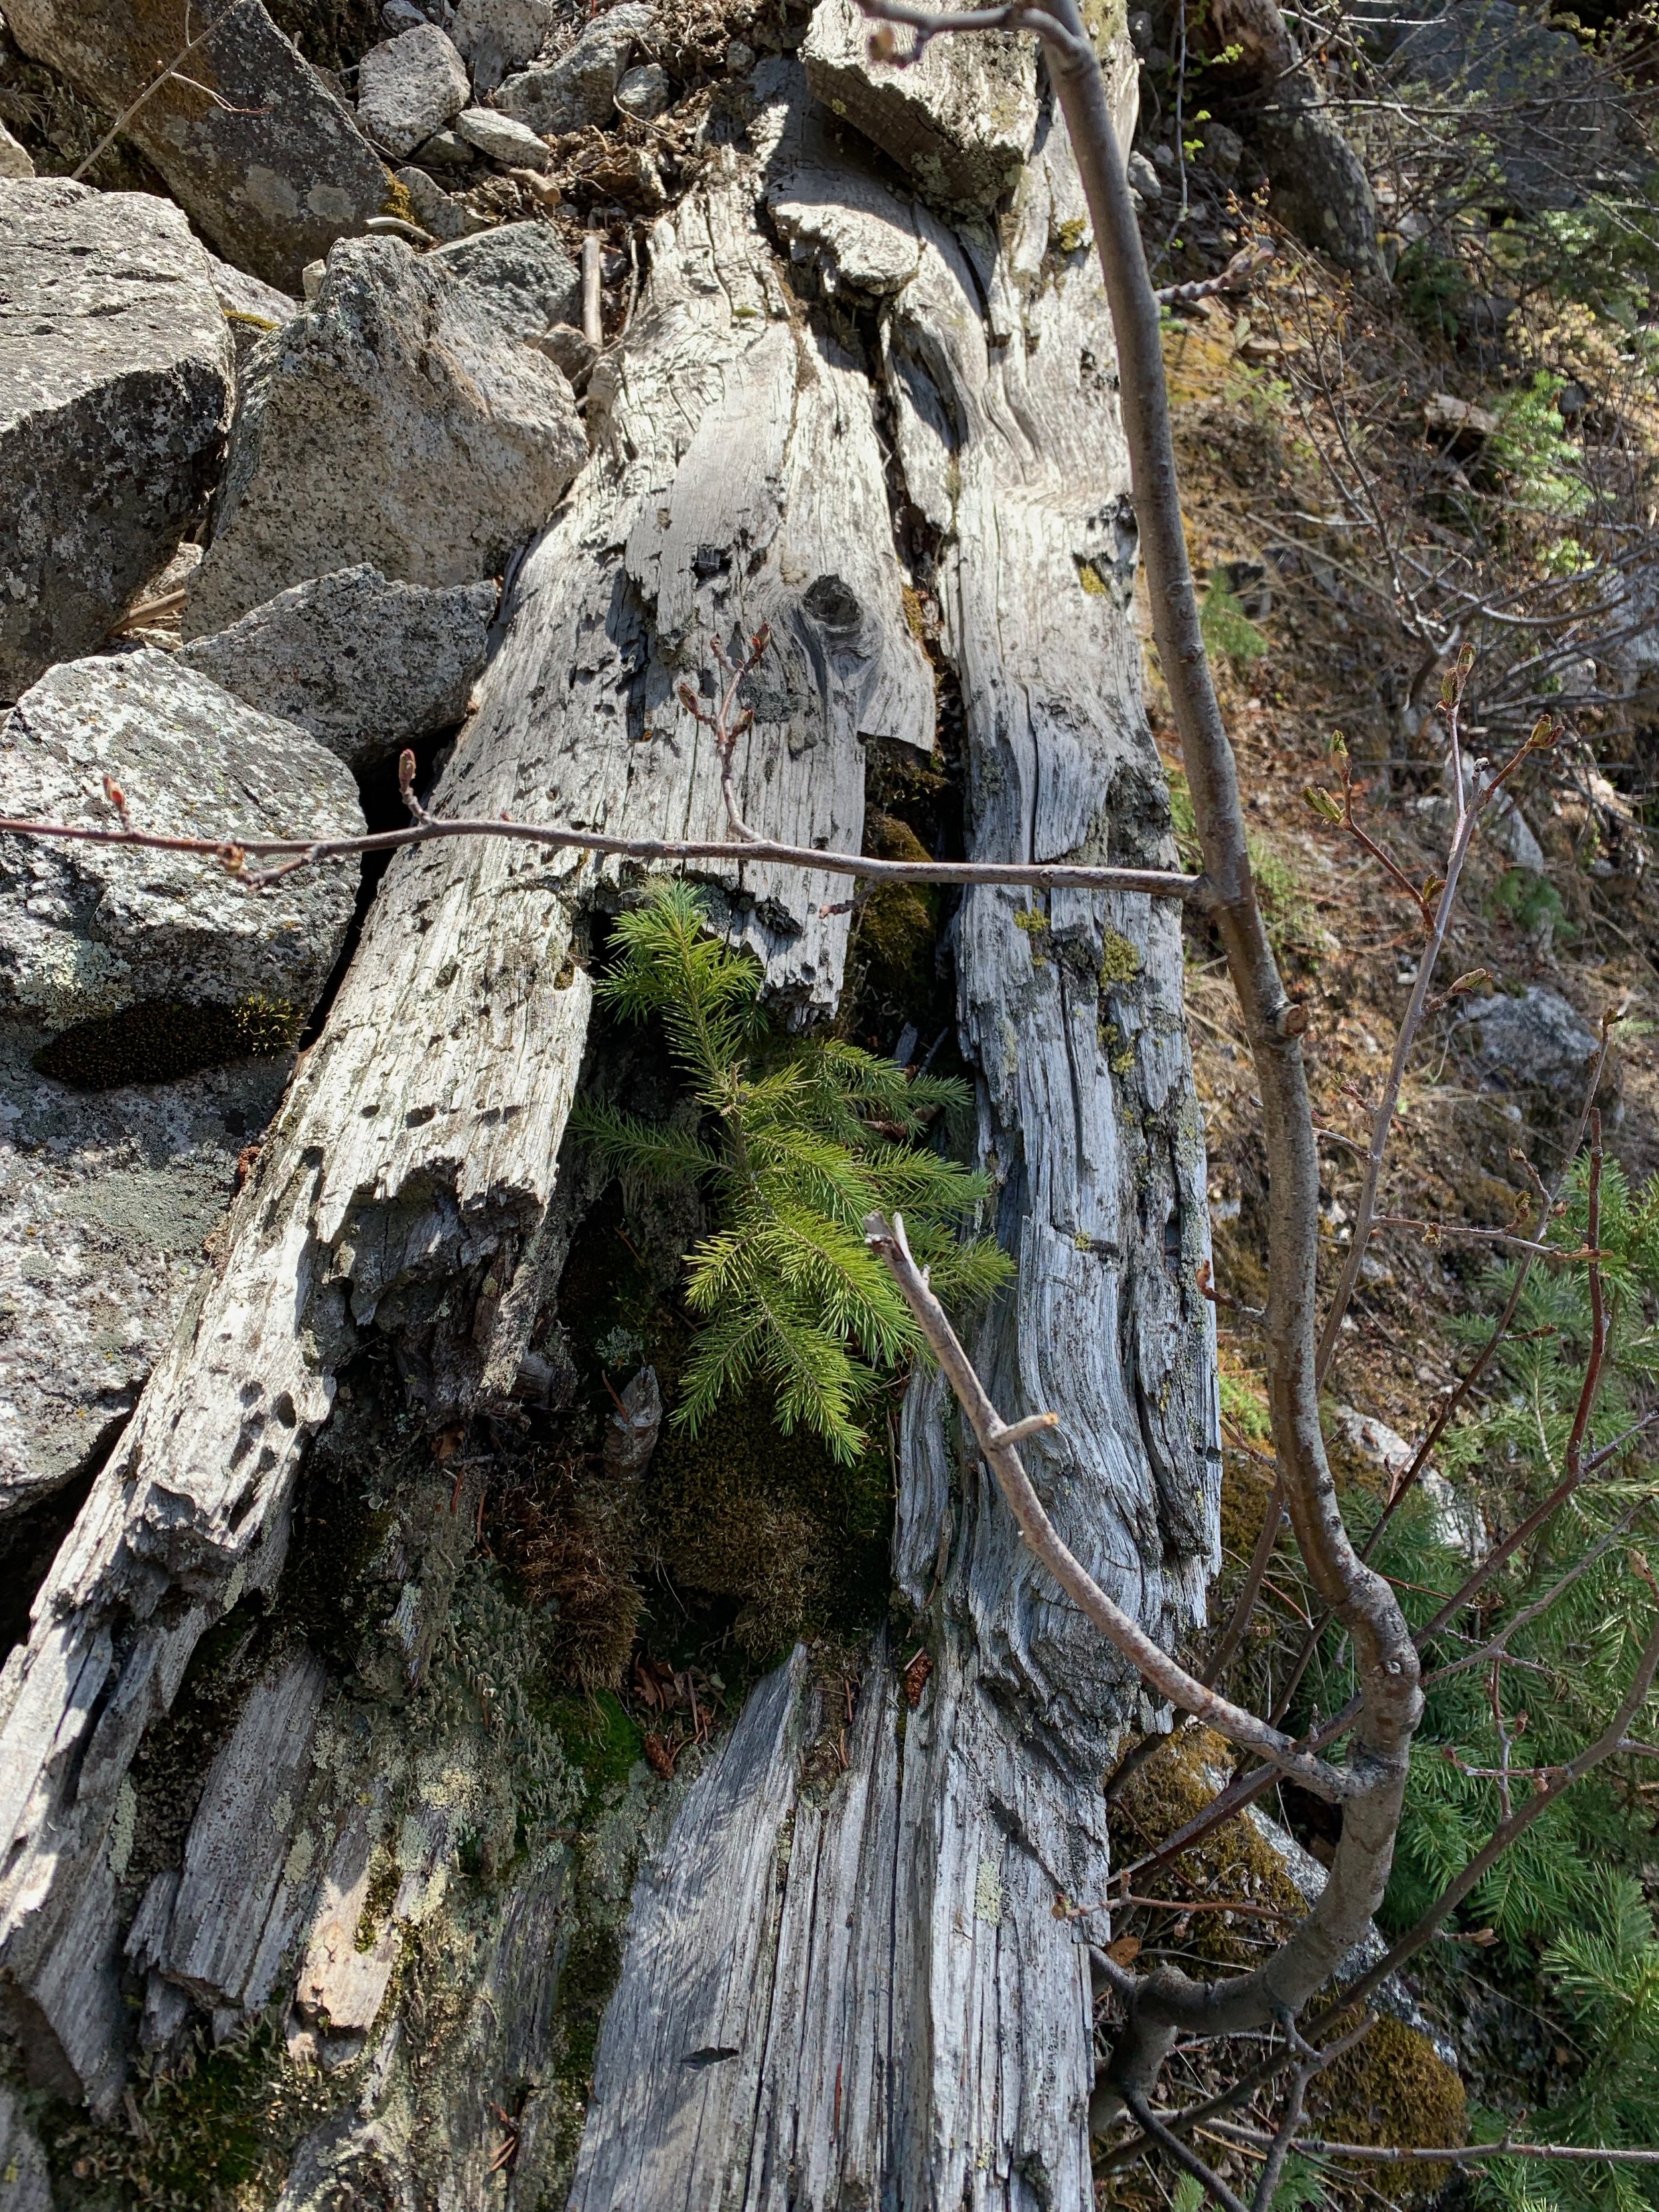
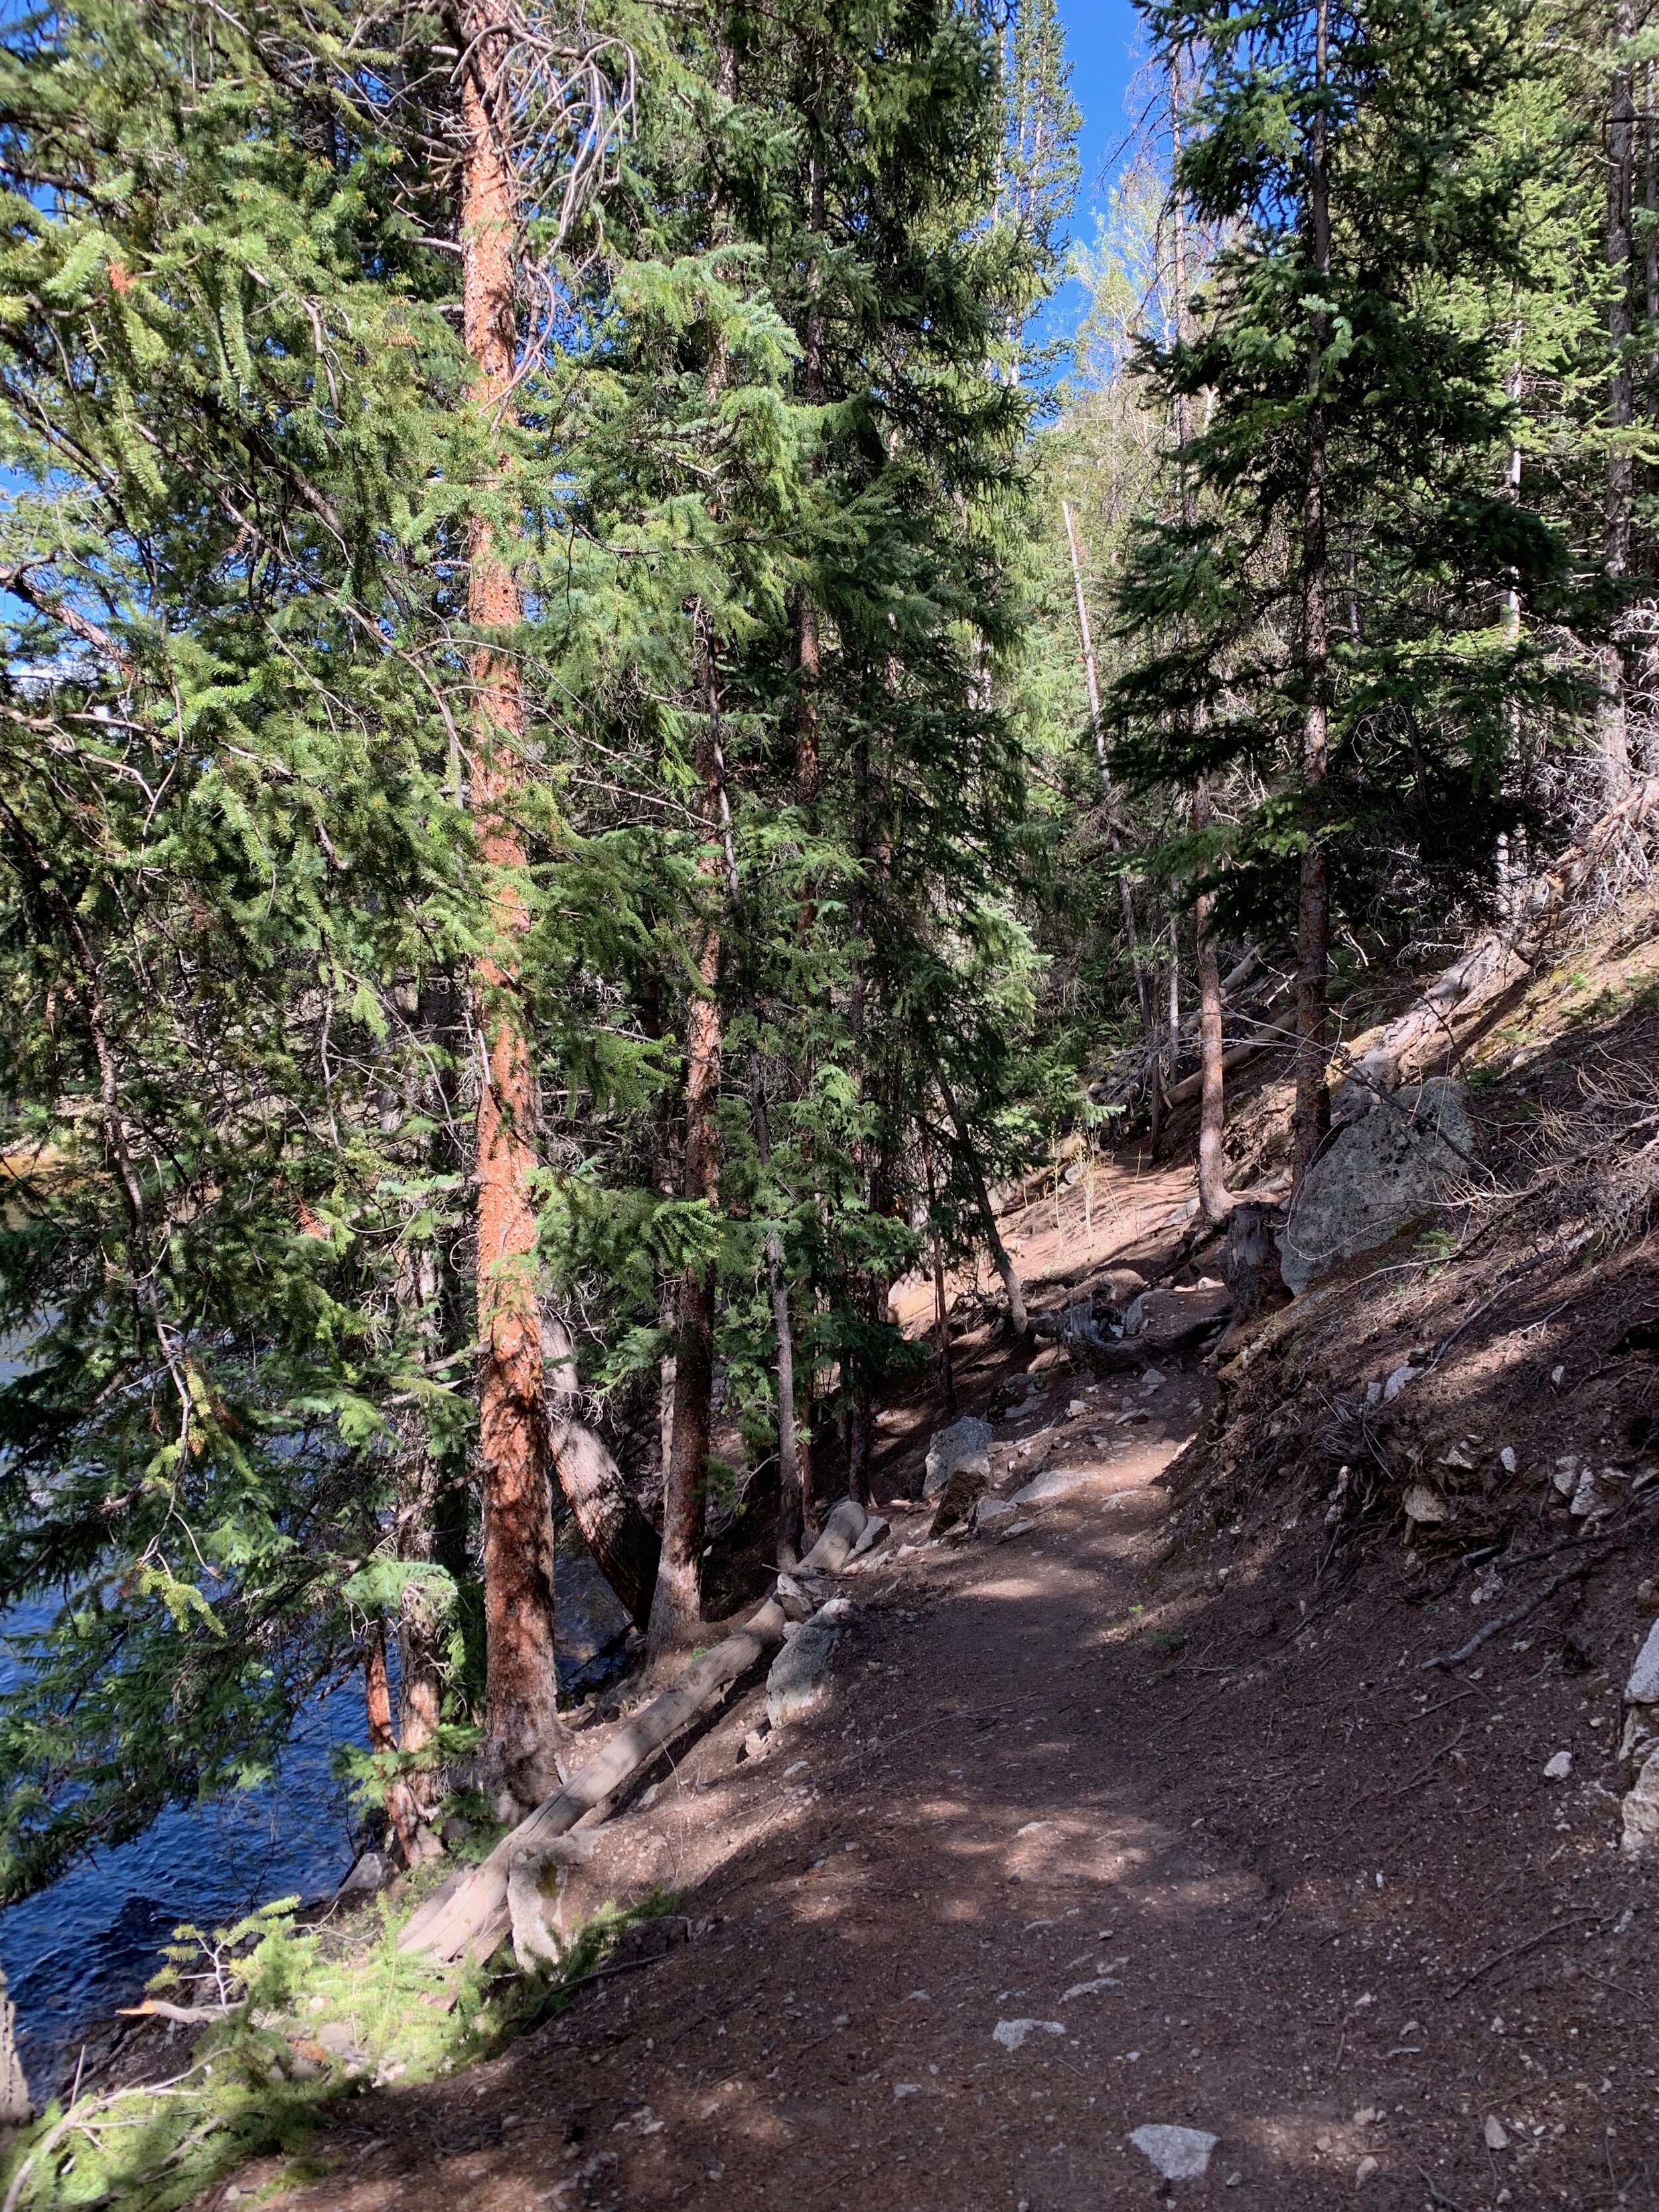
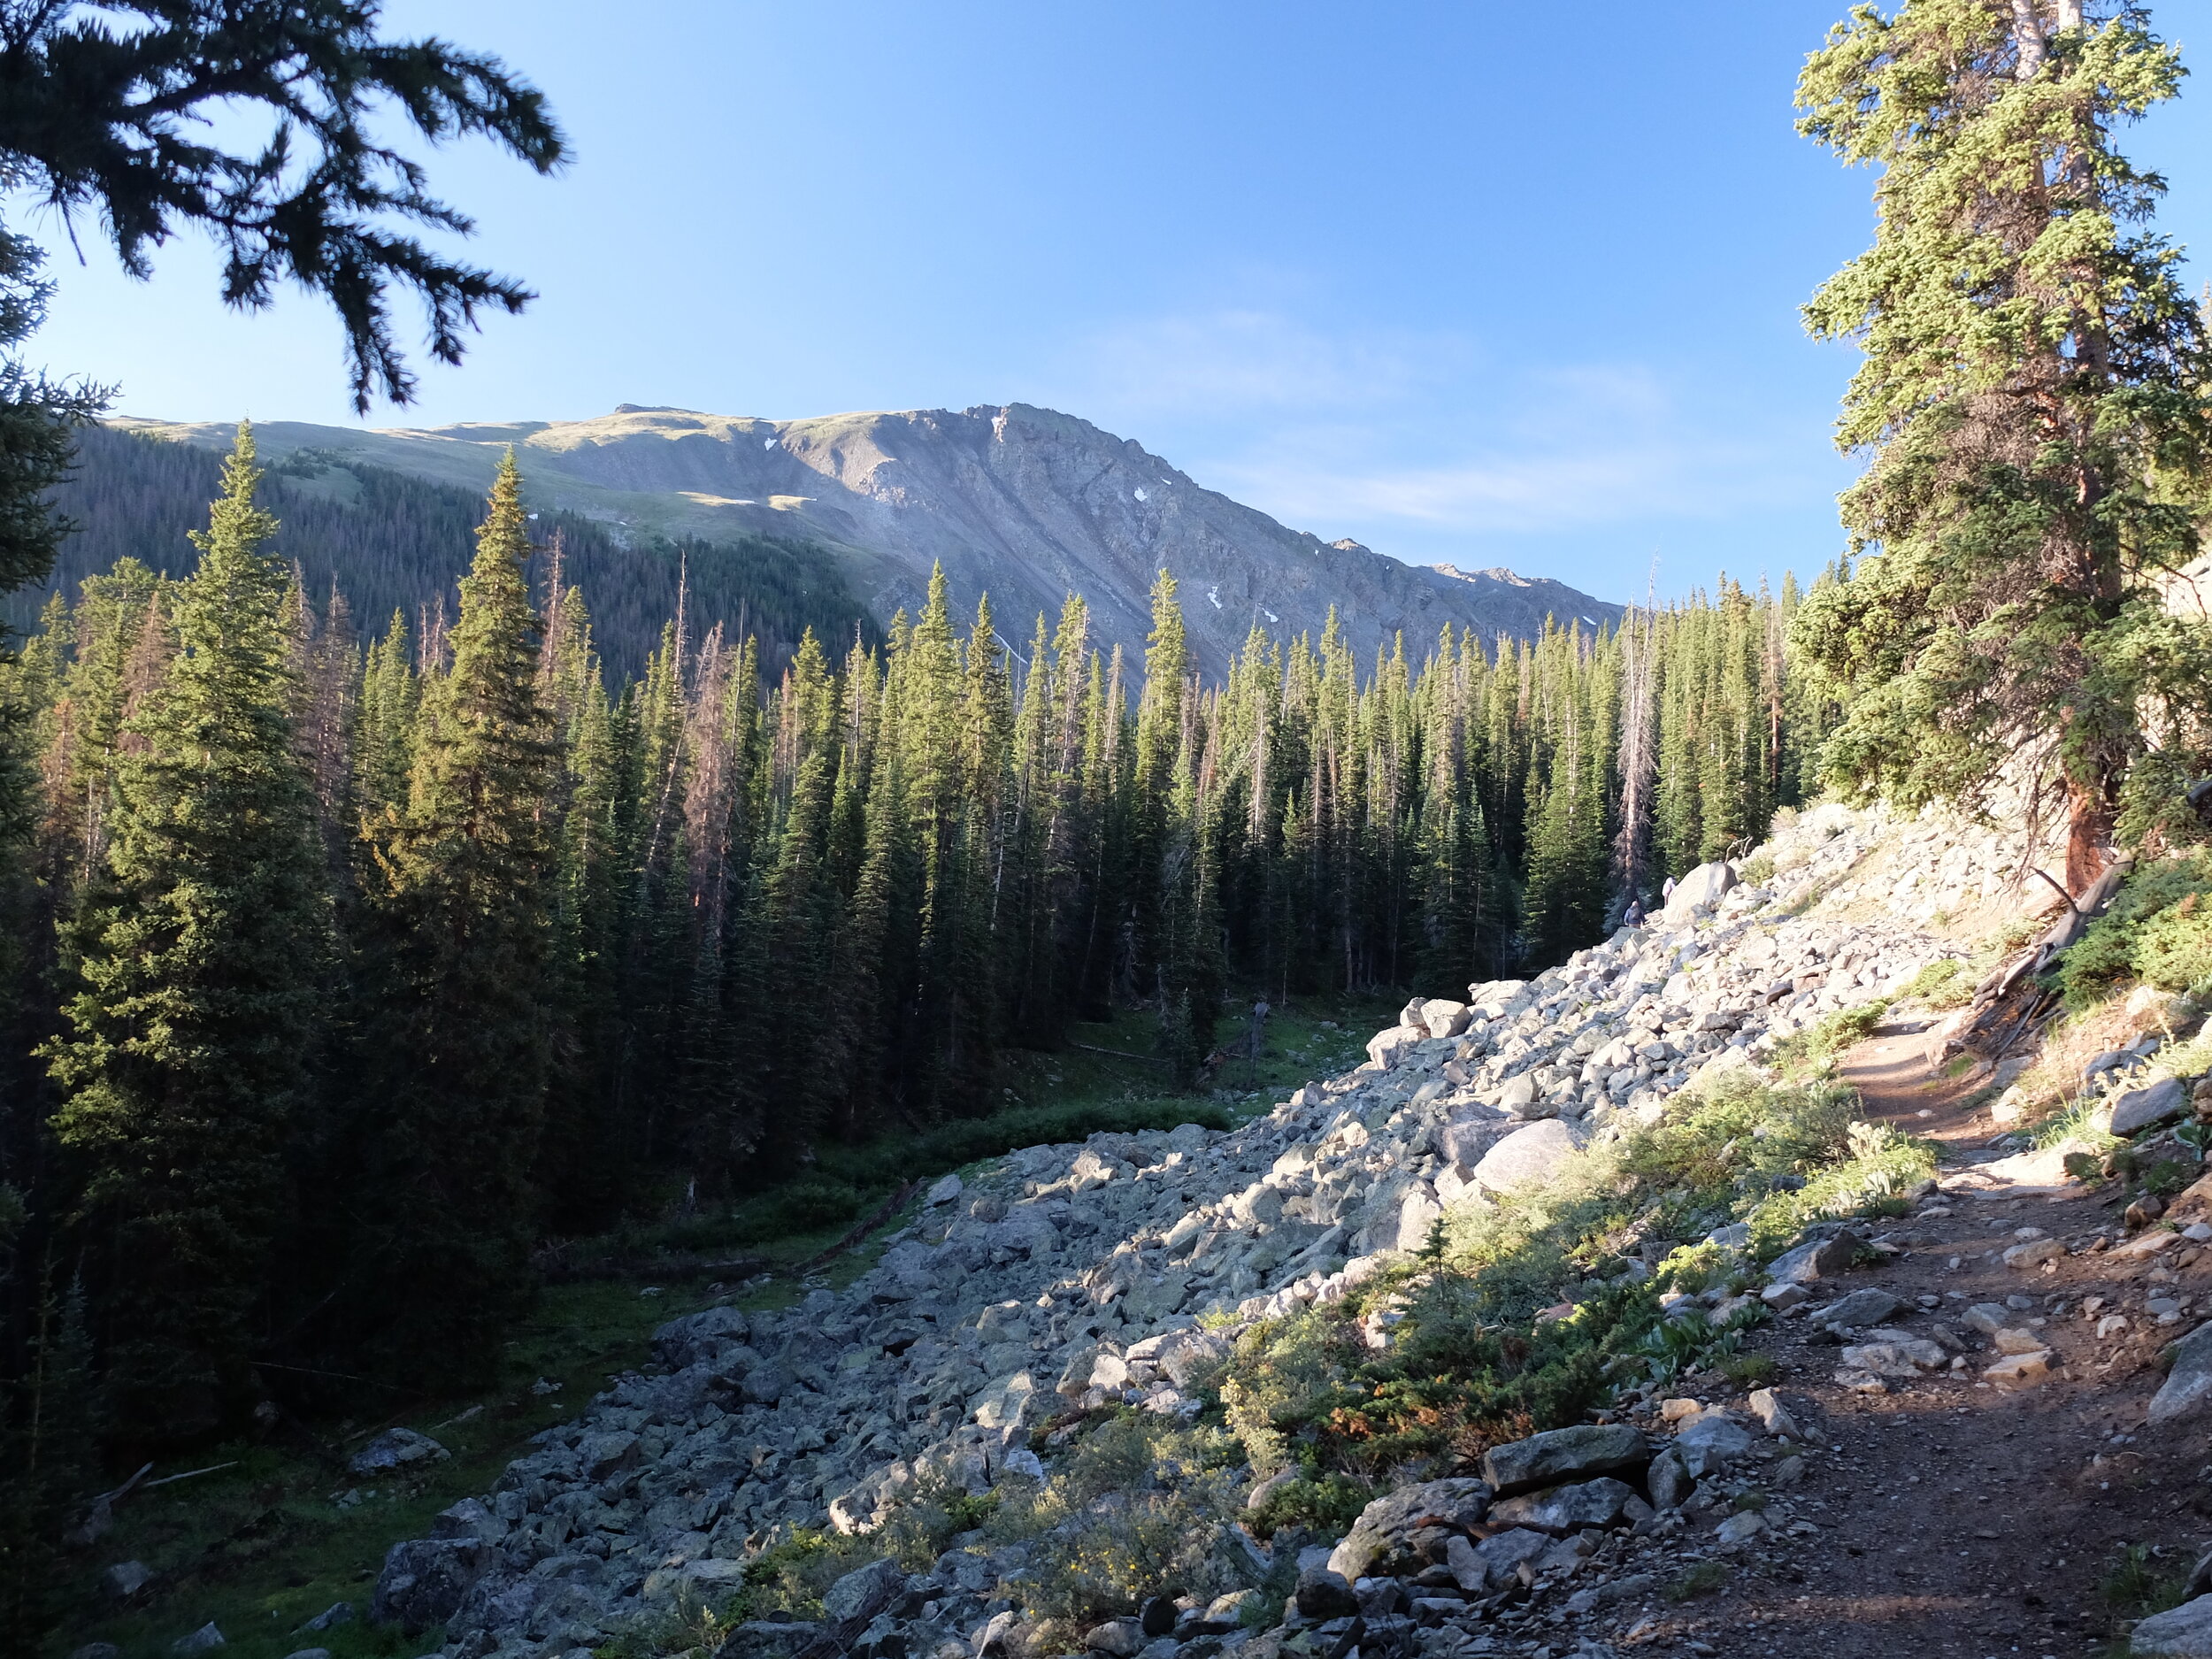
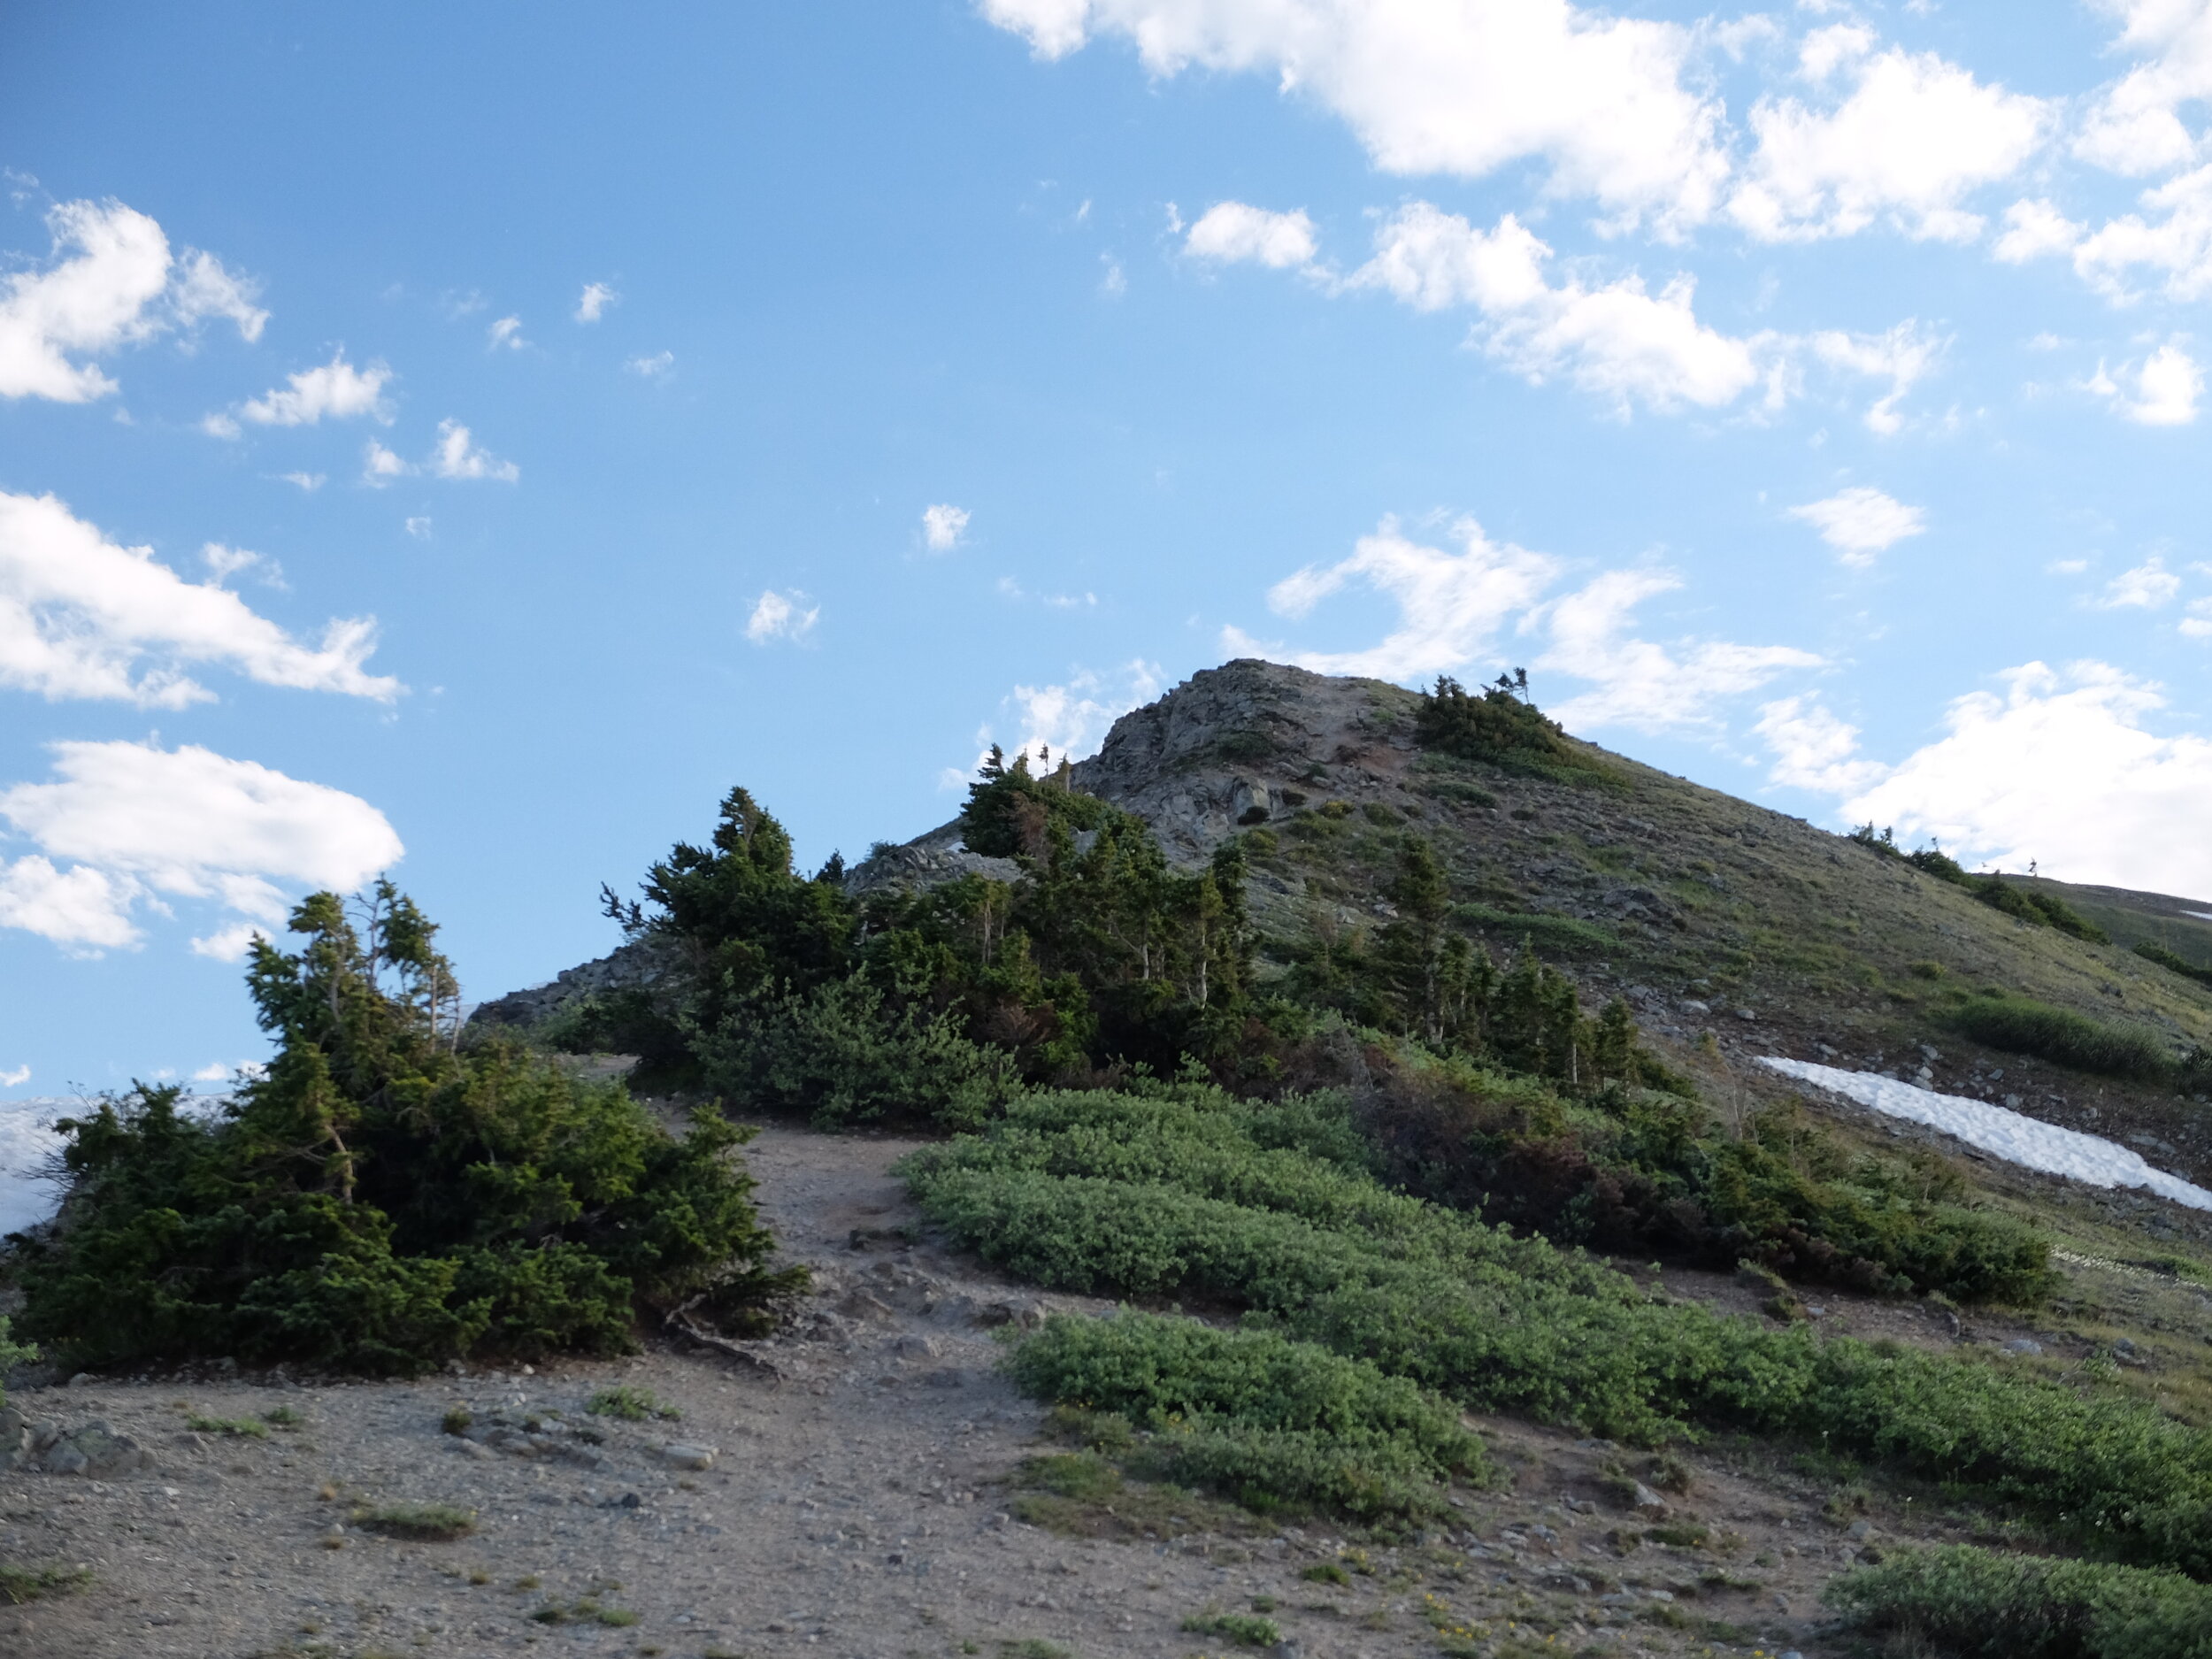
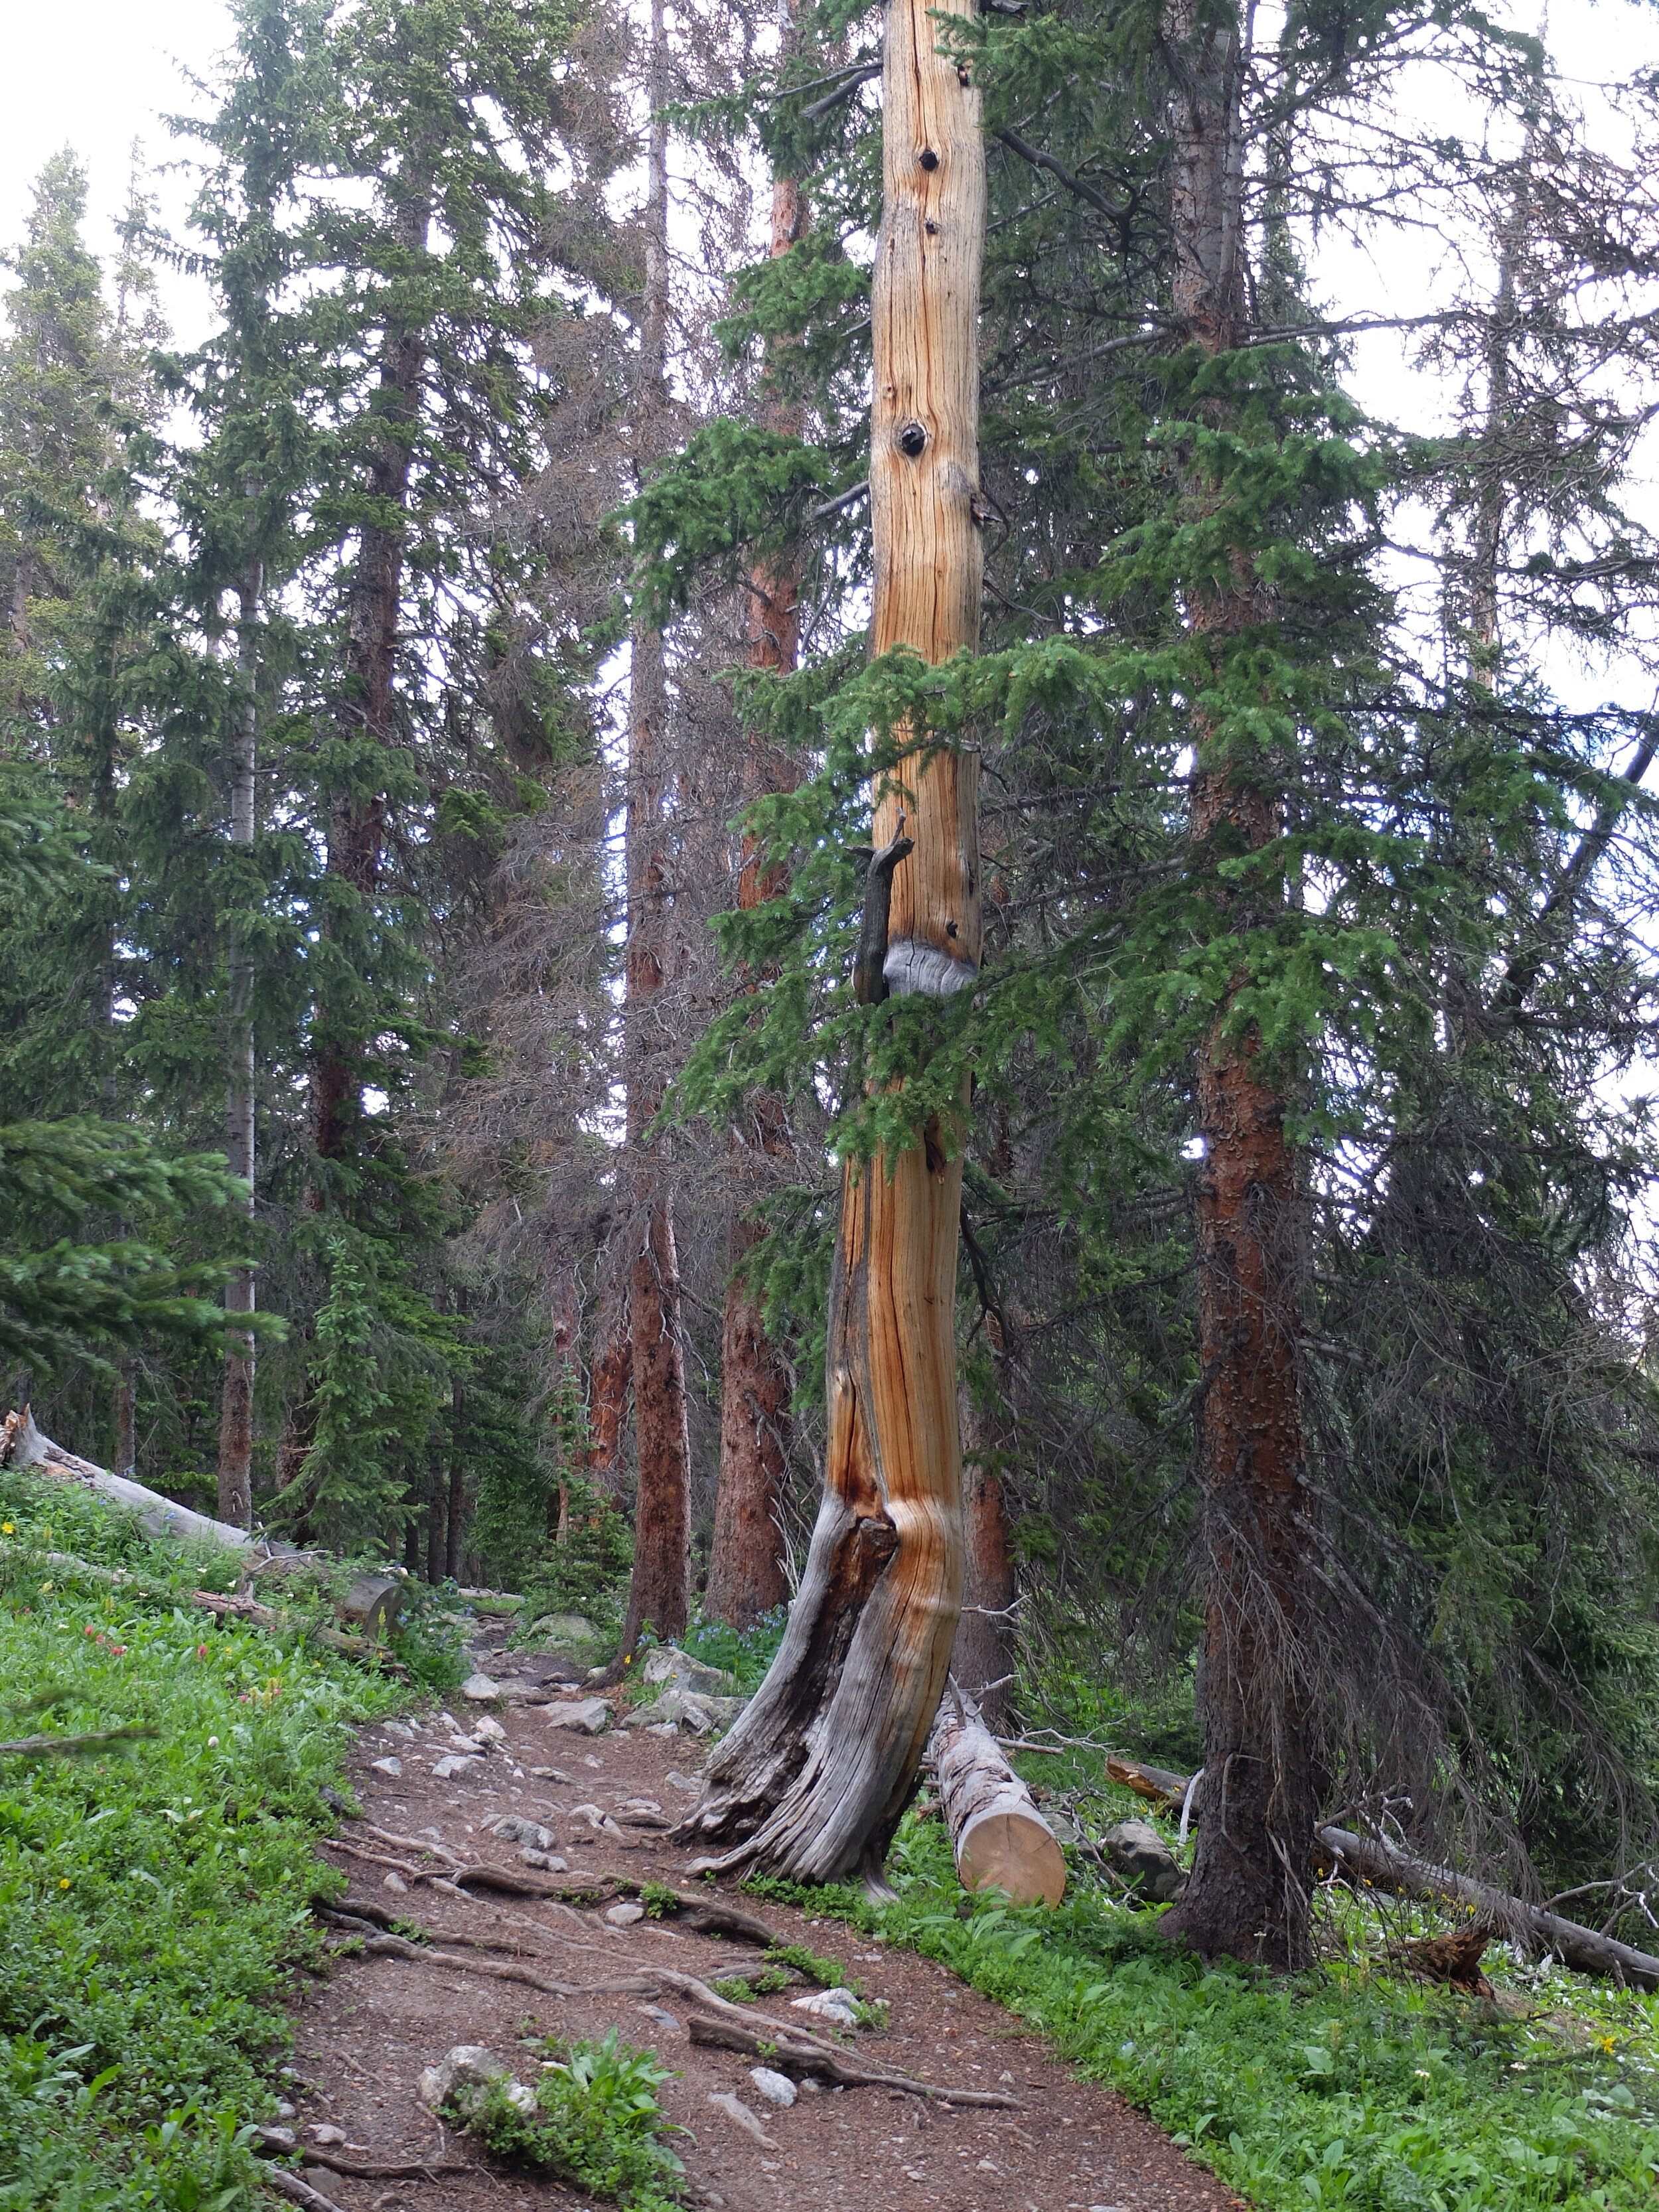
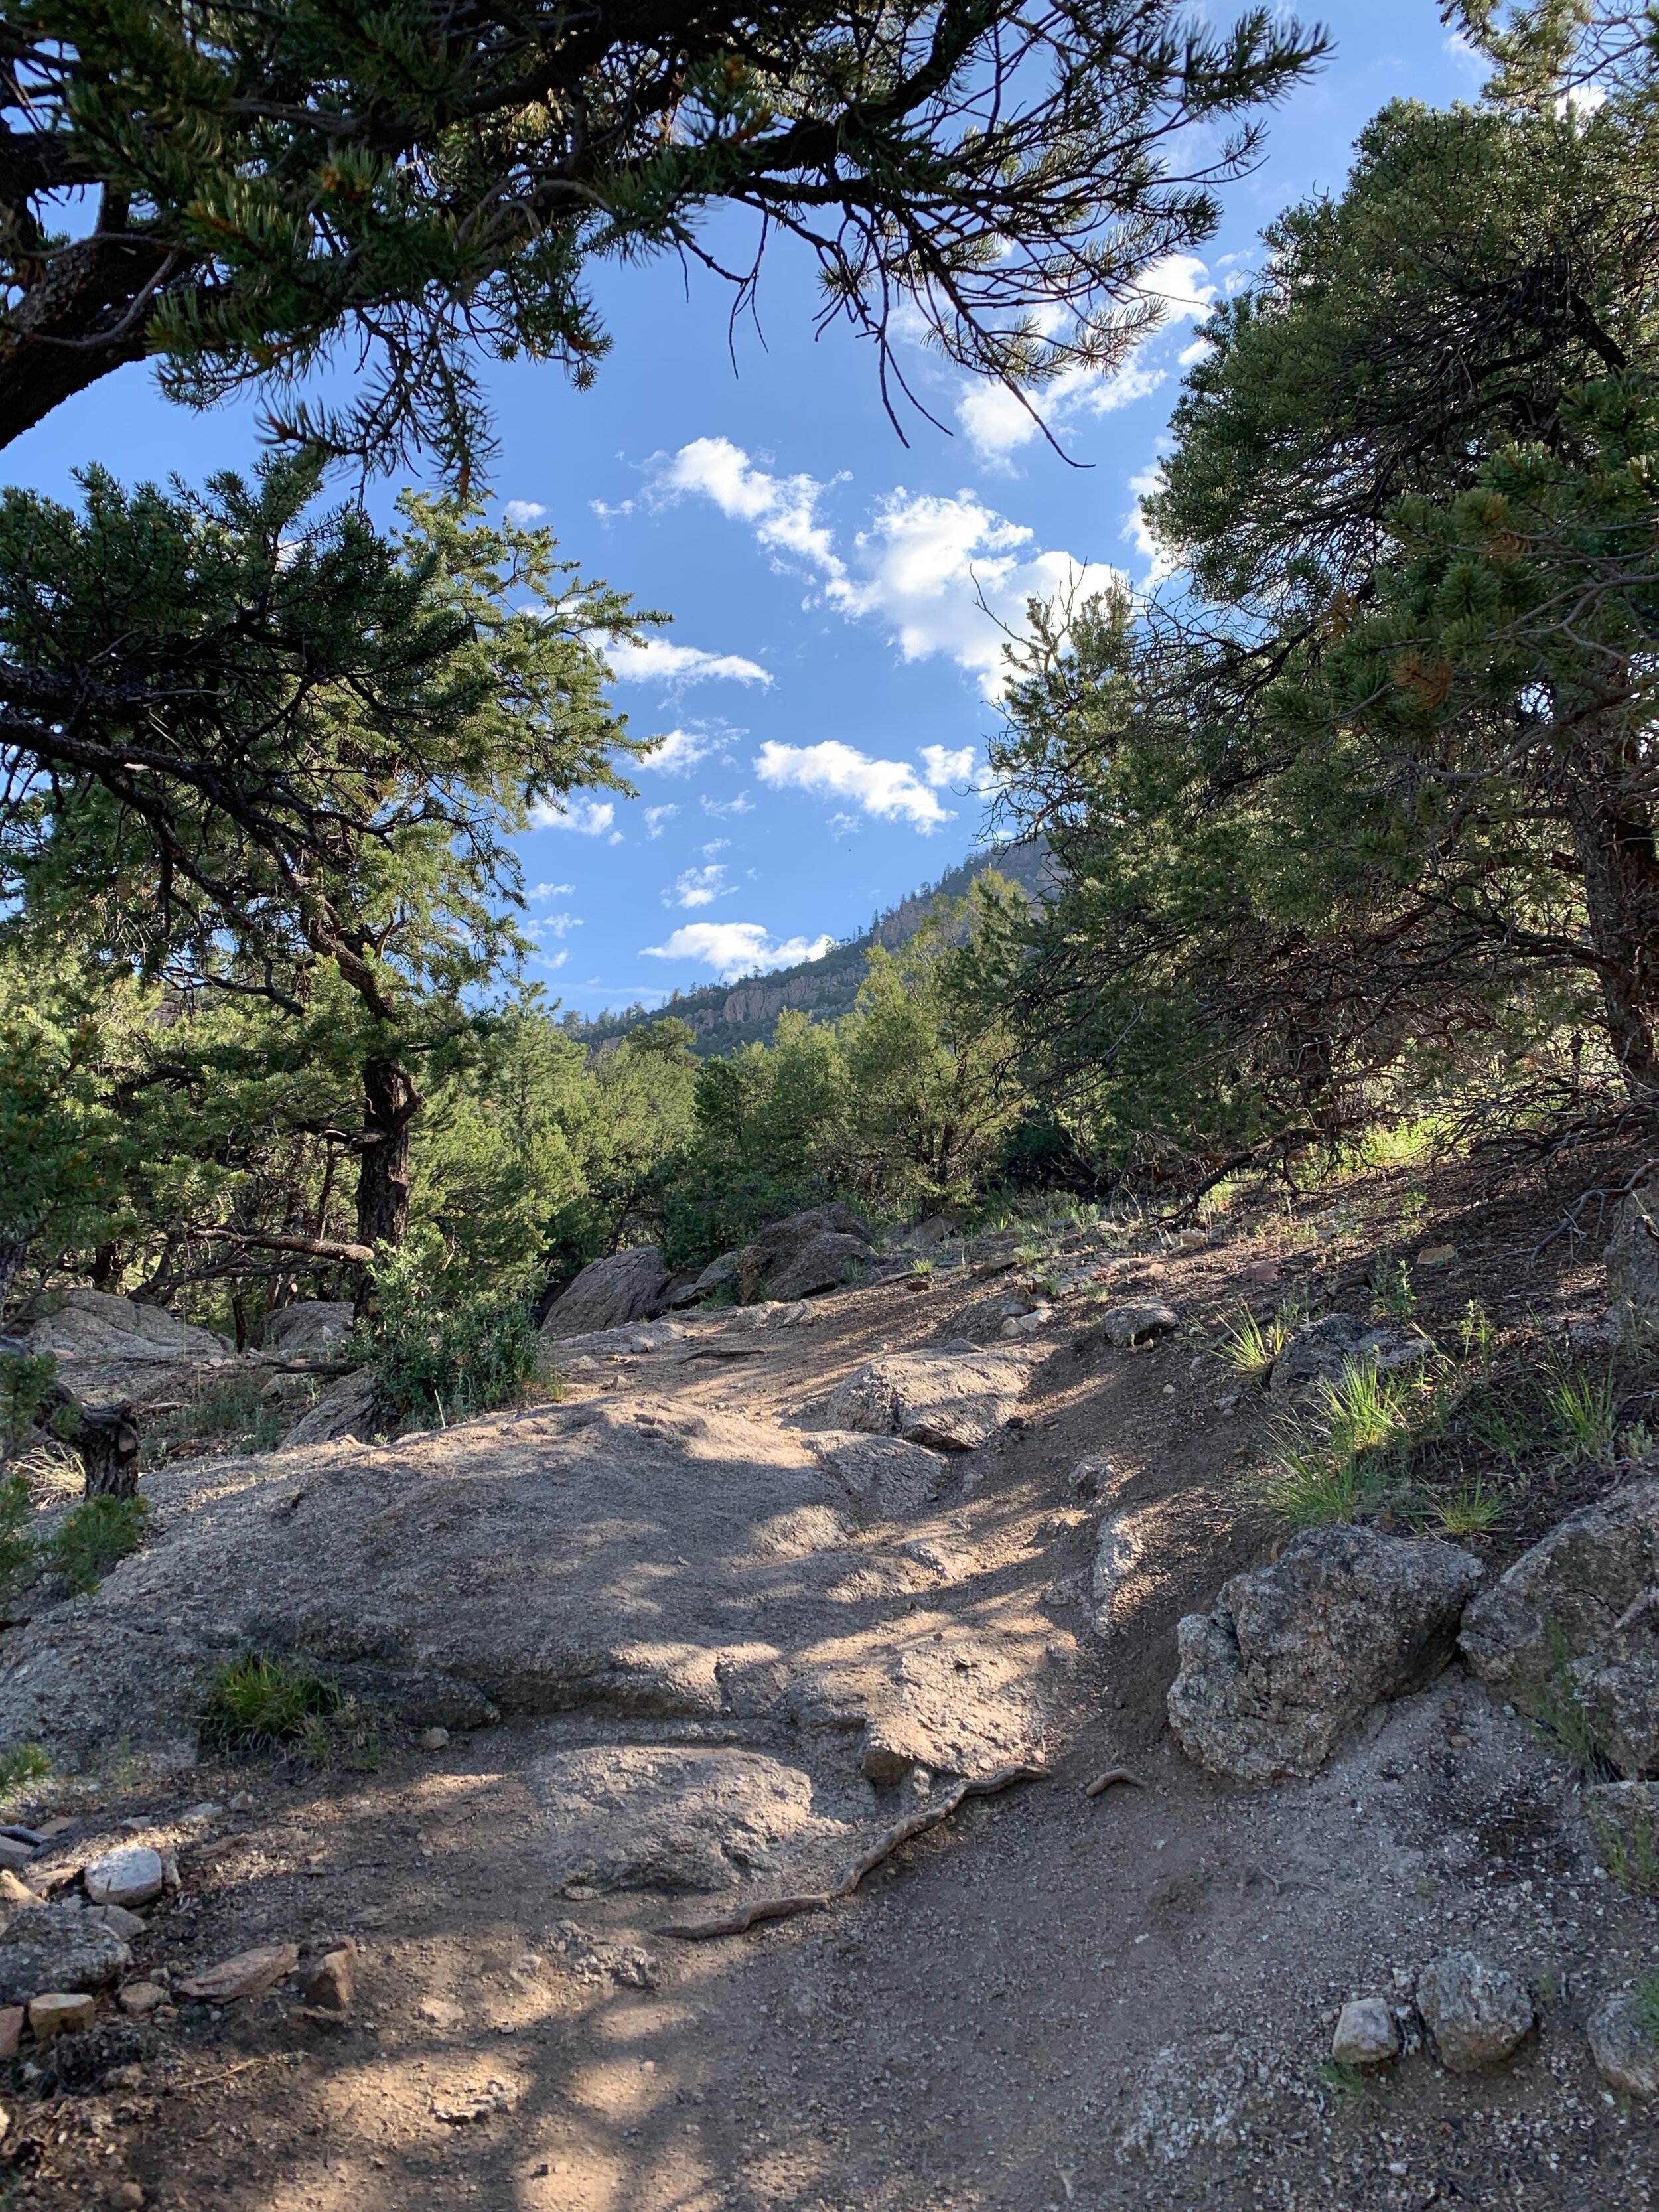
When I didn’t go camping somewhere I went hiking, there are dozens of peaks to bag and trails to enjoy. I didn’t get to all of the ones I wanted to do, but I made a worthy effort!

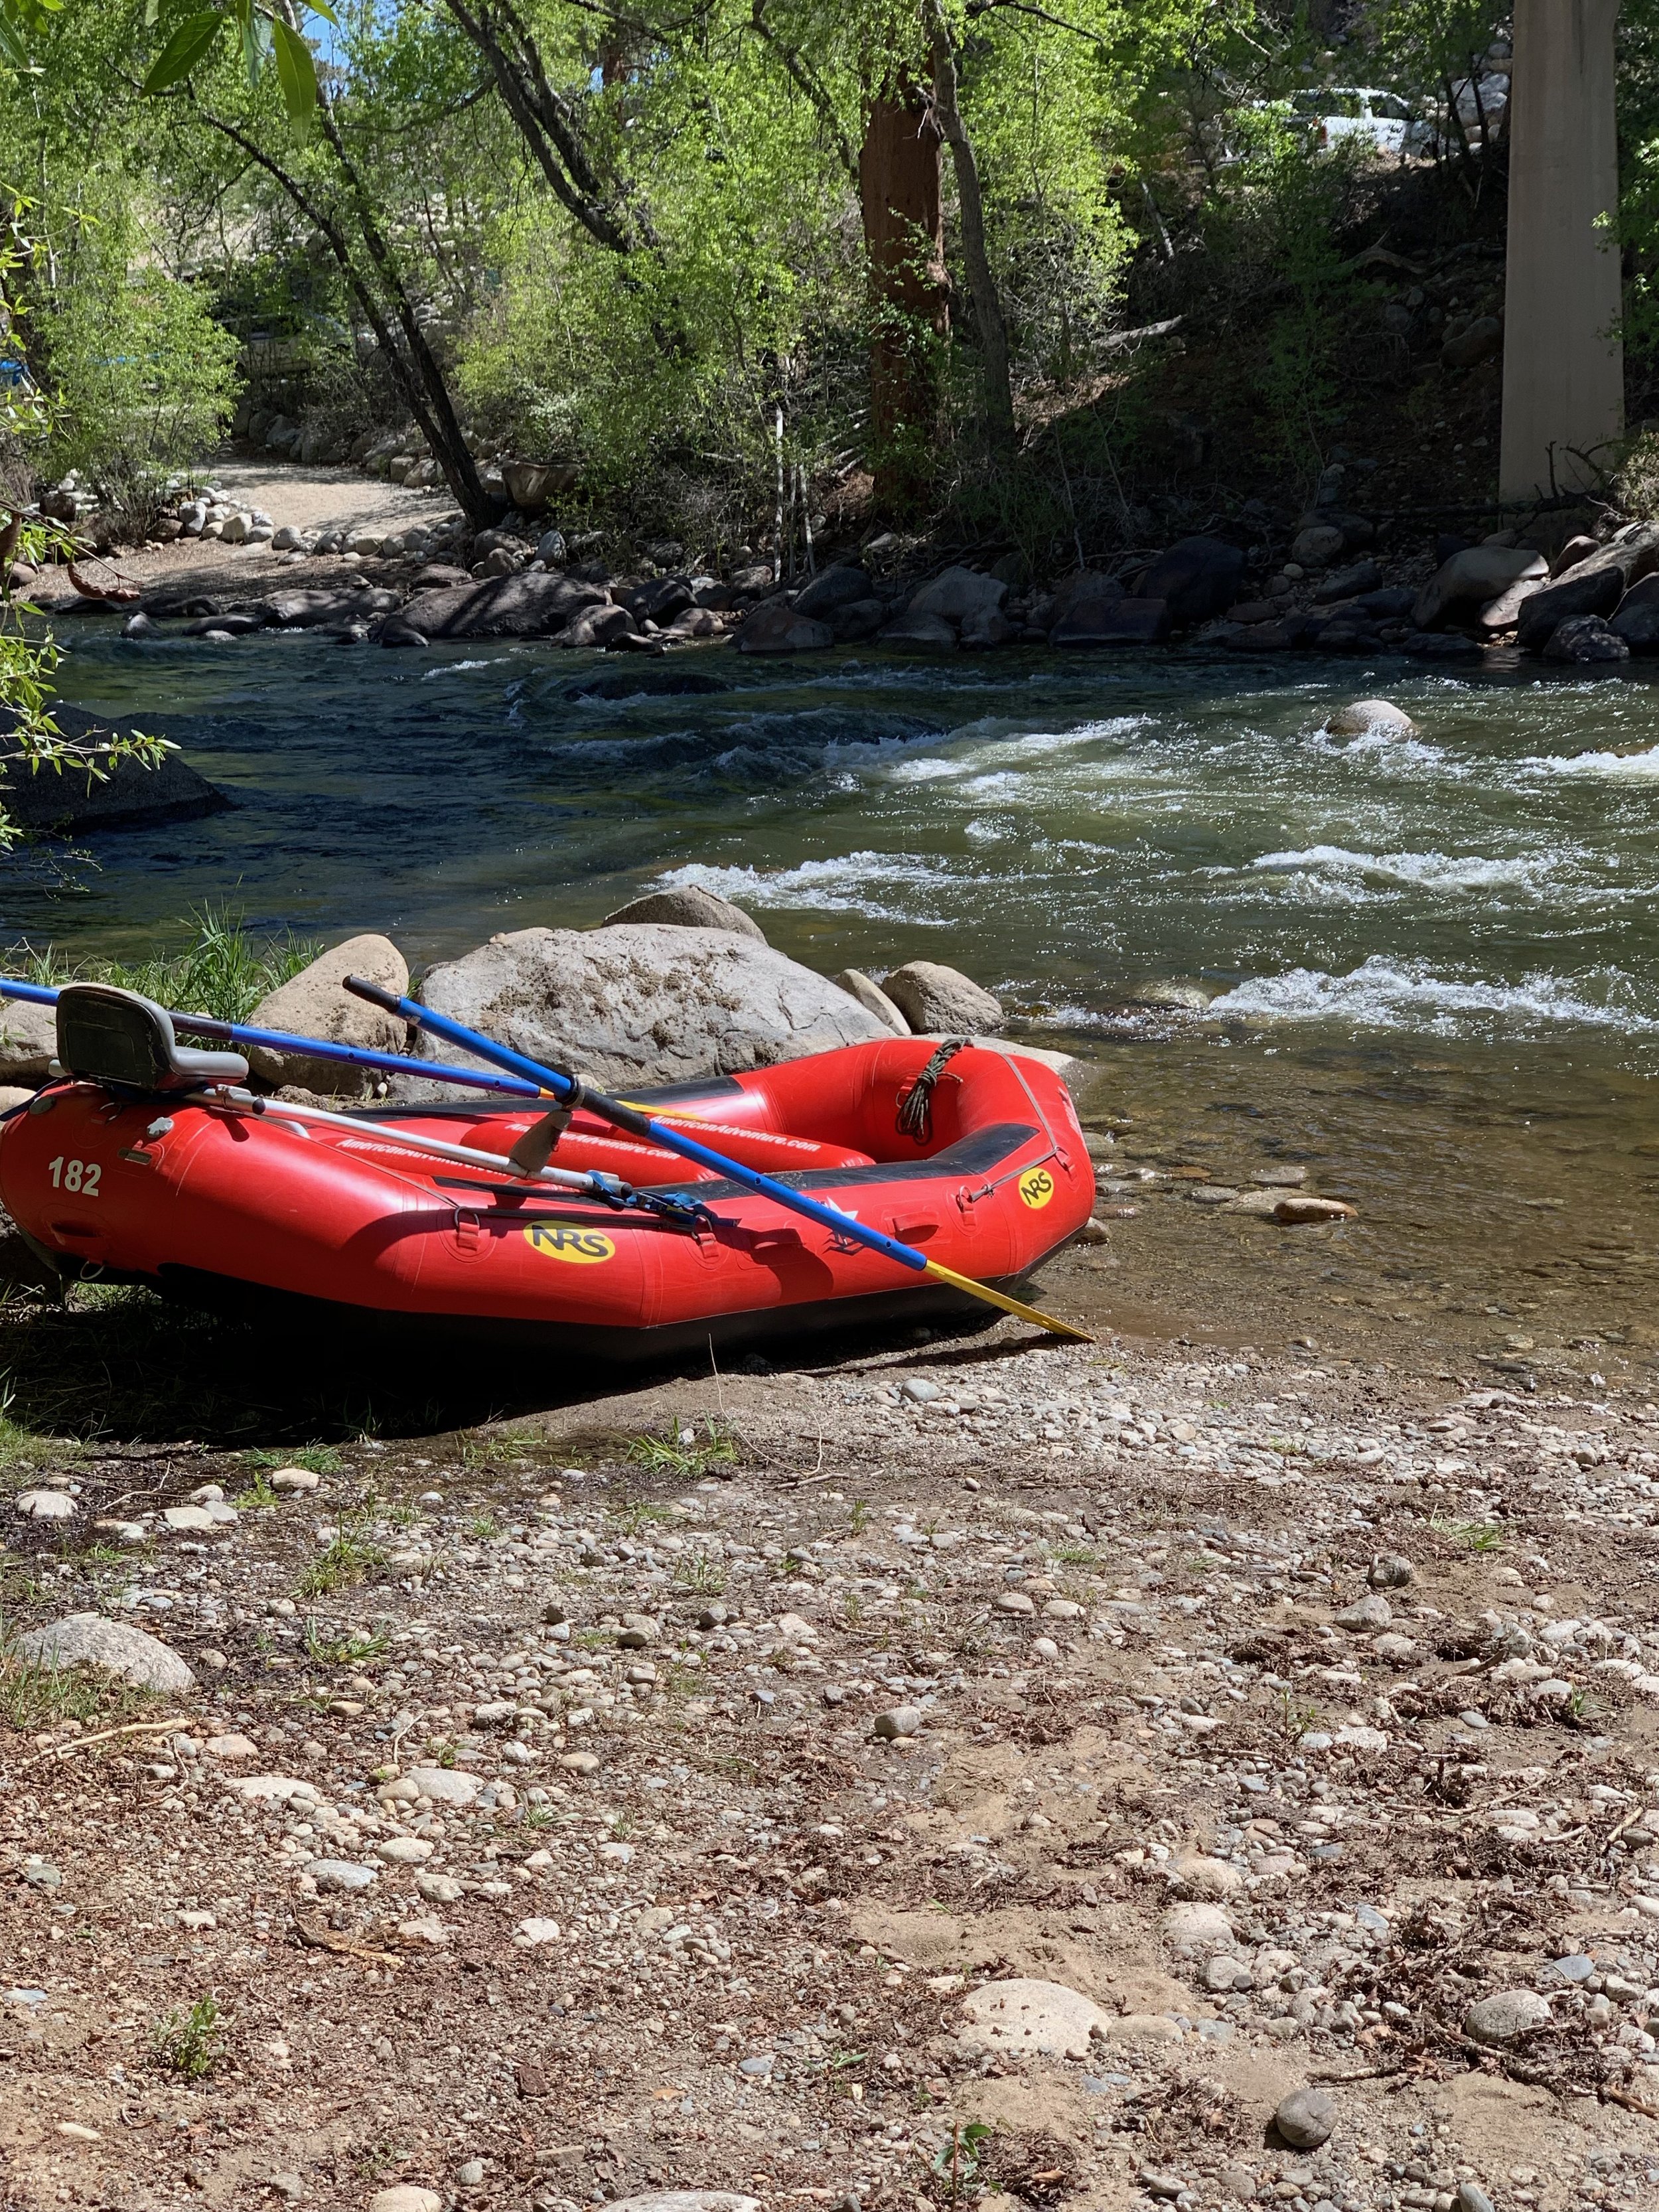
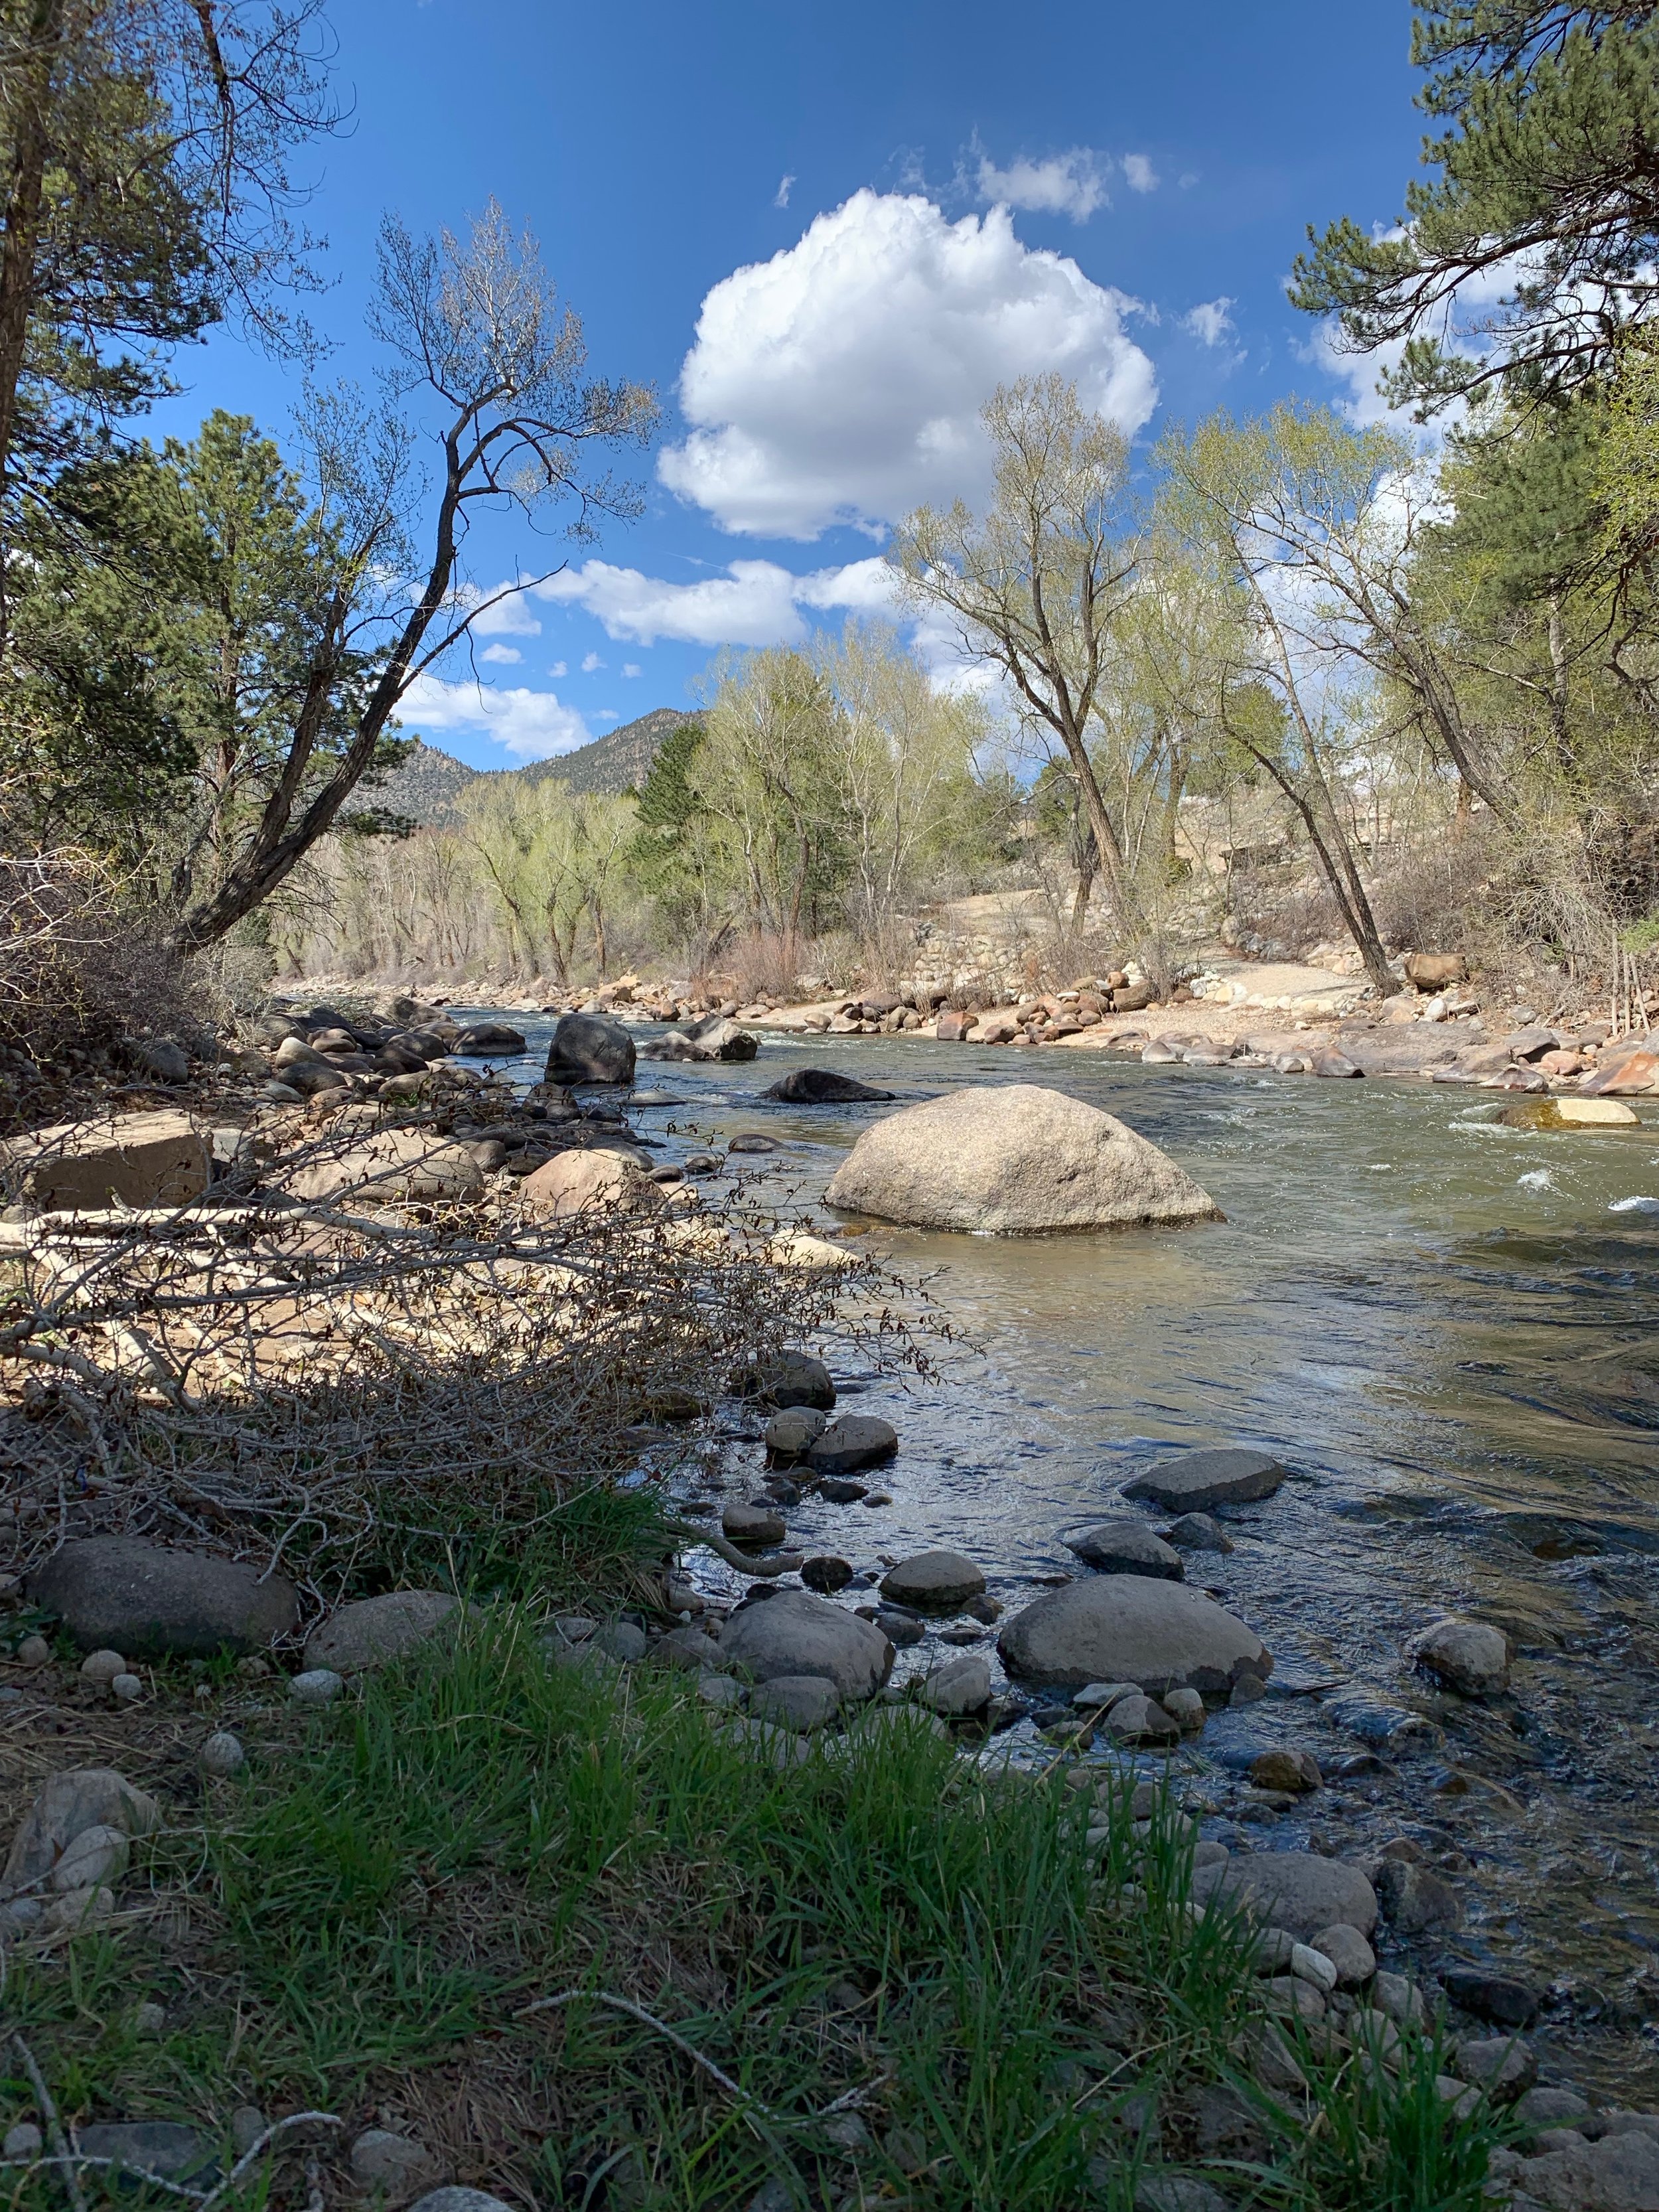
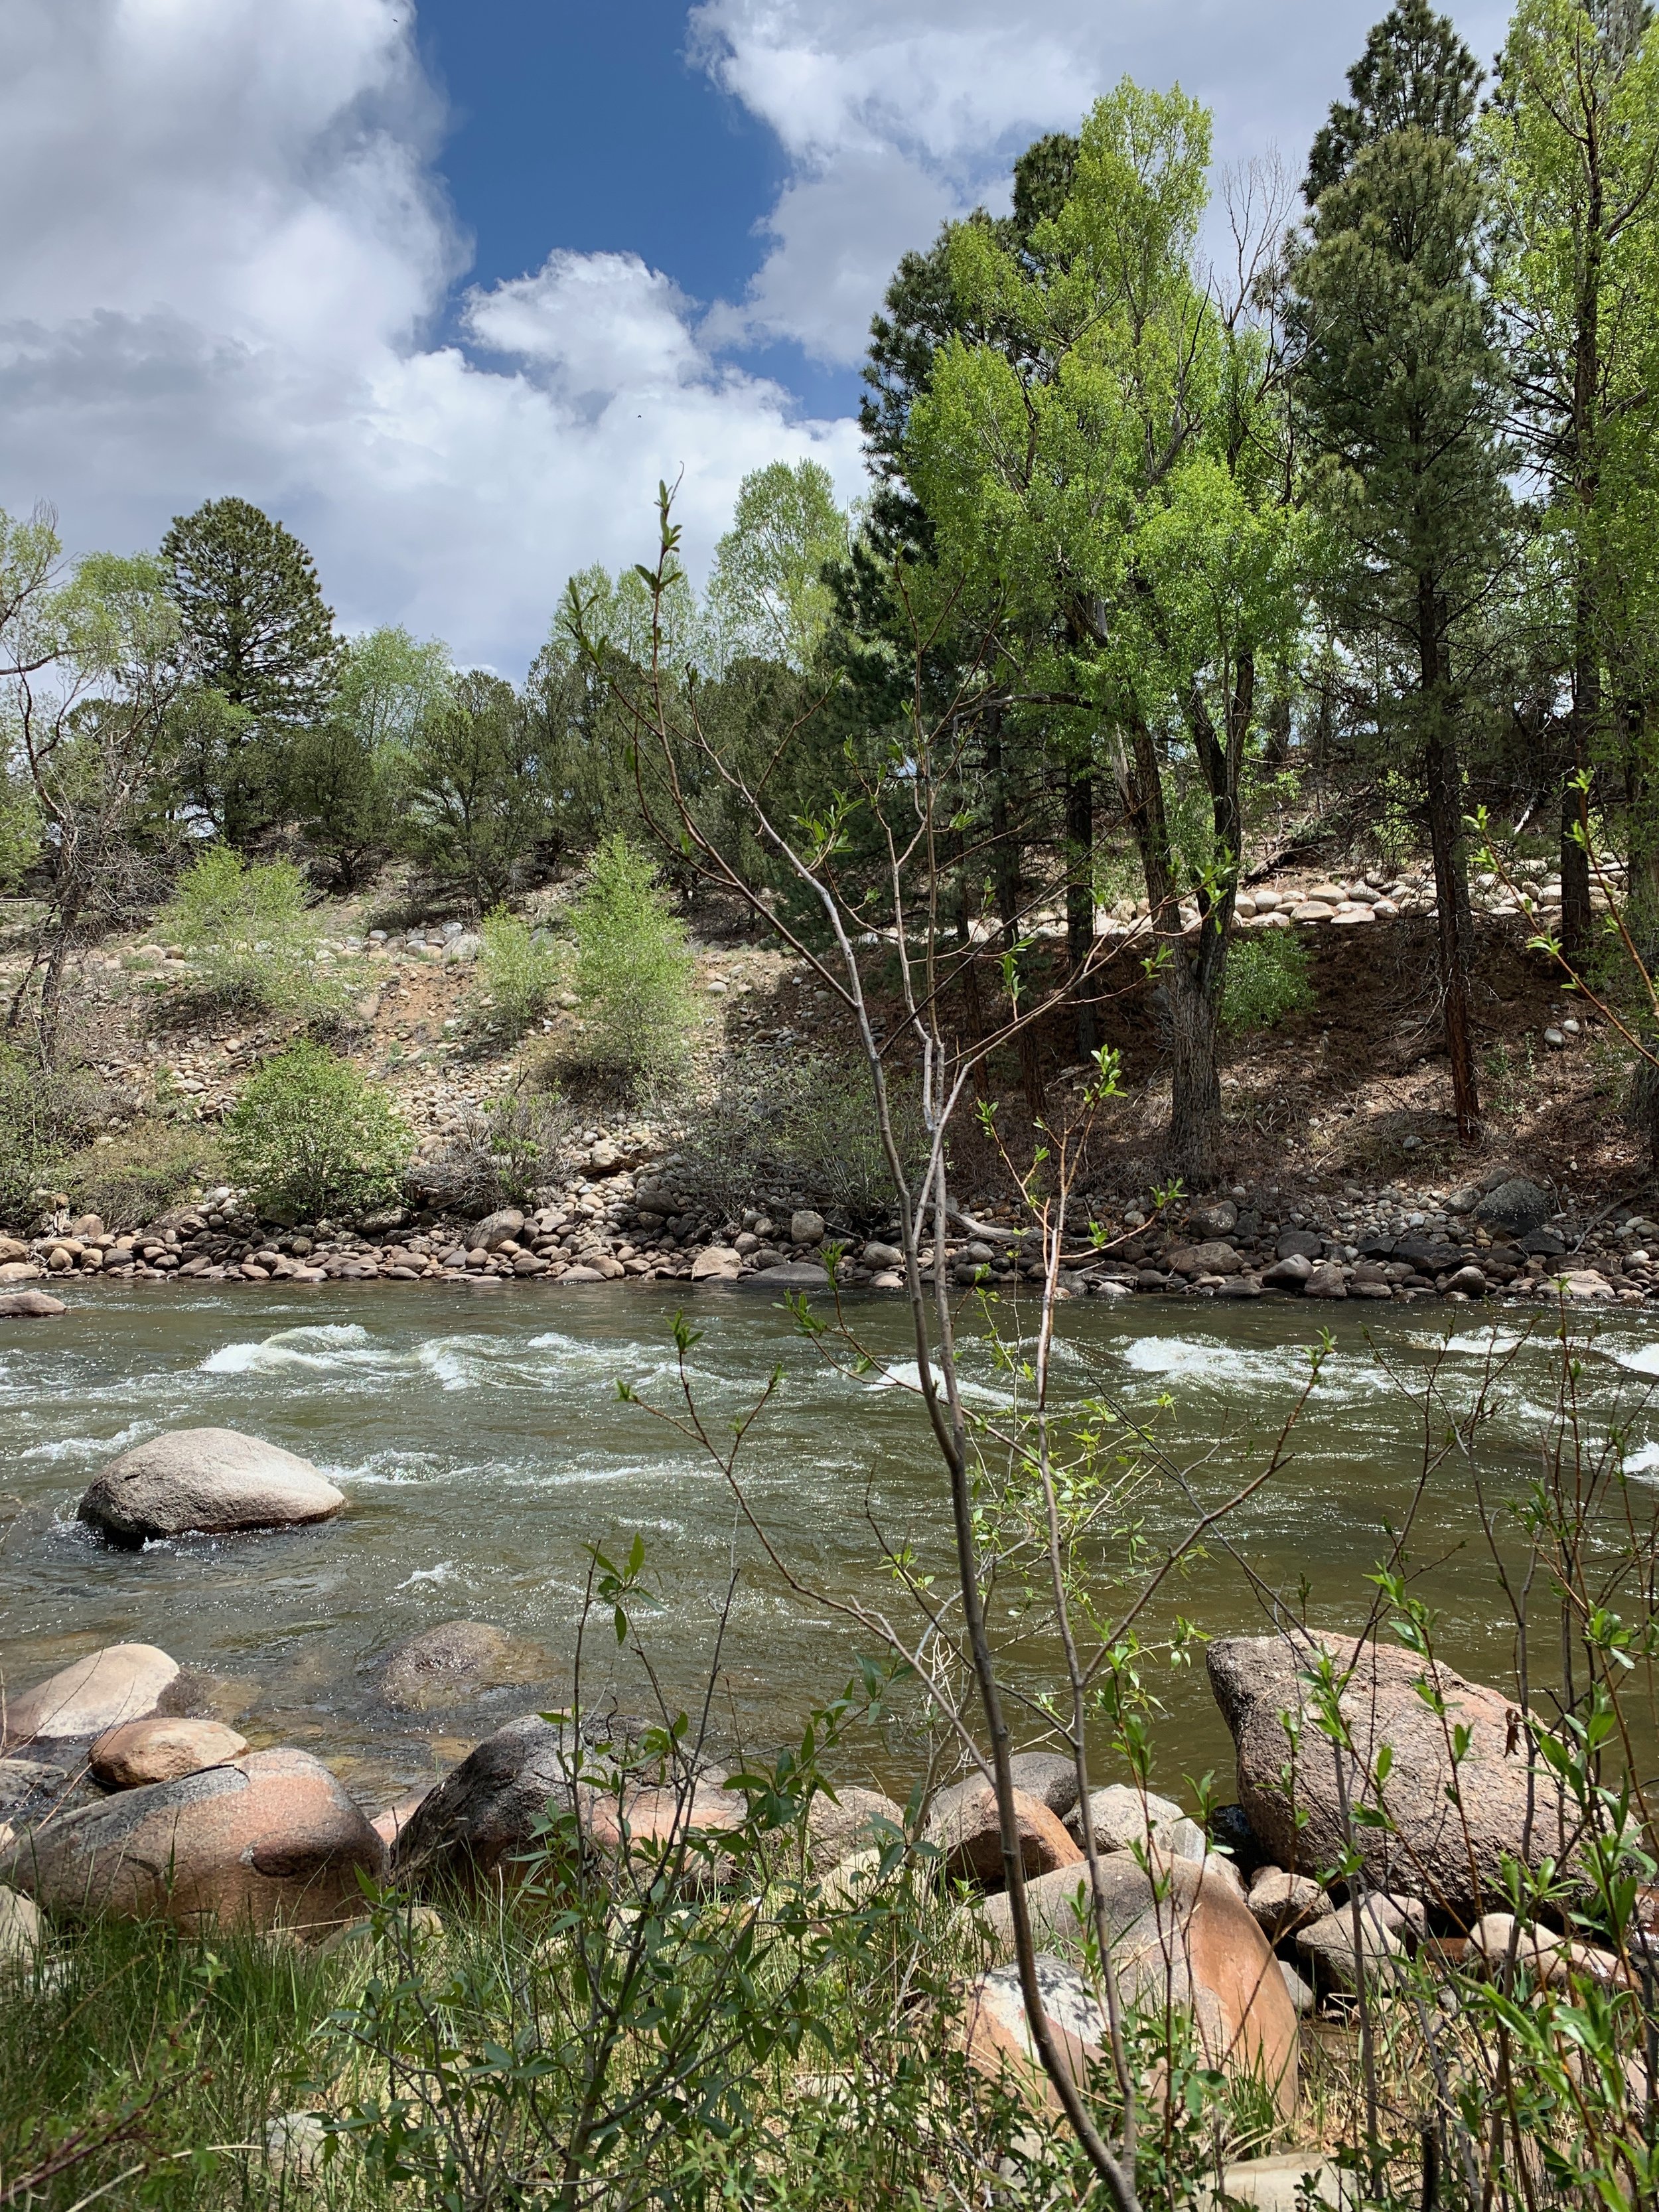
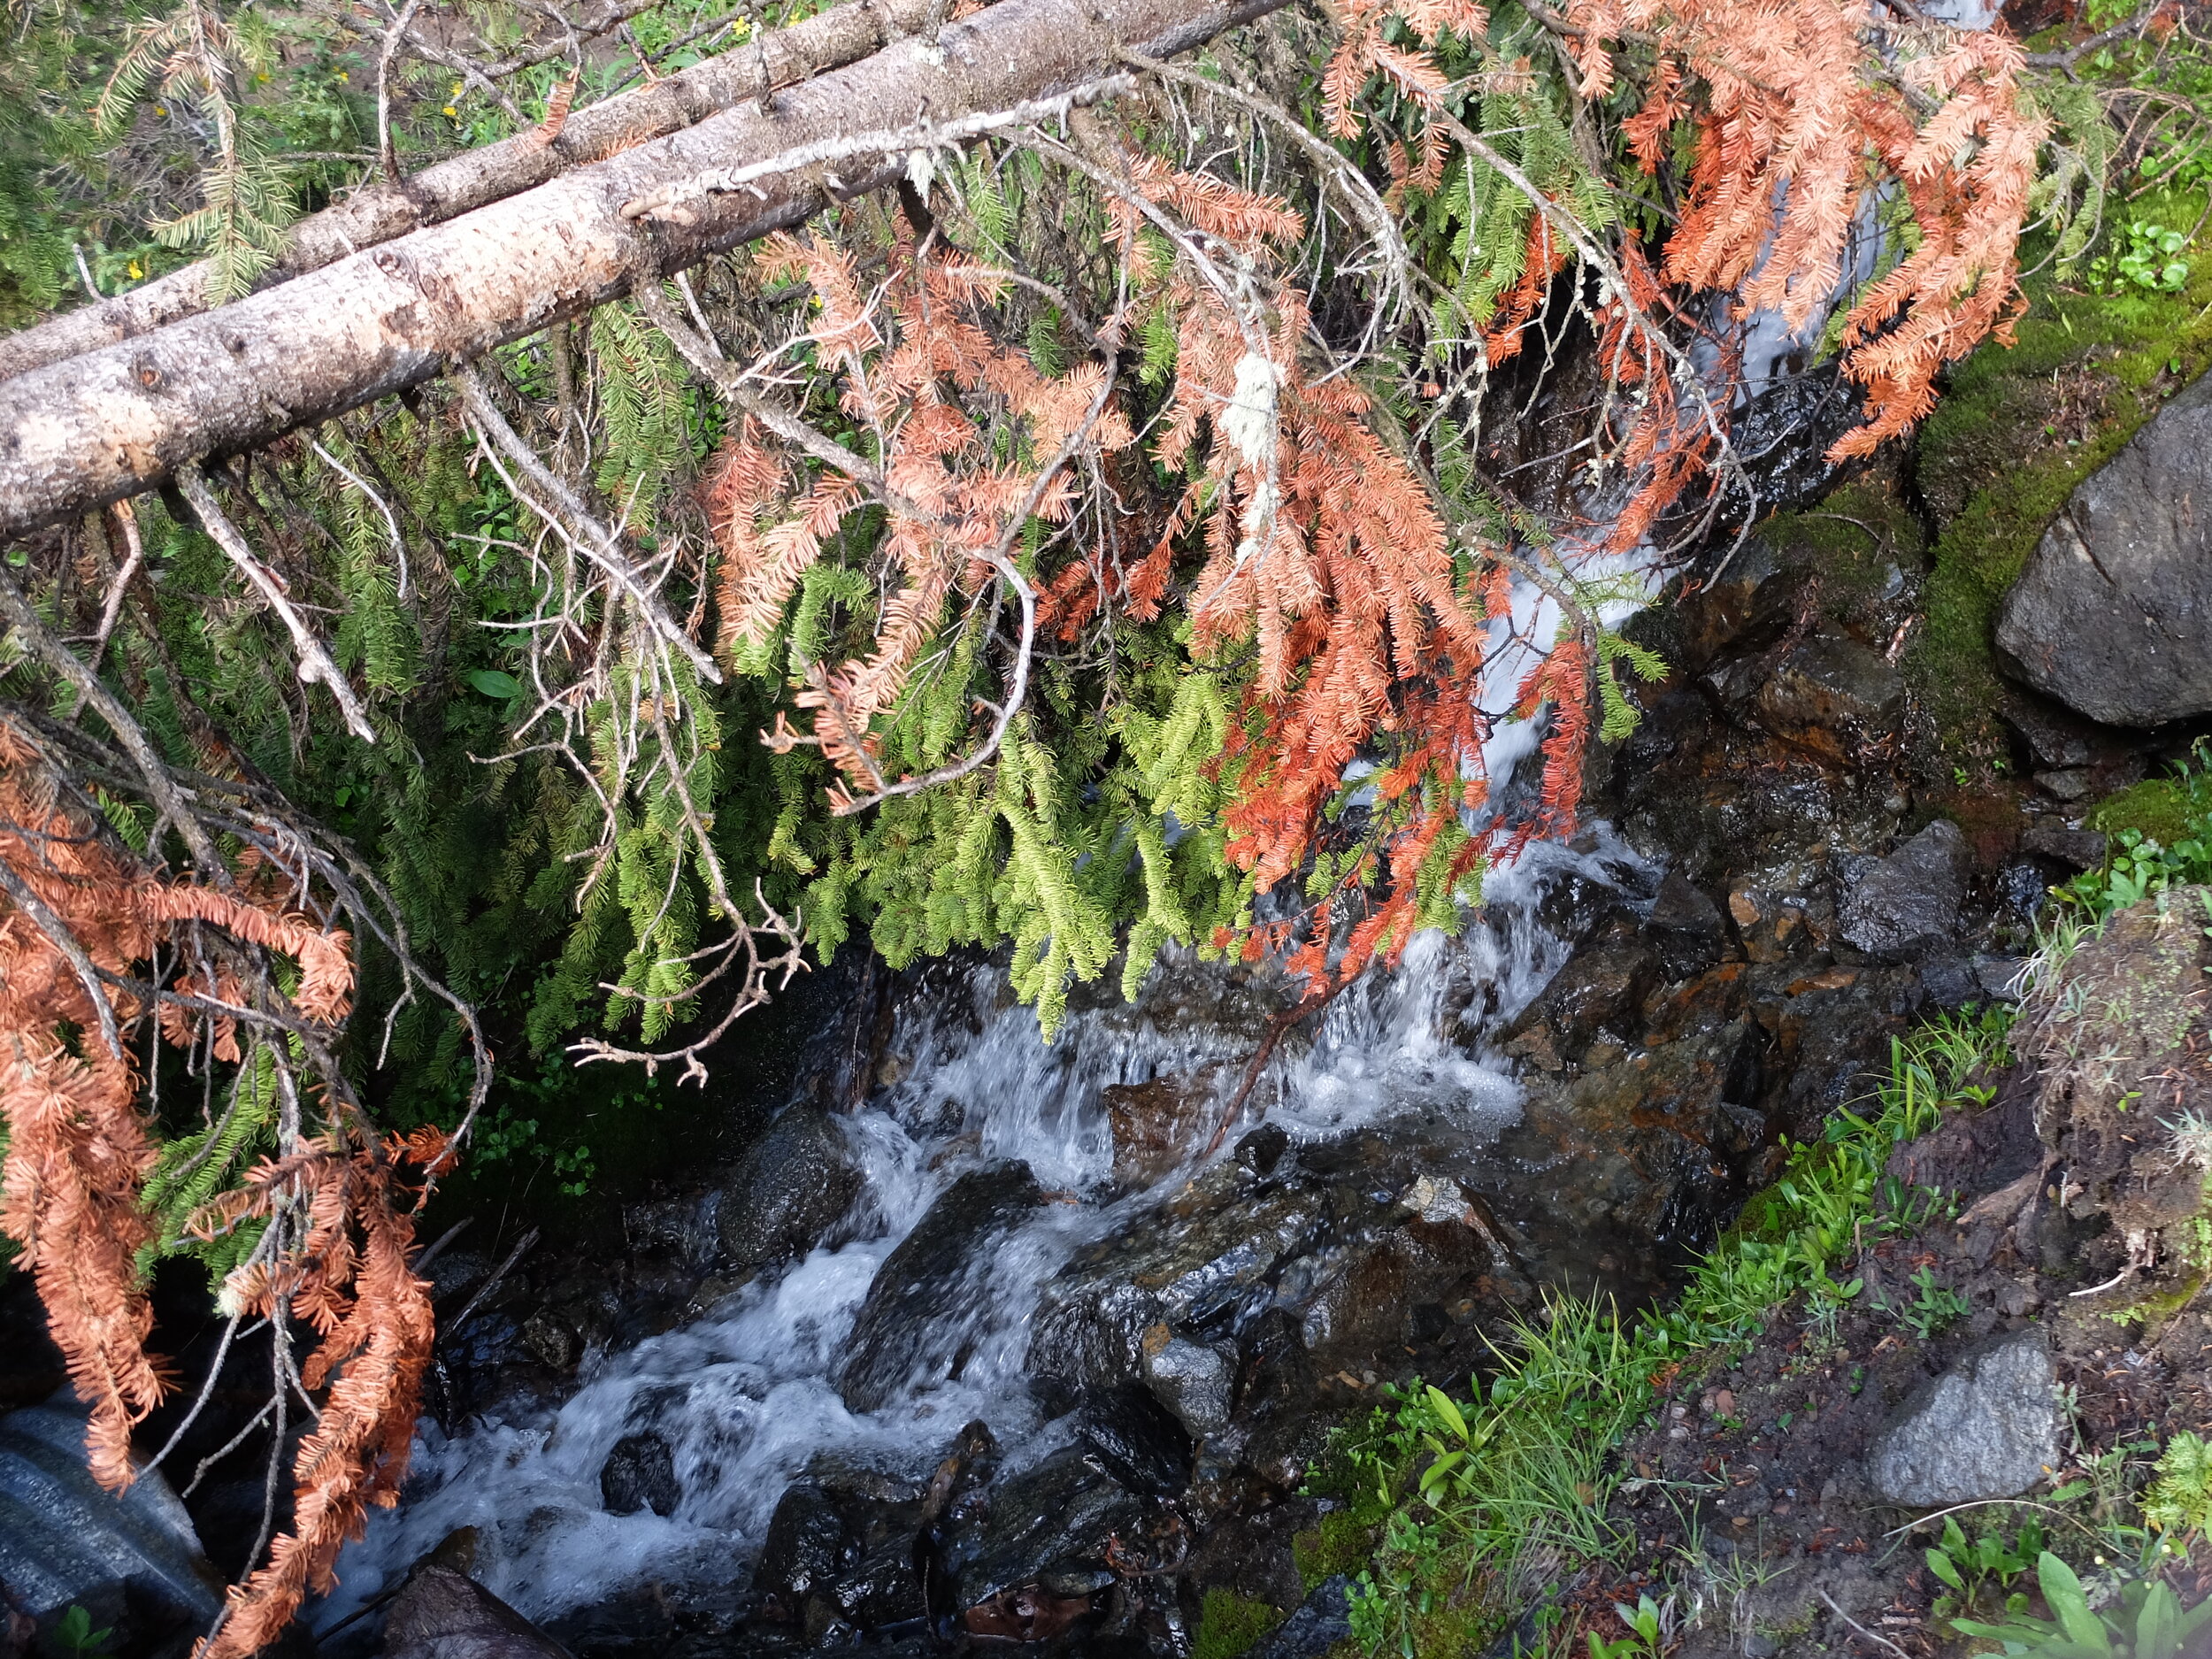
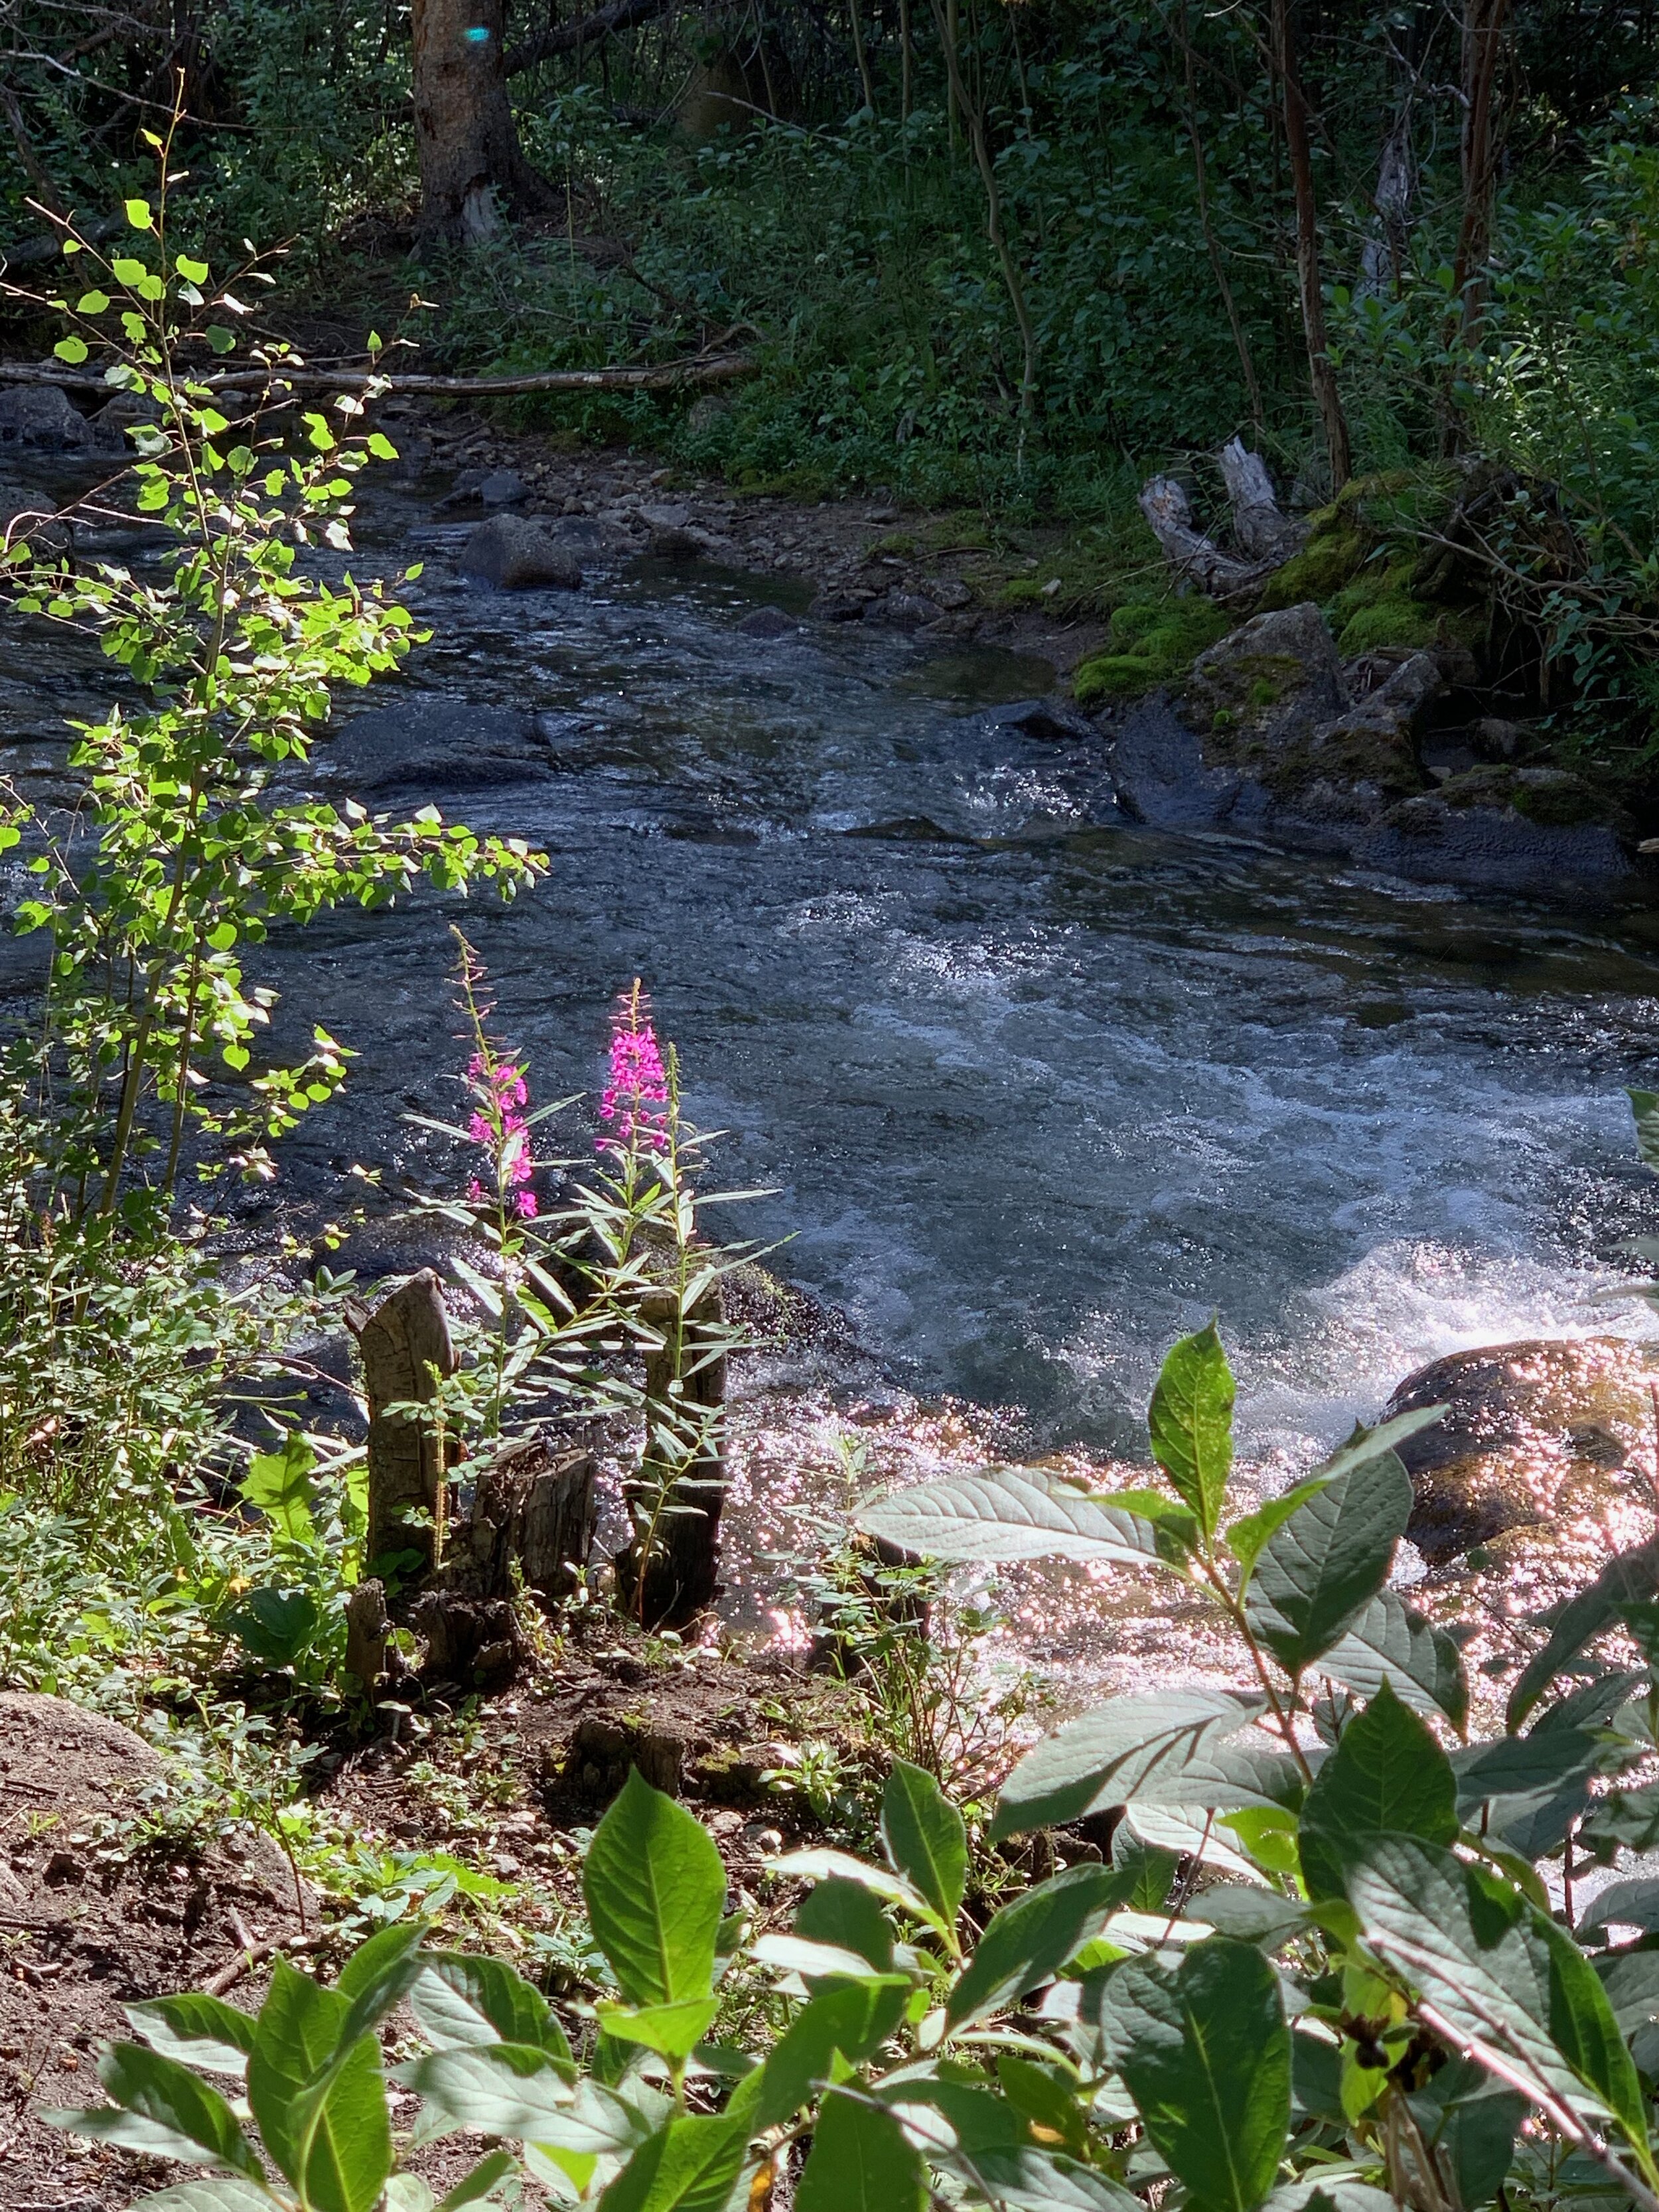
Living and working in BV means you are always near the river. The headwaters of the Arkansas River are about an hour north, but the Arkansas River and it’s tributaries are all around:

Arkansas River from River Park in downtown Buena Vista

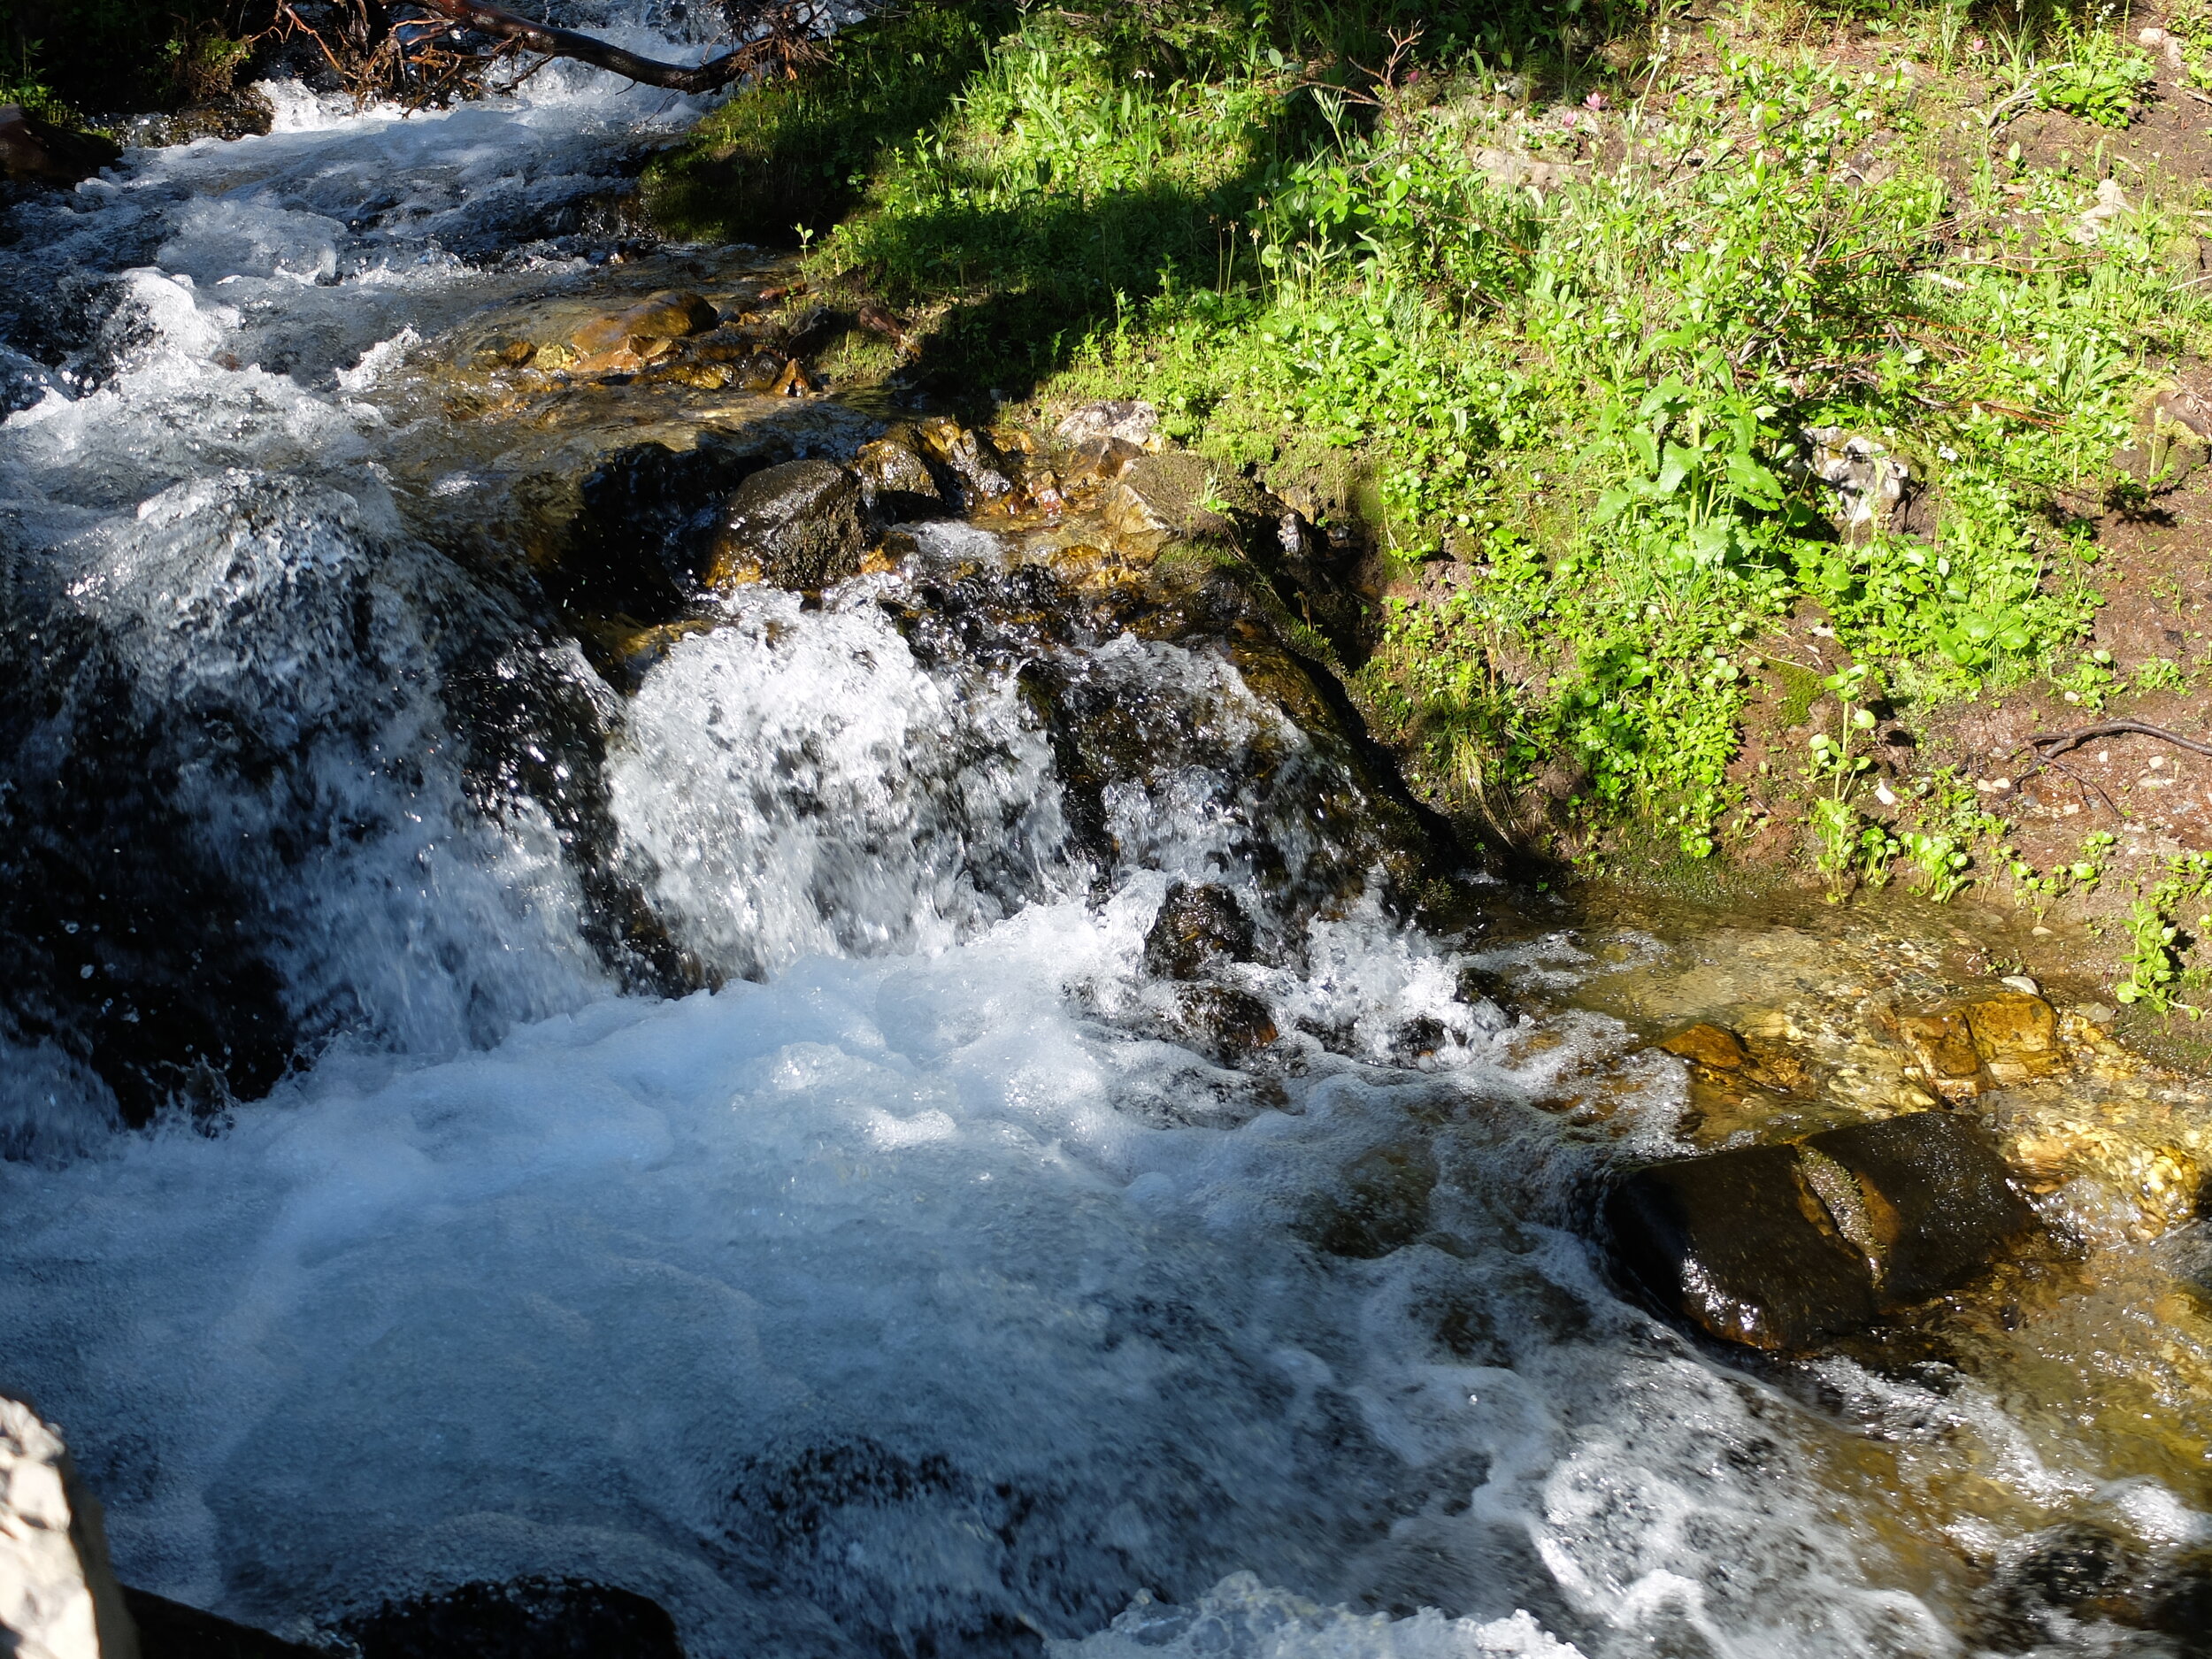
Some of the renowned white-water of the Arkansas River

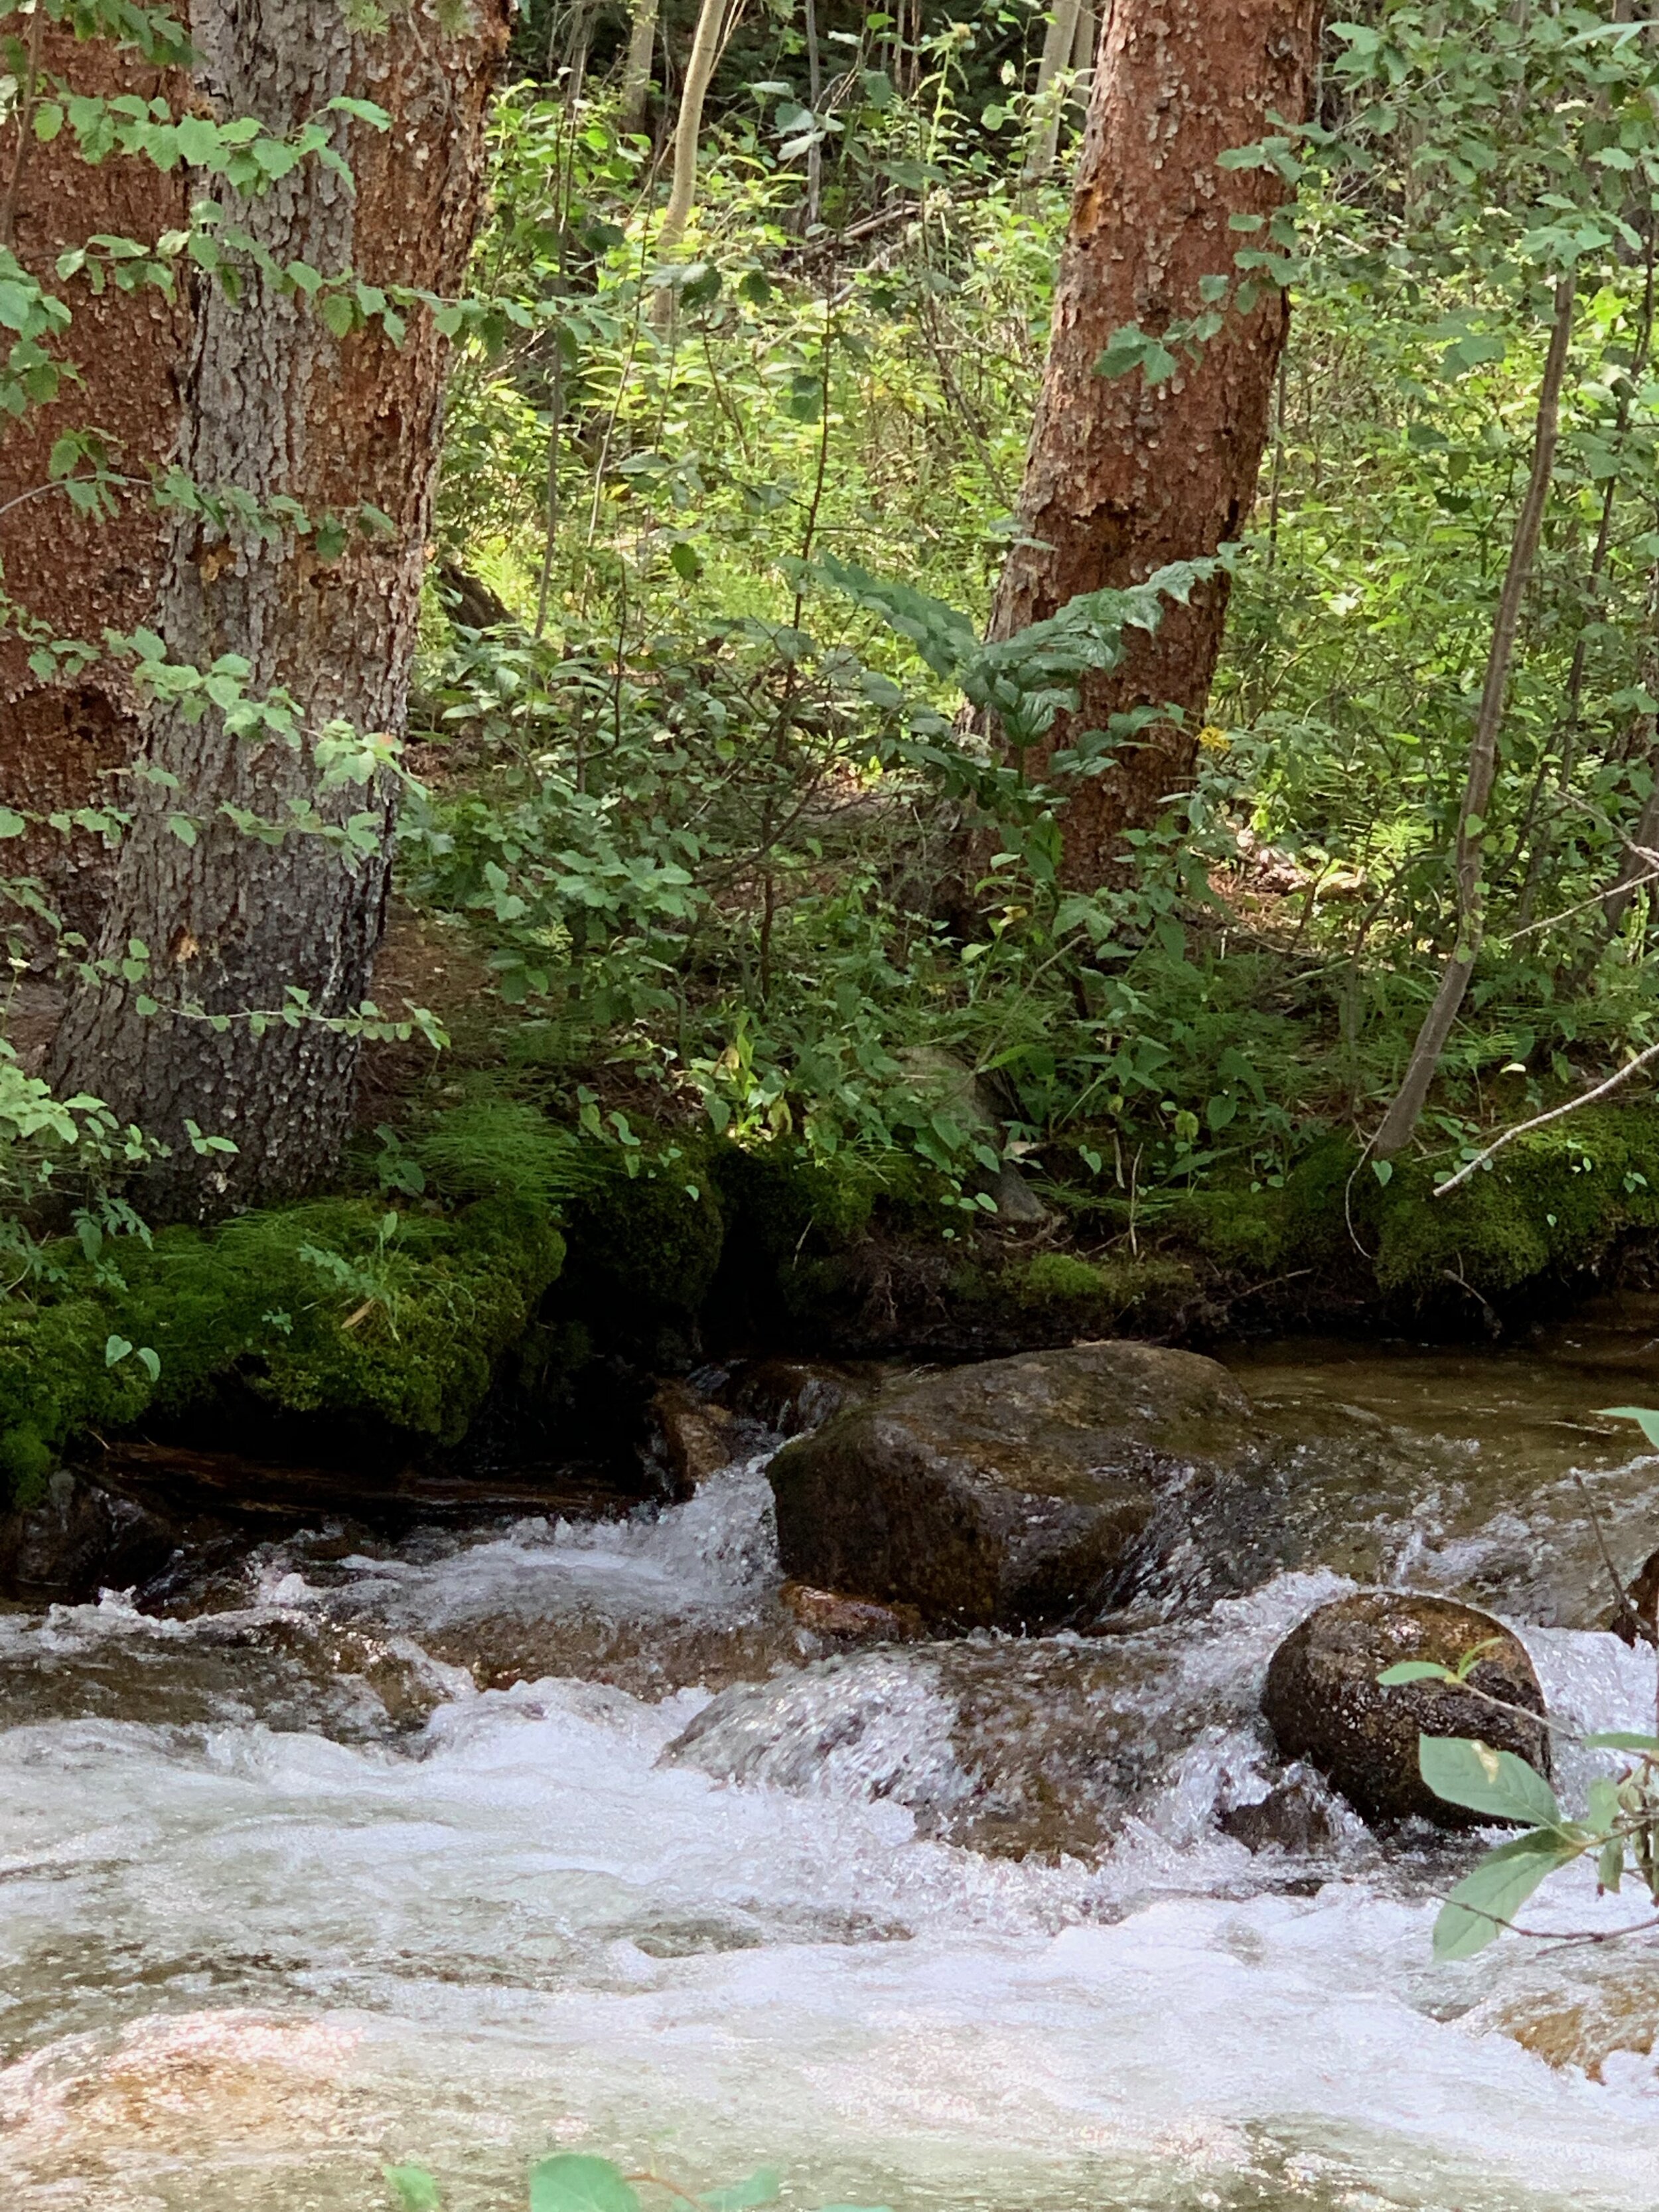
Arkansas River just below Hecla Junction
BV is a great home base for all manner of outdoor activities from fishing, rafting, hiking, camping and peak bagging. I am seriously considering working one more summer there in order to see more, hike more and camp more there! For people living van life or RVing there are plenty of campsites and boon docking areas. I highly recommend it!

Sunset on the Continental Divide